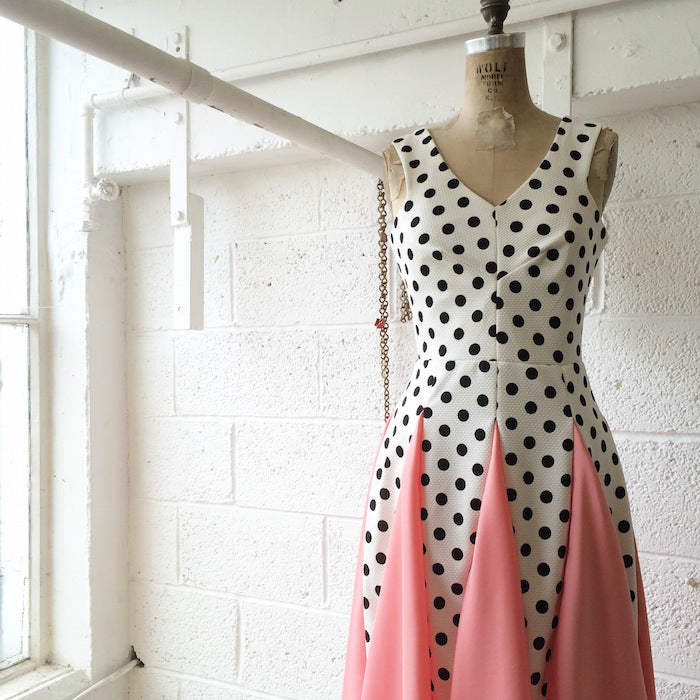
Since the much anticipated release of our latest pattern, the pattern as voted for by you, it's been pretty much Sophia Fever here at BHL HQ. We just can't seem to get enough of the angled darts, that chic sheath skirt with her suggestive split, and those godets... Oh, those godets! It seems we're not the only ones - few and far between was the lady who did not stop to coo over our flamingo print Sophia displayed at the Knitting & Stitching Show last week.
If you've never sewn a godet, the prospect of seven godets (yes, Sophia does indeed boast a swooshy seven godets!) can be pretty daunting. But like most new techniques, we're here tell you that it's easier than you think, and just think of what a godet-pro you'll be after you've sewn all seven!
What you need:
- The Sophia Dress sewing pattern, Variation 1
- Your fabric and usual sewing supplies
Step 1
Start by sewing your straight panels together from the waistline down to the first notch that indicates where the godets will begin. Start with your centre fronts and radiate out, stitching your centre back panels last, and remembering to leave that back seam open - that's where the zipper will go!

Step 2
Press seams open, continuing to press the seam allowance all the way down to the hem.

Step 3
Still with the wrong side of your skirt facing you, lay one of your godet panels face down onto one of the openings between the straight panels.
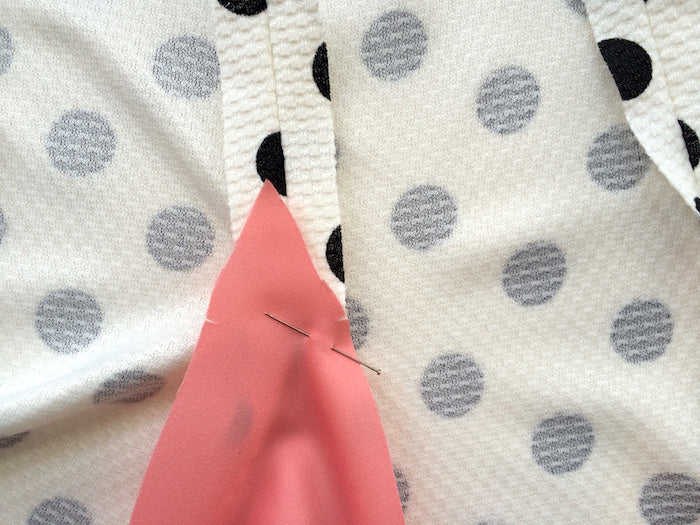
Align the first notch on the right hand side of the godet panel to the first notch on the straight panel (the notch that you stopped sewing at). Pin into place. I like to place this pin strategically so that it comes back out right at the point where the straight seam ends. Pin all the way down that one right hand side of the godet - we're going to stitch each side one by one.

Step 4
Stitch from the top of the godet (where your straight seam ends) with your usual 5/8" or 15mm seam allowance. You should be stitching with the godet facing you.

Step 5
Unfold the pressed seam allowance that is due to be stitched to the remaining left hand side of the godet. Again aligning the notches, pin the left hand side of the godet to the open straight panel.
If the raw edges don't match up 100% perfectly at the top, don't let this worry you too much - the most important thing is to avoid a godet that puckers at the top.

Stitch from the top of the godet, this time with your straight panel fabric facing you.
Step 6
All done! Have a little inspection of your freshly inserted godet and check that the two lines of stitching meet in a point at the top, and that they also meet the end of the straight seam.


Repeat this process for the remaining six gogets (gulp!), and then go on - wrap that skirt around your waist and have yourself a twirl!

-
Elisalex de Castro Peake

Comments on this post (9)
Thanks for the instruction am just learning to see and this my home work piece. Thank you.
Jamaica
— Petal
Thank you for the excellent directions! This is exactly what I was looking for! I want to add godets to a dress I bought for my mother of the bride dress to make it more unique and danceable! I will be using mesh for the godets and will need to fuss with how to hem both distinct fabrics. Thanks again!
— Laurie
Thank you for the tutorial .
— stella
Thank you SO much for this tutorial, and most especially for the pressing tip above, which solved my problem!
— Sian Meikle
Thanks so much, this tutorial is very helpful.
— Obianuju
Hi Denise, you’ll need to press the godets with the seam allowance away from the godets, ie. like a flat triangle. I hope this helps! ~Elisalex
— Elisalex - By Hand London
I have just made a dress from a vintage pattern with the same type of godets,although only 4.They were inserted using the same technique only I am not sure how to press the seams,if you press all seams open then it causes a problem at the top point of godet joining the seam above…can you explain how to get a nice flat seam without bulk in that area please
— Denise
Wow! The result is awesome and the tutorial seems easy to follow. Thanks so much for posting this!
— Abigail
The fabric combination on this version is AMAZING!!!
— Evie