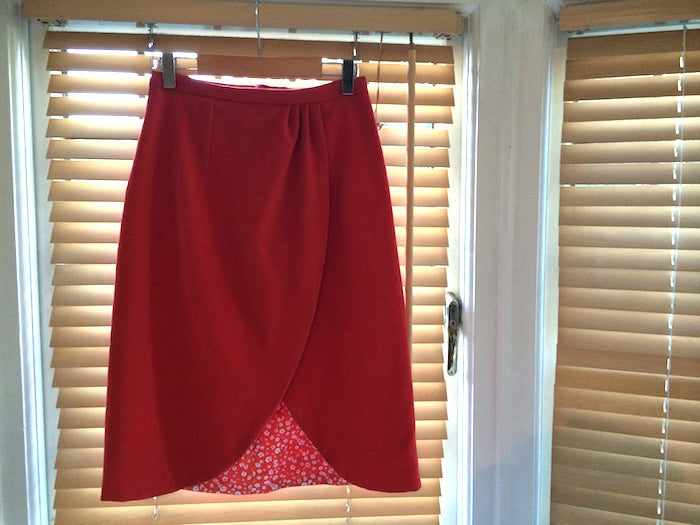
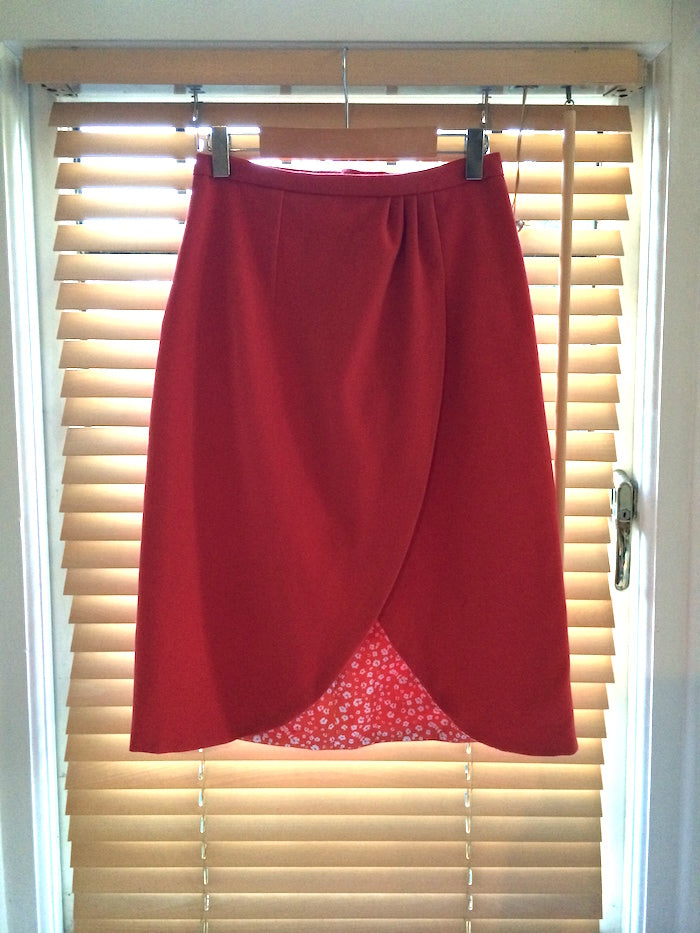
Briefly interrupting the Kim Dress Sewalong today to bring you a little bonus post that doubles up as a pattern hack and a how-to-fully-line-the-wrap-variation tutorial! I love the chic lines of the Kim wrap skirt, and since I've been lamenting the lack of me-made separates in my wardrobe these days, I took this to be the perfect opportunity. I've gone for a substantially weighty and drapey wool crêpe and lined it with a flash of floral cotton. The best thing about the way this skirt is constructed is that you'll end up with a garment with no visible raw seams whatsoever. Music to the sewist's ears my friends.
What you'll need:
- The Kim Dress pattern
- Your Kim Variation 1 wrap skirt pattern pieces
- Your main fabric
- Your lining fabric
- Your usual tools and sewing supplies
Please note - the technique we are using here to fully line our skirts is exactly the same should you choose to fully line your Kim Dress, the only difference being that instead of blind stitching the inside of a waistband, you'll be blind stitching the waistline of your bodice lining.
Start with your skirt pieces cut from your main fabric as usual, and your skirt lining back pieces too. But, to avoid ending up with two identical skirts as opposed to a pair, cut your skirt front lining pieces from the wrong side of your fabric:

Assemble the darts on all pieces, and join the skirt fronts to their corresponding skirt backs at the side seams. Press all darts towards the side seams and press side seams open.

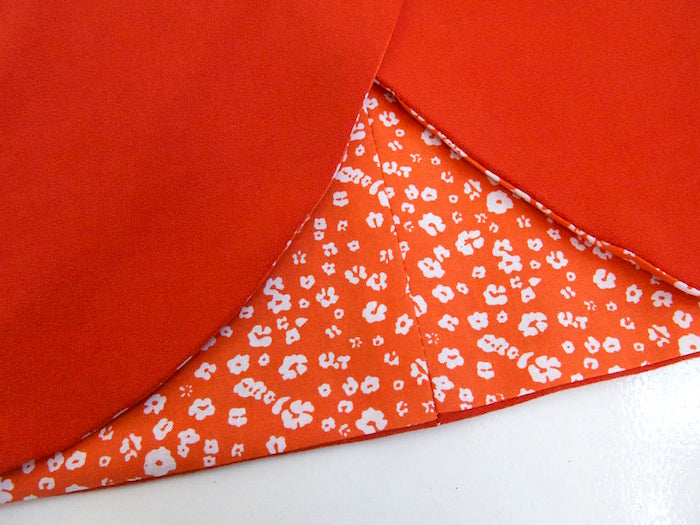
With right sides together, join your skirt shell pieces to their corresponding lining pieces all along the curved hem, from the waistline down and around to the hem at centre back.
Pin into place and stitch 1/2" or 12mm from the raw edge.

Notch the seam allowance to reduce bulk as you turn your skirt to the right side.
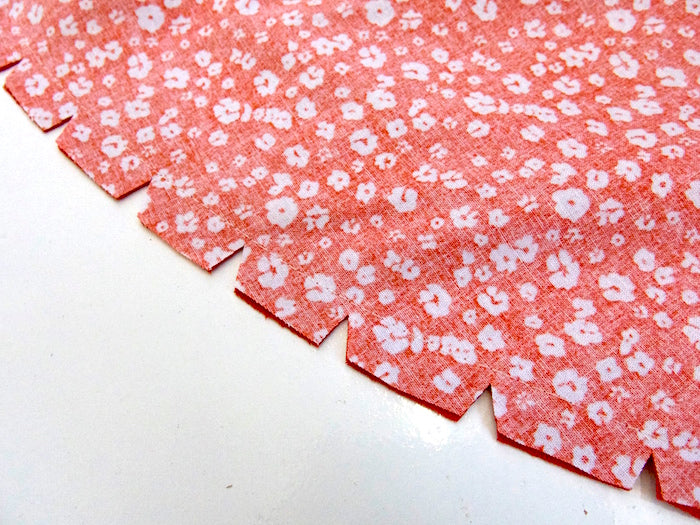
Having turned your skirt pieces to the right side, give them a really good press.

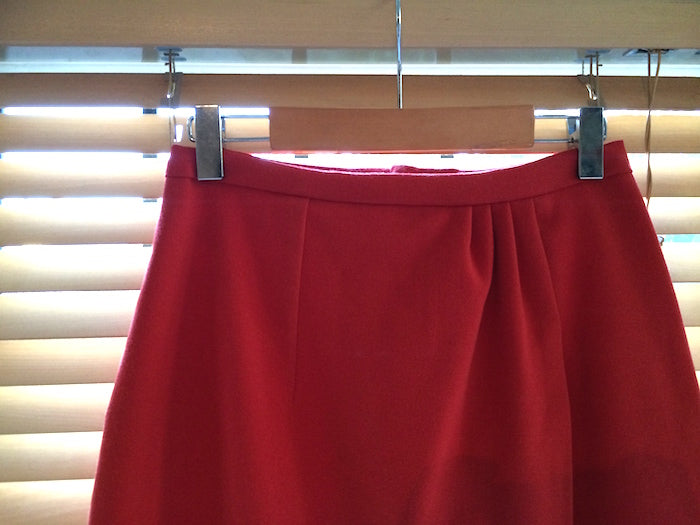
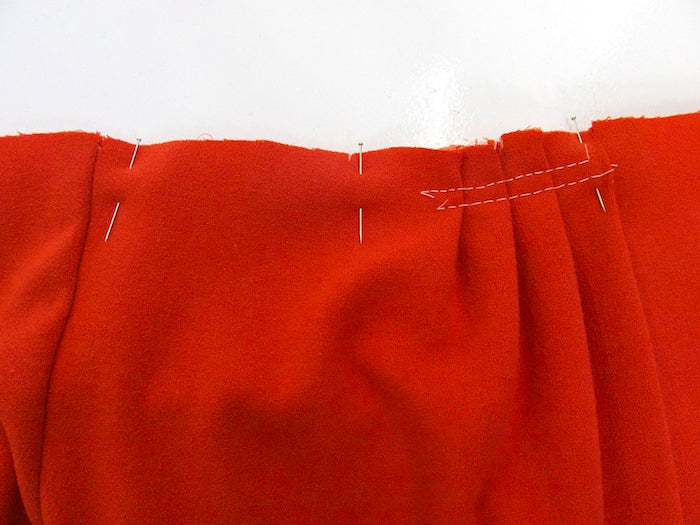
Now, with the shell and lining as one, assemble the pleats at the waistline.

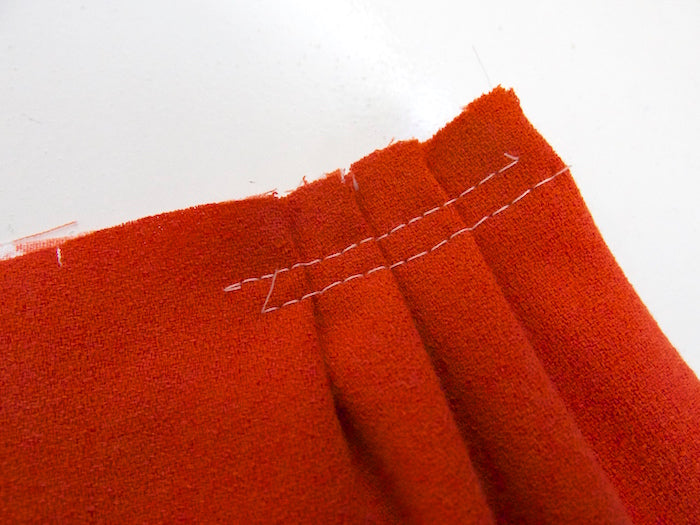
Lay the skirt front upper layer over the skirt front under layer and baste the centre front, matching the centre front notches and the two hemmed waistline edges with the darts.
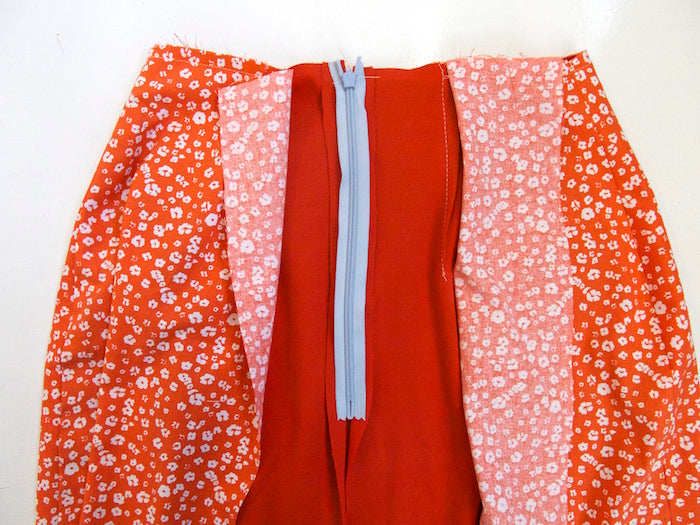
Insert your invisible zipper, taking care to join it to the main fabric only, leaving the lining fabric free at the centre back.
Now for the sneaky part... To make a skirt that has absolutely no visible seams or raw edges from the inside, we're going to close the back seam below the zipper of both the skirt shell and lining in one fell swoop.
From the inside of your skirt, peel back the lining to reveal your zipper and open back seam.
Pinch the open back seam of your skirt shell - right sides together - and start pinning from the end of the zipper until you get to the hem.

When you get to the hem, you'll see that you can, in fact, carry on pinning the back seam of the skirt's lining from the hem up to where the zipper ends. If you're unsure of this point on the lining, simply measure how far up from the hem the zipper ends on the skirt shell, and mark this same point on the back seam of the lining.

Using your regular zipper foot, stitch with your usual 5/8" or 15mm seam allowance from the end of the zipper down to the hem and up the back seam of the lining, stopping when you get to the point marked as where the zipper should end.
Press this seam open and turn your skirt to the right side.

Whack on a waistband, folding and pressing in the seam allowance along the inside of your waistband, pinning it into place as you go. Also press and pin the loose seam allowance of your skirt lining where it meets the zipper. Careful not to pin the lining too close to the zipper teeth or it'll get stuck as the zipper pull goes up and down!
Thread up a hand sewing needle and blind stitch by hand the inside of the waistband and the lining to the zipper.


If it's a whole Kim Dress that you're fully lining, at this point you would be blind stitching the seam allowance of the bodice lining to the skirt lining as opposed to the waistband.


If you find that your Kim skirt is a bit too, ummmm, flashy if you know what I mean, you could secure the wrap front opening either with a few hooks & eyes, or by blind stitching the upper layer down to the under layer - which is what I usually do.
-
Elisalex de Castro Peake

Comments on this post (1)
Just what I was looking for thank you so much!
I have been puzzling over to line a wrap skirt like this for some time and ended up searching the Internet.
I should’ve come to you first!
— Pam Farmer