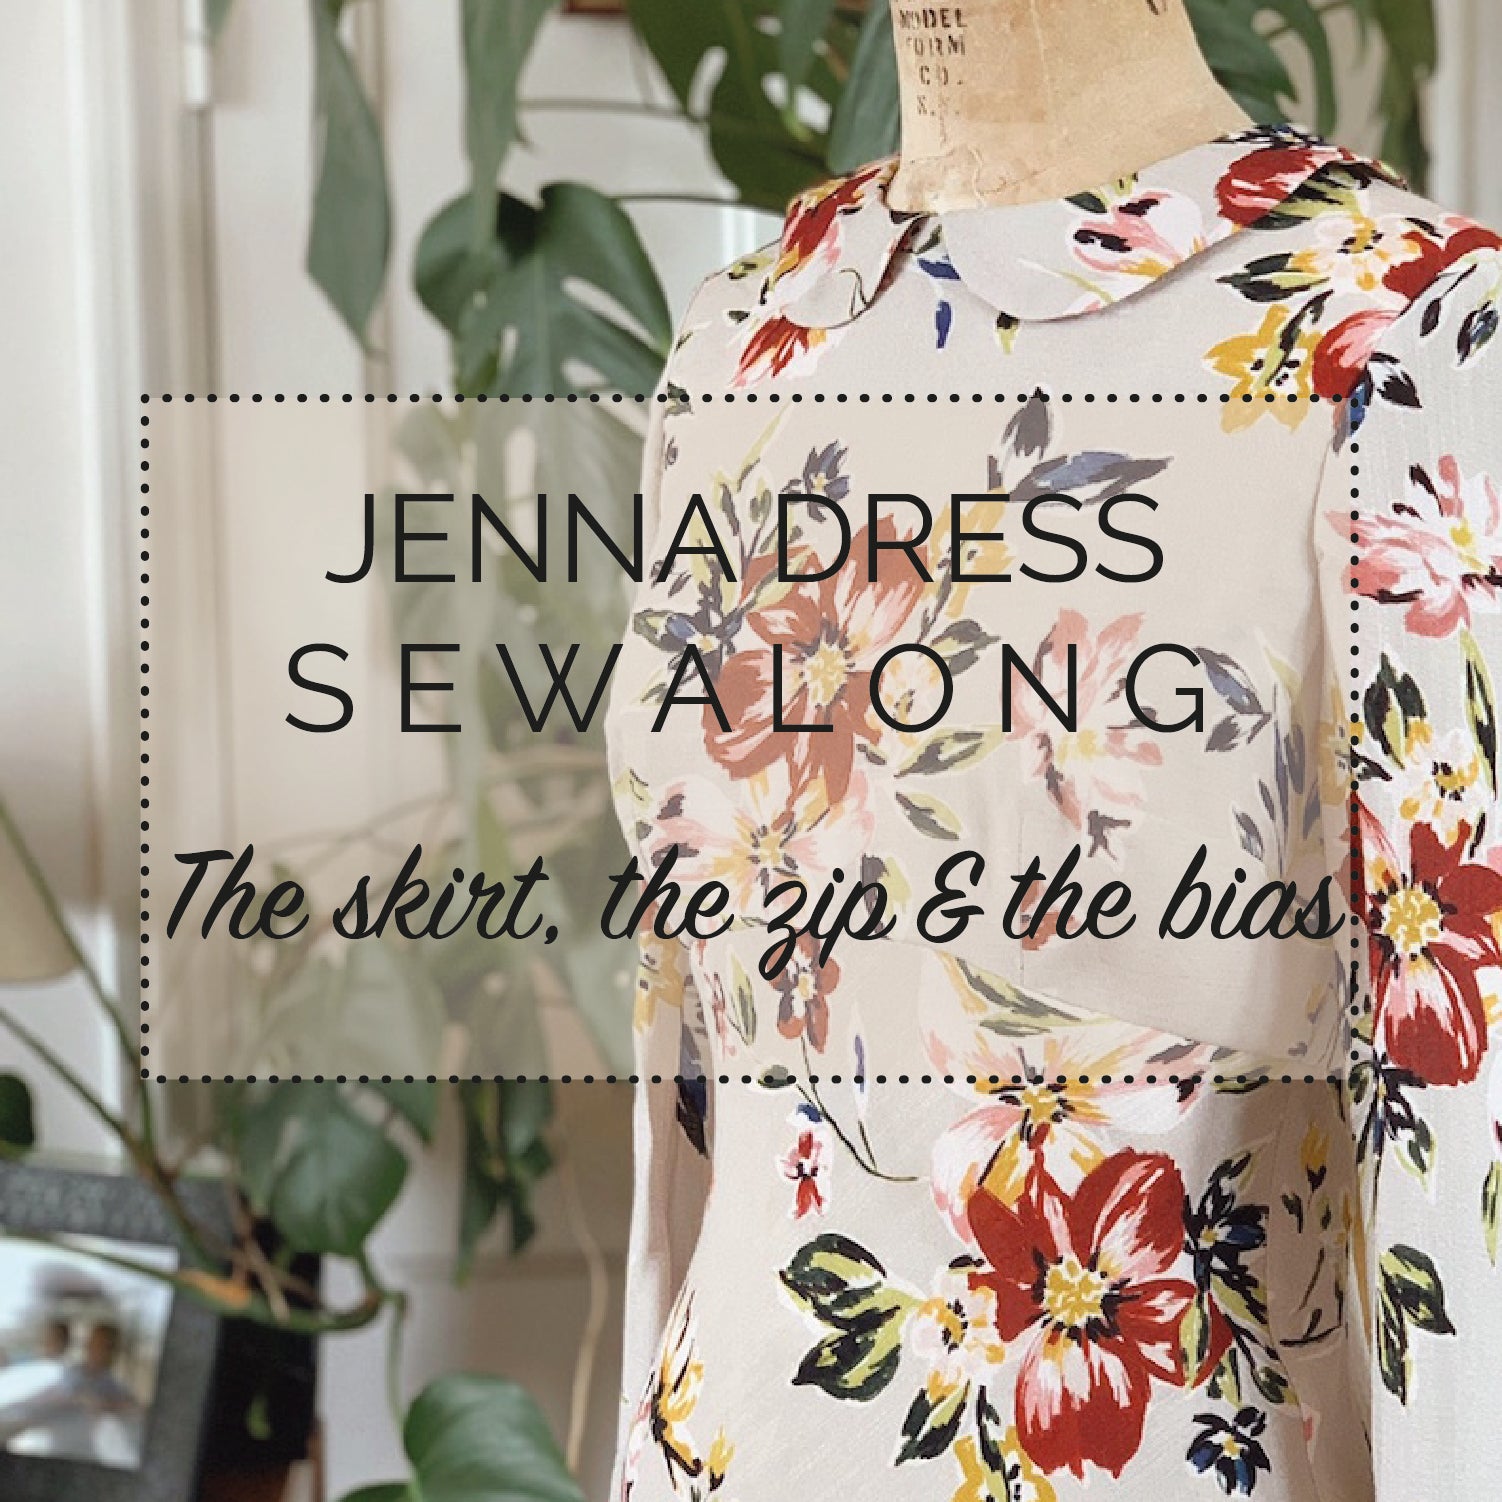
We've come to the final post in the Jenna sewalong and very soon we'll be frolicking around in our brand new Jenna dresses! Today we're all about the bias...
*To be taken to all the posts in the Jenna Dress sewalong, please click here!*
Working with shifty and drapey fabrics can be tough enough, but add the extra challenge of said shifty fabric being cut on the bias, and you've got a recipe for potential sewing mayhem! The key, as ever with anything fiddly, is to take it slow, practice with the following tips and tricks in mind and don't worry if it takes more than one attempt to get things right.
First things first, if you find sewing with silky or drapey fabrics a bit of a nightmare, have a read through this post we wrote for a bumper list of advice and helpful hacks.
Assembling the Jenna skirt
Now that we have our bodices all sewn up - check out our sewalong posts for Jenna Variation 1 and Variation 2 if you need to backtrack - it's time to assemble the bias cut skirt.
Stitch your seams with a stretch stitch
Giving your seams the same treatment you would a knit fabric can help maintain the fluid look of a bias cut dress or skirt by giving the seams that little bit of extra 'give' that the bias cut fibres crave. Our favourite stretch stitch is the small lightning bolt shaped stitch, but a small zigzag will work just as well.

Resist the urge to overlock the seam allowances
It may be the most efficient way to neaten your seam allowances, but overlocking can mess with the fall of the skirt, resulting in seams that look wavy or tight. If you must overlock your seams, make sure that you cut some scraps of your fabric - on the bias! - so you can practice and get the tension on your overlocker just right.
The good news is that fabric cut on the bias is way less prone to fraying than fabric that is cut on the grainline. The dress we're making from the leopard print viscose twill (from New Craft House) is so clean and stable on the bias that all we had to do was press the side seams open:

The floral viscose crepe (from Fabric Godmother) we're using for Variation 1 however, has a slightly more open weave and therefore needs more than just a good press.
Once you've sewn the side seam with your small zigzag or lightning bolt stitch, press the seam - not open or to one side yet, just as you fed it through the machine - to set the stitches. Next, with both layers of the seam allowance together, sew a second line of larger zigzag stitches close to the original seam.

Trim the excess seam allowance about 1/8" or 2-3mm from the second line of zigzag stitches.

Now press the seams towards the skirt back.
Joining the skirt to the bodice
With right sides together, pin your skirt to the bodice at the waistline matching side seams, centre fronts and the open centre back. Stitch with the usual 5/8" or 15mm seam allowance, finish the seam as you normally would and press it up into the bodice.
Since we're using a lovely silk jersey to line our bodices, we stitched both the main fabric and lining as one to the skirt.

If you're using a woven fabric to line your bodice (as is more traditional!), and you don't want to see that waistline seam, stitch the skirt to the bodice's main fabric only, and then when you come to finish your dress you can press the unstitched waistline edge of the lining in and hand sew it to the waistline, thereby hiding the seam.
Inserting the invisible zipper
If you're new to inserting invisible zippers, please start by reading our tutorial here. And practice! Inserting an invisible zipper into a bias seam is no different, but it is trickier to get a smooth finish, so there are a few extra measures we can take to help tame the fabric...!
Our very first tip would be to go for a shorter zip that ends around the point of your natural waist; about an inch or two below the Jenna dress' Empire waistline. Choosing a zipper that ends at the waist instead of the seat avoids the end of the zipper poking out and causing a bumpy/wavy back seam which really should be skimming (seemingly) effortlessly over your bottom! This only works if you can get your dress on over your shoulders with a zip that only opens to the waist. You can check this by trying on a similar dress with the back zip only opened to the waist. Or you could baste the centre back seam of your Jenna and check that way if you don't have anything suitable to try.
1. Interface the raw edges of the centre back seam. By fusing a strip of a lightweight woven interfacing down the centre back, the bias cut edge is less likely to stretch out as you're stitching the zipper.

2. Use Wonder Tape instead of pins. Wonder Tape is a narrow double sided tape that dissolves in the wash, making it insanely useful for sewing! Stick a strip of the tape down the centre back, remove the backing and simply stitch your zipper tape into place ready to be sewn!

3. Using a regular zipper foot, baste the zipper tape into place before you commit to setting your zipper in right up close to the zipper teeth. That way you can quickly check the positioning and fit before locking it in.
4. This trick will help you to achieve that perfectly aligned waistline-zipper seam intersection, on any project! Once you've sewn the first side of the zipper tape, do the zip up and place a pin in the unstitched side of the zip horizontally to mark the waistline:

Undo the zip, flip your unstitched zipper tape to the centre back seam on the other side and alight the pin with the waistline:


5. Secure the ends of the zipper to prevent the dreaded zipper "tail". Sew a few stitches at the ends of the zipper securing it to the seam allowances.

6. Close the remainder of the centre back seam with the same stretch stitch you used to sew the side seams. When you're finished, press the seam open and use pinking shears to trim the excess seam allowance. We also like to use a zigzag stitch to secure the zipper tape to the seam allowance:

Hemming your dress
Just like with circle skirts, it's important to the let the bias cut skirt hang out for about 24 hours before you hem it. This will allow gravity to let the bias fibres of the skirt drop so that you can level out the hem before you finish it.
Our favourite way to hem a bias skirt is the quick 'n dirty method! Simply neaten the raw edge with an overlock or zigzag stitch, press the hem in by 1/2" or 12mm and topstitch.

If you don't have an overlocker, or you want to try something a little more fancy, check out our tutorials on how to hem a curved edge or how to sew a narrow hem (ideal of delicate fabrics).
And we're done! We hope you love your new Jenna dress and that you revisit this pattern and sewalong for future makes. We love nothing more than seeing your creations using our patterns, so if you decide to share your Jenna on Instagram, please tag us @byhandlondon, and use the hastags #bhlJenna and #byhandlondon so we can find you.


Huge thanks to the New Craft House and Fabric Godmother for supporting us providing the stunning fabrics for this sewalong!
-
Elisalex de Castro Peake

Comments on this post (0)