One of the fist things that motivated me to learn to sew was the mouth watering possibility that one day, I'd be able to whip up something like this...

Dress by Dolce & Gabbana
I quickly came to realise that even though I was already stitching up a storm of cotton cushion covers and upholstery weight skirts, sewing successfully with very delicate and drapey fabrics was going to be a whole new ballgame. Take a deep breath my friends, this a pretty lengthy post. I've tried to compile the most comprehensive list of tips, tricks and absolute must-do's for working with slippery and drapey fabrics I can muster. And please feel free to chime in in the comments below with your own tried and true techniques!
*These tips & tricks can be applied to any of our sewing patterns that call for drapey fabrics - the Sarah shirt, the Anna dress, the Zeena dress, the Flora dress, the Polly top, the Holly jumpsuit and the Sabrina dress in particular*
First things first... Pre-washing silk
The good news is that a lot of silks these days will be totally fine in the washing machine. That means you can pre-wash your silk - preferably on a gentle cycle, and hang to dry - to get any minor shrinking out of the way before sewing. Pre-washing silk also means that you won't risk staining your fabric with water marks when you come to pressing it later on.
*Always ask advice on whether or not your fabric can go in the washing machine from the salesperson; if they recommend that you dry clean only, then definitely do not pre-wash, and use a pressing cloth instead to avoid the dreaded water marks!*
Pre-washing also rinses away any remnants of dye used to colour the fabric. If you're colour blocking, or using two very different hues for your main fabric and lining for example, you won't want the bolder/darker colour bleeding onto the lighter one, which it just might if you don't prewash. If your fabric is very delicate or you're worried about it going in the machine, just give it a little soak by hand in a tepid bath instead.
Prepping & cutting
This part is often the most frustrating when it comes to working with slippery, unstable fabrics. And to make matters worse, if you screw up the cutting process, you're only going to make the sewing part even harder! We find that it helps enormously to have a little checklist of measures you can take to make prepping and cutting more systematic and straightforward...
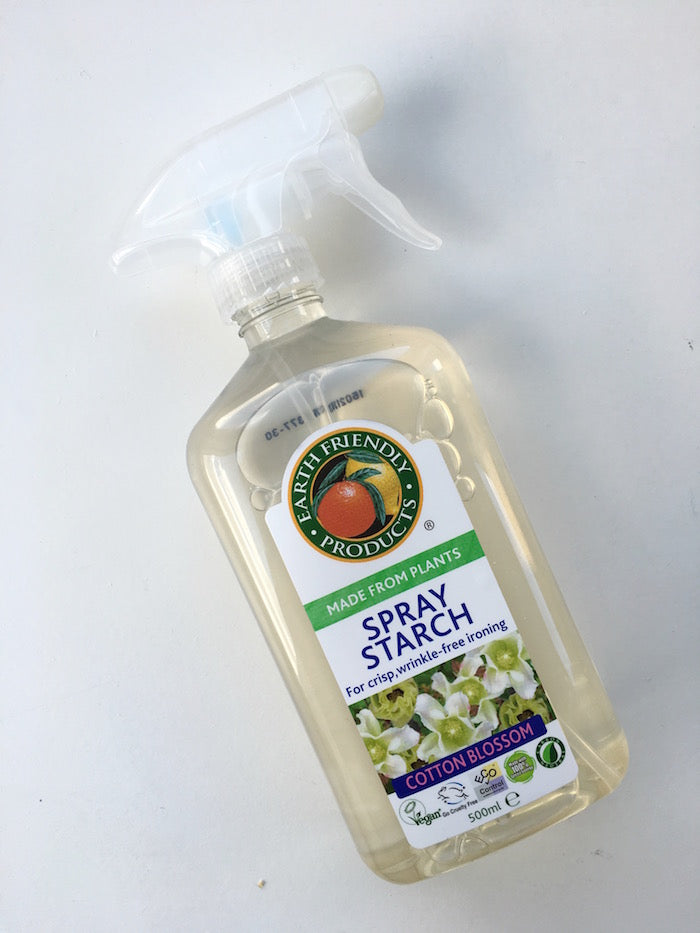
Use spray starch to stabilise - First of all, give your fabric a little spritz with some spray starch. This will temporarily give your fabric a bit more stability and a little less drape, making it easier to lay it out straight and get your pattern pieces into place.
Snip away the scragglers - Trim away all pesky little scraggly threads before you lay out your fabric - if you don't, they will get caught on something at some point and distort all your careful layings out.

Rotary cutter vs. shears - When it comes to working with silks and other drapey, shifty fabrics, we always use a rotary cutter to cut out pattern pieces. Regardless of how slick and sharp your shears are, even the process of slipping the bottom blade under your fabric in order to cut can lift and distort the fabric. Use a self-healing cutting mat to protect your surfaces, pattern weights to keep pattern pieces in place, and make sure that your rotary blade is fresh and sharrrrrrp. However, if you must use fabric scissors, always cut from the left of your pattern paper!

Don't cut off more than you can chew - Don't try to lay out all your pattern pieces at once, especially if you don't have a super long amazing cutting table (and let's face it, you're cutting on the kitchen floor) - we find it much simpler to work in bitesize chunks - cut away enough fabric to fit on just a few of your pattern pieces and go about the cutting process in smaller, more manageable sections.
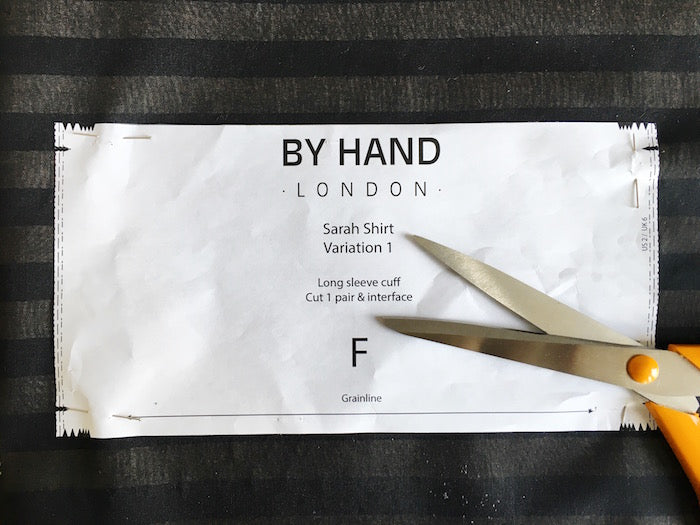
Interface before you cut - If your pattern requires certain pieces to be interfaced, cut away enough of your fabric to fit said pattern pieces on and interface before cutting. Lay out your fusible interfacing, adhesive side up on your ironing board. Lay your fabric, wrong side down onto the interfacing. Press to fuse the two together. I like to press directly onto my main fabric as opposed to the back side of the interfacing so as to avoid getting my iron all clogged up with melted interfacing adhesive. Once your fabric has been interfaced, it'll be way easier to cut out those pattern pieces (which are often the smaller, more tricksy pieces like collars) accurately.

Secure your selvedges - In order to keep your grainline perfectly straight, fold your fabric in half lengthways and pin the selvedges together to prevent it from shifting around. We also find it super helpful to line up the fold of the fabric with something straight - a metre stick or floorboard groove always do the trick! Or, for exxxxtra security, you could even masking tape your fabric down at the selvedges and top and bottom raw edges (not the fold).

Silk pins! - If your fabric is particularly fine and delicate, you may find that your regular pins leave an annoying hole... Silk pins are extra long and sharp and fine, and therefore leave the least possible evidence of their having been there behind! Alternatively, always pin your fabric within the seam allowance to prevent pin pricks from showing on your finished garment.

Slippery sewing...
Hopefully if you've taken the above advice in the prepping and cutting of your slippery fabric, things should continue to move fairly smoothly during the sewing process. Pattern pieces should be stable-ish, accurately cut on the grainline and with nice and smoothly cut edges (as opposed to those annoying jaggedy ones when your fabric keeps shifting and you just can't seem to cut an even edge... Grrrrrrr!).
Make sure your sewing machine is equipped with the right needle - I can't even begin to stress how important this part is!! Even if you've decided to bypass the rotary cutter and silk pins, if you try to sew a fine fabric with a universal machine needle, you're just going to end up pulling your hair out and dashing your machine through the nearest window. Trust me. For fine and delicate fabrics, you'll need to get yourself some slim and sharp needles. I like size 60-70 'Sharps', but any good haberdashery will be able to help you choose the right needles for your fabric (and this goes for all fabrics by the way - you certainly can't be sewing canvas with your silk needles or they'll just snap!). Always have a little sew on a piece of scrap fabric (the same as your main fabric) to test out your needle and tension before you start.

Hand baste before machining - If the right side of your fabric is very shiny, getting the edges to stay put while you're trying to sew can be enough to send you round the bend, no mater how many pins you've shoved in! Similar to when you're sewing with velvet, basting your seams by hand before you hit the machine can make a world of difference. Time consuming for sure, but you'll end up with accurately sewn seams, and most of your sanity intact.
Go French - Slippery fabrics such as silk and rayon can be very prone to fraying. Fraying seam allowances are not only unsightly, but also compromise the longevity of your seams. For this reason, and because they're so beautiful, I always sew slippery fabric with French seams. Raw, fraying edges are encased within the seam, never to be seen again (woo hoo!) and the double stitched nature of a French seam results in a stronger, more durable seam.

Using a pressing cloth - If you're worried about pressing directly onto your fabric, use a pressing cloth to protect it from water marks or the dreaded limescale iron spew! A pressing cloth is simply a scrap of fabric - ideally silk organza due to its strength, ability to withstand high heat and sheerness so you can see what you're pressing through it - that goes between your iron and your garment in order to protect it. We love this post by Karen of Did You Make That? which explains why you need a pressing cloth, and how to make yourself a cute one for keeps.
***
Phew! Once you've digested all that there is, or can be, to consider when sewing with shifty fabrics, I hope you'll find this monster list of tips and tricks useful. The absolute most useful tool at your disposal however, is patience. Corny, I know, but it's true. Like all things, it's about consistent practice and a lorra lorra patience, and before you know it, you'll be sewing floaty fabrics like a pro!
-
Elisalex de Castro Peake

Comments on this post (16)
Thanks for sharing all this.
I second the tip to use a straight stitch foot and needle plate if your machine has one. It’s a game changer for fine fabrics.
— Catherine
this is very helpful post . I want to know your other information . thank’s
Best Dress Idea
— Mybtysun
Thank you for this valuable advice! My silk project is almost making me depressed and tormented, as the more I find out, the harder it seems. But your the ending comment on patience (and practice) really calmed me down a bit :D
— Helen F
Great tips! I am about to make a Christmas tree skirt with a variety of silks and the interface before cut I thought of just before starting. This conformed that instinct and let me know about French seams which will be fine for this application. Thank you!
— Megan Fedders
Wonderful. Just got introduced to you webpage and I am enjoying every minute of it. Very helpful and clear instructions. Thank you.
— Joybelle
Fabulous tips – thank you.
— Bridget Convey
This was really useful, I always have a problem with my seams crinkling up when i sew my gorgeous flouncy floaty materials, I guess this would be solved by changing the foot to a walking foot? How do they work, I haven’t used one yet! p.s I have just discovered your site and I love it!
— Delyss
If your woven fabric is getting stuck in your feed dogs of your machine, cut some strips of 1" wax paper and pin it to the side of your seam that comes in contact with the feed dogs. Tear the wax paper off after you sew the seam. Scotch tape can be used to cover areas on your machine that seems to snag the fabric.
— Venie
You can also lay a piece of paper under your fabric when pinning (I use a roll of masking paper that I buy in the hardware section). It will hold the fabric in place and you can cut without slippage. This also works with lightweight jersey knits.
— Eva Lynn
You had me at starch spray! What is a walking foot?
Thanks, so much!
— julie maclean
Oh my goodness you just changed my life with the “interface before cutting” tip. Brilliant!
— Dawn
Great tips, thanks! I never thought of using the rotary cutter for other than patchwork. Will try that next time. Interfacing before cutting also sounds brilliant.
I always hand baste my seams, all of them – no matter if the fabric is slippery or not. It is not THAT time consuming, and it probably saves time in the long run. And it certainly saves me a lot of frustrations and ensures better results. Sewing should be fun, not frustrating! I use a real basting thread (can be hard to find, there’s a good one by Amann) instead of using regular thread. Never go down on special equipment!
— Tine
Use the straight stitch needle plate and foot on your machine. It gives the fabric so much more support from underneath rather than the big zig zag plate hole. Since you’re only using a straight stitch for those French seams, it really helps.
— Linda
Lots of great tips in this post (like cutting from the left side of the pattern!). Thank you.
— Karen
I always use a walking foot when sewing with silk.
— Kate
Great post!
Thanks for the tips. Silk can terrifying!
(One more I learned from Tessuti is to use tearable Vilene to stabilise curves. )
— Sara