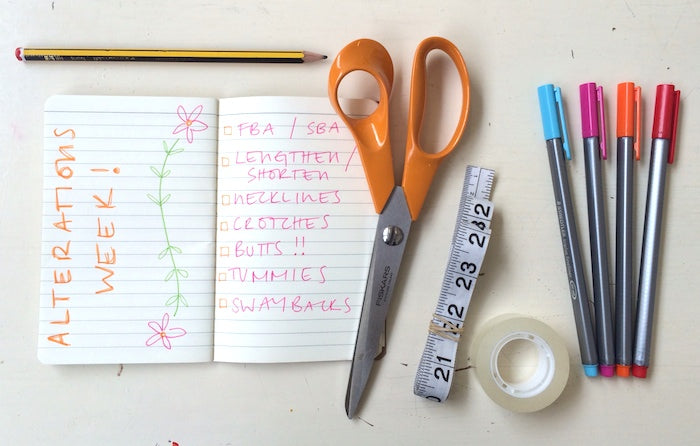
Hellooooo and welcome to Alterations Week for the Holly Jumpsuit Sewalong! During Alterations Week we will be going through as many pattern alteration tutorials as we can physically crush in, making this our most comprehensive Sewalong yet! The extra great news is that a lot of these tutorials will be applicable not only to the Holly Jumpsuit, but to a huge amount of other patterns too as we tackle most of the common issues surrounding pattern fitting.
*To be taken to all the posts in the Holly Jumpsuit Sewalong, please click here!*
In this tutorial, we'll be going through one of the most common pattern fitting issues we've come across - back necklines that are too gapey or too tight. If you're new to dressmaking, I wouldn't be surprised if the width/slope of your shoulders is just about the last things you've thought to consider! And truth be told, it's almost impossible to predict how a dress/top will fit at the neckline until you've made a toile.
What you'll need:
- Your traced Bodice Back piece of the Holly Jumpsuit (Variation 1, cut out in the size dictated by your waistline measurement). We will only be applying this adjustment to the button-down bodice of Variation 1, as the cowl bodice does not have the type of neckline that would benefit from this technique**
- Ruler
- Pens
- Paper scissors (not the fabric shears!)
- Extra paper
- Tape
Please note: We are using itty bitty replica's of the pattern pieces to illustrate the alterations as simply and clearly as possible - please make sure that you alter your real-life pattern pieces, complete with notches, pattern info and grainlines!
How to fix a gapey back neckline
Step 1
Diagnosis - how do I know if my back neckline is gaping? A gapey back is not hard to spot! Look in the mirror and check out your back. Is the neckline falling away from your back? Do your shoulders and back have way too much room? Are the shoulders falling off? These are all tell-tale signs that you need to fix a gapey back neckline.

First things first, we need to figure out how much we need to reduce the bodice back by. This is where making up a toile comes in super handy - you will literally be able to pinch out the excess equally on either side of your centre back and then figure out by how much you'll need to reduce the back neckline by (and it really helps to either have a friend to help you with this part!).
Step 2
Let's imagine that we pinched out an inch on either side of the centre back. That'll be a total reduction of the back neckline of 2".
Take your traced and cut bodice back piece and mark out an inch along the neckline, to the right of the dart.

Step 3
Now, just as you pinched out the excess fabric on your toile, we're going to pinch out the unwanted excess on the paper pattern, bringing the pen marks to meet one another:

Pinch and fold the paper evenly down, stopping before you hit the waistline - which we don't want to make smaller! Tape the fold securely and smoothly into place. If your neckline curve is uneven as a result, simply re-draw it.

How to fix a tight back neckline
Step 1
Diagnosis - how do I know if my back neckline is too tight? If you have a particularly broad or muscular back, or your toile feels too tight around the armholes, then this adjustment is probably for you!

Again, we first need to figure out by how much we need to increase the ease in the back by, and this is made possible by making up a toile (and it really helps to either have a friend to help you with this part!). Snip into the neckline either side of the centre back, slashing about 2" into your dress. By opening up the neckline, you'll see by how much you need to increase the neckline by to fit you better.
Step 2
Take your bodice back piece and using a ruler and the image below as a guide, draw a reverse 'L' shape from the neckline out to the side seam, just under the armhole. Make sure that the horizontal line doesn't intersect with the dart.

Step 3
Cut along these lines so you have something like this:

Step 4
Place your bodice back pieces onto a spare piece of paper and tape down the bottom part of the bodice (the part with the dart). Now you can carefully and accurately position the top part slightly to the left, thereby opening up the vertical slash line by however much you need to increase the ease in your bodice back. Tape it all down. Re-draw the side seam and the curve of the neckline (shown in red below) and cut out your new bodice back piece. You're all done!

Tip from the top: Always check your adjustment by making another toile to check the fit. Once you're happy with your newly adjusted pattern, copy it out onto some card for extra safe-keeping! Although this is an easy adjustment to make, no one wants to have to do it twice...
Ok homies, so today we've learnt how to lengthen & shorten our bodices, and how to fix gapey & tight backs. Tomorrow it's all about the boobies!
**If you find that your Variation 2 cowl bodice is gapey or tight along the neckline, it is probably an issue with the bust. You may need a Full Bust Adjustment or a Small Bust Adjustment (tutorials coming imminently!).
-
Elisalex de Castro Peake

Comments on this post (6)
Hi Katie, These are two seperate adjustments, one for gaping and one for tightness. You should not have to do anything to the armhole. Jessica BHL
— Jessica
So, if you snip the triangle out of the top center back and the armholes are still tight, should you go beyond the 2", or make the armholes bigger?
— Katie
Hi Shelley, fitting is definitely a case of hit and miss and different solutions will work for different people. If you find that pinching a bit out of the shoulder fixes the gape, then go with it – try adding a little dart there to remove the unwanted excess. Hope this helps!
— Elisalex - By Hand London
Hi I am making your – Pattern Hacking Flora Wrap Top for my daughter. I have made a size 6 just out of calico as a test and every thing fits perfectly except the back gaps quite a bit but only at the very top of the back bodice. When I pinch the shoulders up it stops the gaping, so I was considering just taking 1cm off the front and the back shoulder straps, until I googled this post! Can I adjust it at the shoulders? Do you foresee any problem with adjusting it this way or is it best to make the alternation as per your instructions?
Thanks !
Shelley
— Shelley Burton
But when you have increased the back length width, you have also moved the Neck Point, affecting the front part.
— Preeta Heeralall
Going to start tracing my pattern tonight. Will make a toile, but your patterns seem to fit me so well. I only need to shorten the bodice on both the Flora and Anna dress pattern. And shorten the skirt of the Anna by a huge amount ! Looking forward to altering the trouser part of this baby!
— Karen