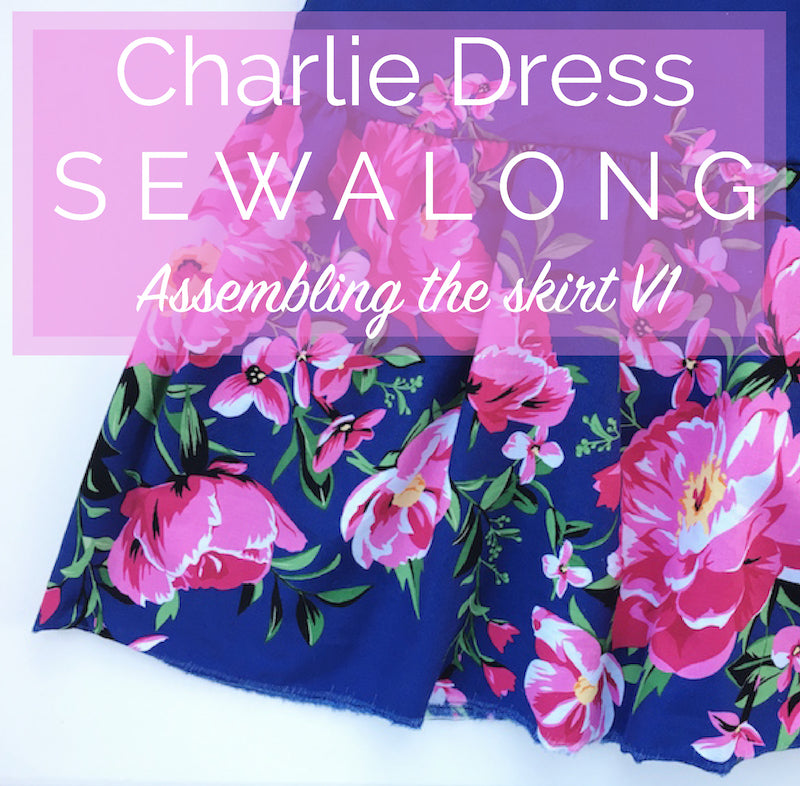
Yoo hoo Sewalongers! It's skirt city this weekend and we're kicking things off with the pretty peasant-style tiered number of Variation 1...
*Click here to be taken to all the posts in the Charlie Dress Sewalong!*
- Stitching the righthand side seam
- Gathering the waistline and joining it to the bodice
- Gathering the frill and joining it to the skirt
Side seam
First things first, let's join the skirt back to the skirt front at the righthand side seam, right sides together. Make sure that the waistline and hemline are flush.

Stitch with your usual 5/8" or 15mm seam allowance, and press open. If you are overlocking/serging your seams, go ahead and do that now, if not, have you checked out our tutorial on how to finish your seams using the bound Hong Kong technique??

Gathering the waistline
We're using a lovely Michael Miller quilting cotton for this variation, which is possibly the easiest type of fabric to work with, so we're going to gather the waistline by running two rows of parallel machine basting stitches 1/4" and 3/4" from the waistline's raw edge, backstitching at the beginning but not at the end.

If your fabric is slightly heavier, or more delicate, you may want to consider gathering the waistline by hand instead - check out this post from the Kim Dress Sewalong for how-to.
Starting at the un-backstitched end, gently and evenly pull on your bobbin threads to gather the waistline...

Continue like this until you have gathered the entire waistline, and it matches the waistline of the bodice. Secure the threads by tying them off and distribute the gathers so that they are evenly spaced throughout the width of the skirt.

Take your bodice and lay it over your skirt so that right sides are facing and start pinning the waistlines into place. Match the side seams and take care not to distort your gathers as you go.

With your gathered skirt waistline layer on the bottom and your bodice layer on the top, stitch your waistline - the feed dogs will guide your gathers through without bunching them up while the foot glides over the smooth flat bodice.
Finish the excess seam allowance and gently press the waist seam up into the bodice from the wrong side of your fabric - never press gathers from the right side!! Remove any visible basting stitches.


The frill
If you have had to cut your frill from multiple lengths, sew the short ends now to create one long length of fabric. Press seams open and finish.
Identify which raw length is to be the hem and which is to be gathered and joined to the skirt. Gather your frill and stitch it to the skirt's hem in the same way as we did the waistline.


And we're done for today! If you've been using an overlocker/serger to finish your seams, it's a good idea to finish the open side seam now before we come to inserting the zipper (waaaay too tricky to overlock with a zipper in the way!) - just be very careful not to trim any of the seam allowance away!

Next up: It's the home stretch as we insert our invisible zipper, hem our dresses and.... That's it!
-
Elisalex de Castro Peake

Comments on this post (0)