Yoo hoo Sewalongers! It's skirt city this weekend and those of you sewing Variation 2 have got it really easy - pretty much only two steps for you! Can we tempt you to whip up a bonus stand-alone Charlie skirt in all the time you'll be saving...?
*Click here to be taken to all the posts in the Charlie Dress Sewalong!*
- Stitching the righthand side seam
- Joining the skirt to the bodice at the waistline
Side seam
First things first, let's join the skirt back to the skirt front at the righthand side seam, right sides together. Make sure that the waistline and hemline are flush.

Stitch with your usual 5/8" or 15mm seam allowance, and press open. If you are overlocking/serging your seams, go ahead and do that now, if not, have you checked out our tutorial on how to finish your seams using the bound Hong Kong technique??

Joining your skirt to the bodice
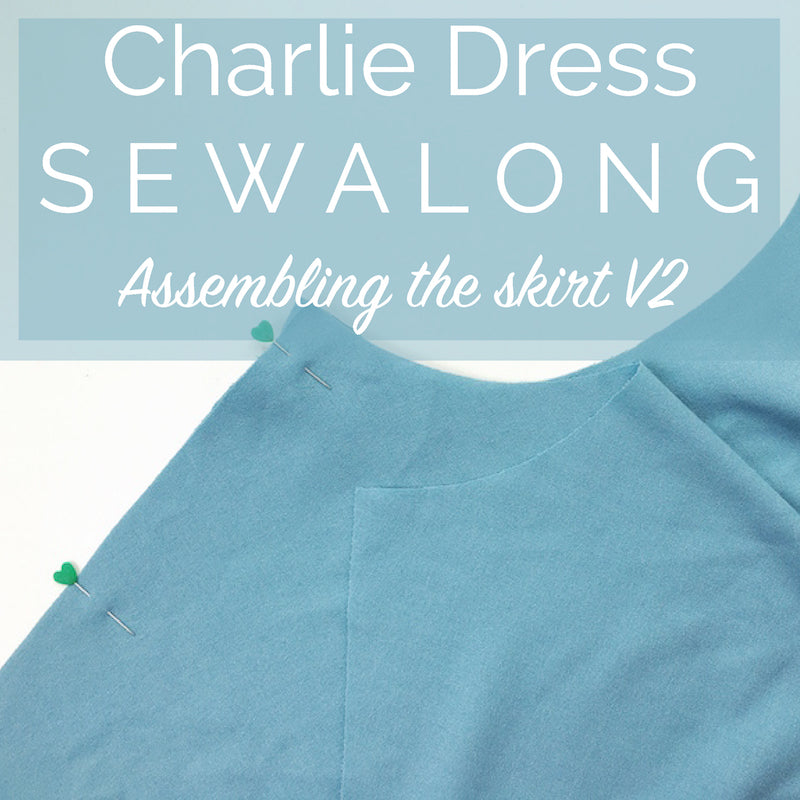
Take your bodice and lay it over your skirt, right sides together. Pin into place, taking care to match the side seams and gently easing any fullness at the curves if necessary.

Stitch your waistline, snip into the curved seam allowance to release any tension and finish. Press the seam up into the bodice.

And we're done for today! If you've been using an overlocker/serger to finish your seams, it's a good idea to finish the open side seam now before we come to inserting the zipper (waaaay too tricky to overlock with a zipper in the way!) - just be very careful not to trim any of the seam allowance away!

Next up: It's the home stretch as we insert our invisible zipper, hem our dresses and.... That's it!
-
Elisalex de Castro Peake

Comments on this post (0)