This is it guys, the home stretch. After today's final sewalong post your Eloise dress will be done, dusted and ready for action...
**To be taken to all the posts in the Eloise Sewalong, please click here**
In this post we will be:
- Hemming the frills
- Sewing the button closure on
- Assembling the belt

HEMMING
Before we start hemming the frills (same process for the skirt and sleeves), I just want to mention the hemming of the shift dress variation without the hem frill - I haven't forgotten about you guys! Finishing off the straight hem of the shift dress is simply a case of folding and pressing the hem in twice and topstitching it in place. Make sure that you try your dress on before hemming so you can get the right length for you. If you're having trouble hemming, or would like to experiment with alternative hem techniques, check out this post we wrote for the Charlotte skirt sewalong which has lots of straight hem info!
As we mentioned in the last post, the hem frill (and the sleeve frills) are cut circularly, so we're dealing with a curved hem, which can be a little trickier to manipulate than a straight hem. Luckily, there are quite a few different ways to tackle a curved hem, so it's really just a case of trying them out and seeing which technique you prefer. Please see the following tutorials...
How to sew a narrow hem (for curves and/or delicate fabrics)
Before you start hemming, remember to check if you need to even out the hem after having left it to drop overnight - the sections of the frill on the bias may now be drooping a little lower than those on the straight so you may need to trim the hem to straighten it out. It's also crucial to try your dress on before you hem so you can check the length!
For our Eloises, we're going to be overlocking the raw edge, pressing it in once by 3/8" or 10mm and topstitching 1/4" or 6mm from the fold of the hem:

SEWING ON THE BUTTON
No need to go into detail here, as I'm assuming that all of you reading this have sewn on a button before, or at least know how to go about it! We recommend that you choose a shank button - the kind that is sewn on by a little loop on the back of it - as opposed to a flat button (with two or four holes through it) that you would sew onto a shirt.

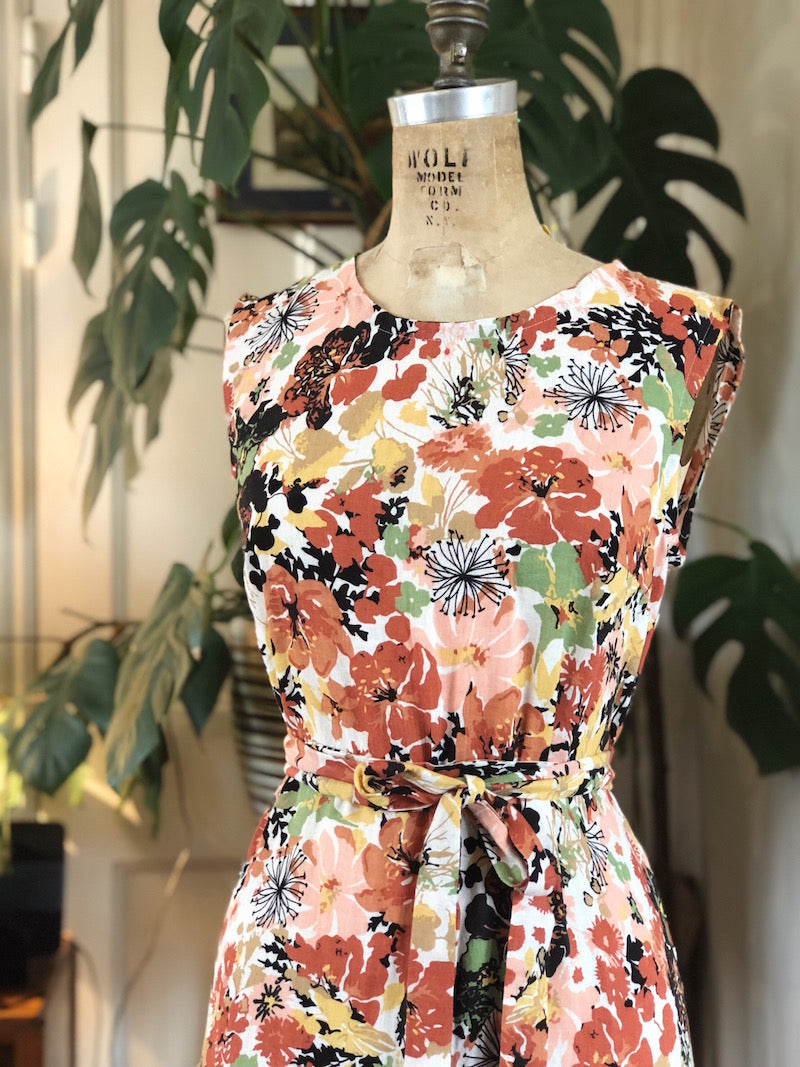
ASSEMBLING THE BELT
Take your long belt piece and fold it in half lengthways. Pin to secure.

We're going to sew the whole length of the belt with right sides together, but we need to leave a gap of a couple of inches so that we can turn the belt back out to the right side:

Grade the seam allowance and clip the points...

...and turn your belt out to the right side and give it a good press. Press the gap you left open and pin it ready for one final little dose of handstitching.

Using a blind slip stitch, close the gap to finish your belt.

Aaaaand you're done!


We hope that this sewalong has been helpful, instruction and inspiring. And most of all, we hope that you love your Eloise dress as much as we do! Please feel free to share your creations with us and the world on social media, tagging us @byhandlondon and using the hashtags #bhlEloise and #byhandlondon.
We can't wait to see what you make!!


-
Elisalex de Castro Peake

Comments on this post (0)