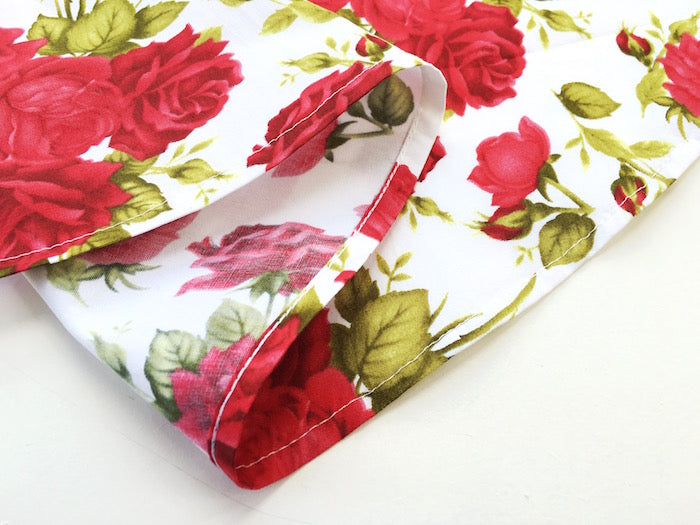
Curved hems can be pesky even at the best of times, but what about when you need to achieve the most flawless, elegant, lightweight hem you ever did see? The answer is an ultra neat and narrow hem...
This technique is simple and straightforward in theory, but requires a few extra steps to get it as accurate and perfect as possible. Mostly great for sheer and delicate fabrics (but the same also applies to heavier, more stable fabrics too) when you want to reduce bulk that would weigh down your hem, or bunch up while trying to ease in the excess around a curve, and wind up with a hem that is both practical and neat as can be.
Step 1
Run a line of wide machine basting stitches 1/4" from the raw edge of your hem. No need to backstitch here - we'll be removing these stitches later.
Step 2
Use that line of basting stitches as a guide along which to fold and press your hemline in.
Step 3
Stitch this first fold into place about 1/8" from the fold.
Step 4
Trim away the excess from the raw edge, getting as close to your stitches as possible, 1/8" away is ideal!
Step 5
Now fold and press the hemline in again, this time about 3/8" from the first fold, or even a scant 1/4" depending on just how narrow you want/your pattern requires your hem to be. Pin into place to secure before stitching...
Step 6
Stitch your hem into place 1/4" from the folded edge, or stitch by hand with a blind slip stitch.
Remove your basting stitches, give your hem one last press, and you're done! Teeny weeny, neat and tidy, no frills hem perfection!


Comments on this post (13)
Nerdy? Why nerdy? I think you should rename this “Ingenious Sewing Tips”.
— Melanie E Krueger
Hi, I haven’t tried this yet but can see how it would work. I make my own circular table cloths, I know this is going to be less faffing about. It’s great to find hints and tips that don’t use those pesky cookies.
Thanks a million.
— Joy
Thank you for your post. It made shortening my evening gown a much easier process and the end result is perfect.
— AlIson
Thanks for this tutorial! On step 3—is this a regular stitch that I leave in, or a basting stitch that I take out?
— Jennifer Mills
I have spent hours trying to get a good hem on large bell sleeves with a deep curve. Just about to ruin the whole of one sleeve when I came across this! Absolutely fantastic and much quicker than the way I was trying to do! Thank you so much!
— Jeanie
Thank you so much for the instructions. I am in the process of making a swing dress for my grand daughter, this will make hemming so much easier!
— Connie
Thank you for this, am currently sewing a ‘Big 4’ garment, and the instructions for the narrow curved hem weren’t very satisfactory. Your technique may be a little more time-consuming but completely worth it; very happy with the results! I found that using very contrasting thread colour for the basting stitches to be helpful as well.
— Carson
Thank you so much for the tutorial. Its one thing I have always had trouble getting to look nice. Especially on fine fabric.
— Susan Ness
This is a great tip. I’ve been sewing for years, but I did not know this. I’ll definitely be using it on my next creation.
— Deborah Brown
Thanks for the great idea—starting to make 18" doll clothes for my sweet g’daughter Lily, and this tutorial will be very helpful.
— Rosietoes
I do my narrow hems this way, but I don’t use basting stitches for the first pass. Claire Schaeffer showed this technique (she said it was from Calvin Klein) and she said that the extra row helps provide a little weighting for the hem, especially in delicate fabrics. Some people call it a baby hem.
— Martina
Great tutorial. Just in time for a project I will be working on.
— Janice Johnson
Very nice tutorial – and lovely fabric!
— Rtrittel