
Yoo hoo Variation 2! It's skirt city this week and today we be pintucking and gathering our merry little hearts out.
*To be taken to all the posts in the Kim Dress Sewalong, please click here!*
- Stitching the side seams
- Assembling the pintucks
- Gathering the waistline
Side seams
First things first, let's join the two skirt backs to the skirt front at the side seams, right sides together. Make sure that all notches align, and that the waistline and hemline are flush.
Stitch with your usual 5/8" or 15mm seam allowance, and press open. If you are overlocking/serging your seams, be careful at this point not to shave away your pintuck notches!

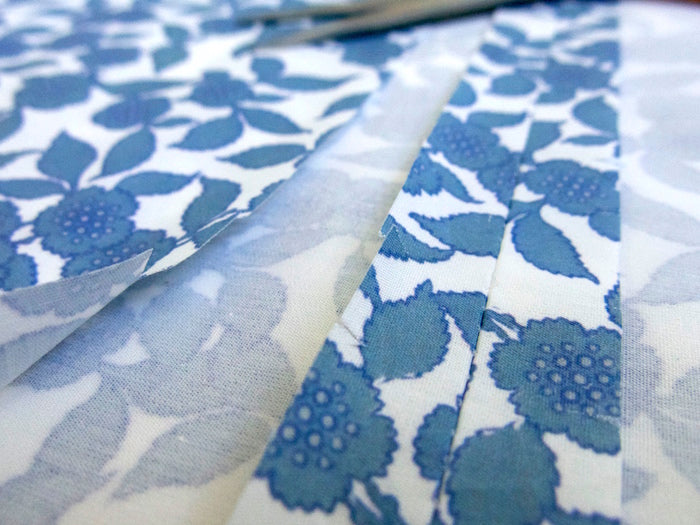
Pretty little pintucks
Pintucks can be a little fiddly at first, but if done slowly and carefully, and especially from a lovely crisp cotton, pintucks are amazingly satisfying and make for a perfectly un-fussy detail to an otherwise plain gathered skirt.
To make the pintucking process more of a breeze, we need to transfer the notches at the side seams to the open back seam edges. Simply bring your raw back seam edges over to meet the side seams so that you can make the same little snips into the seam allowance to mirror those already at the side seams:
To assemble the first pintuck, fold the hem up (so that wrongs sides of the fabric are together) and bring the bottom notch up to meet the notch directly above it. Pin into place, and do this along the entire width of your skirt.

Stitch the pintuck into place along the entire width of the skirt, starting your stitching at the notches that you have just pinned together - 1/4" or 6mm from the fold.
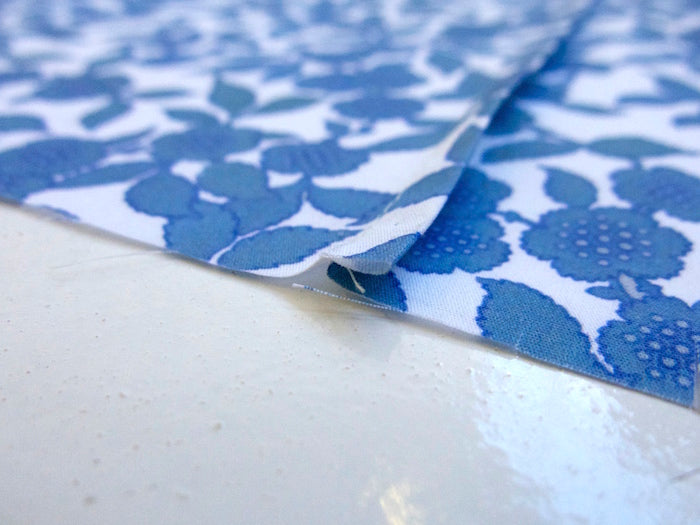
Press the pintuck down towards the hem.
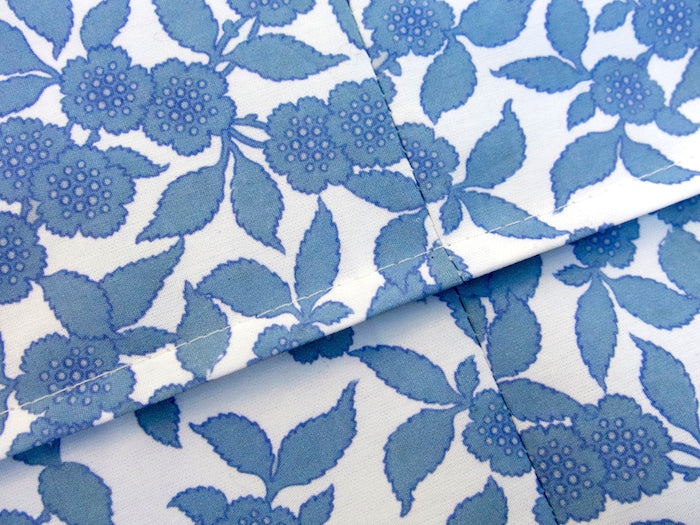
Repeat this process for the remaining two pintucks above.

Gathering the waistline
Thread up two hand sewing needles each with a length of doubled up thread long enough to generously encircle your waistline. I'm going to show you how to gather by hand - which although more fiddly and time consuming (and let's face it, more butchersome on the old thumbs), gives a better result I think. If you'd like to explore some alternatives, check out our tutorial, 3 ways to gather.
We're going to hand sew two parallel rows of running stitch simultaneously, just above and below the seam line (5/8" or 15mm in from the raw edge), and 5/8" or 15mm in from the back seam - this will make things easier when we come to installing the zipper.


As you start running out of thread space as you sew, gather the skirt's waistline by gently pushing the fabric up towards the knotted ends of the threads.
Continue like this until you have gathered the entire waistline, and it matches the waistline of the bodice. Secure the threads by tying them off and distribute the gathers so that they are evenly spaced throughout the width of the skirt.
With our skirts tucked and gathered, they are now ready to be joined to the bodice at the waistline! I'll be back very soon with your next instalment of the Kim Dress Sewalong, and in the meantime, keep an eye out for a bonus post or two coming this way...
-
Elisalex de Castro Peake

Comments on this post (2)
Hi Emma,
I would definitely recommend cutting a half circle skirt for your lining as opposed to two layers of gathers!
E x
— Elisalex
Hi, I need to line my skirt, would I gather the skirt and lining separately, or together, I’m worried the skirt will look to bulky at the waist, any help would be very much appreciated.
— Emma