Aloha Variation 1-ers! Time to get all slinky malinky today and sew up some skirts...
*To be taken to all the posts in the Kim Dress Sewalong, please click here!*
Today we will be:
- Stay stitching the curved skirt fronts
- Sewing the waistline darts
- Assembling the pleats
- Basting the centre front
- Closing the side seams
*A word about skirt linings*
Fully lining your Kim Dress is easy as pie, and will make for a truly flawless finish - no need to worry about flashing an unsightly seam!
However, unlike some of our other dress patterns for which adding a lining simply involves making up another identical skirt in your lining fabric and joining it to the bodice lining at the waistline, for the Kim Dress variation 1, the process is slightly different. To avoid things getting a bit higgeldy piggeldy in this post, I will be showing you how to fully line your Kim wraps in a separate post coming very soon, so watch this space...
Stay stitching
Just as we stay stitched the curved and sweetheart necklines of the bodice in our last post, we need to apply the same treatment to the curved fronts of the faux-wrap skirt of Variation 1. However, where we stay stitched 3/8" or 10mm from the raw edge of the neckline, we're going to stay stitch just a scant 1/4" or 6mm from the raw edges of the wrap skirt. Why? We have included a dainty 1/2" hemming allowance on the wrap skirt of this dress, so by stay stitching 1/4" in from the raw edge, that will not only prevent the curve from stretching or becoming distorted, but will also provide us with a convenient pressing guide when we come hemming the skirt later on. Double whammy!


Darts
Now that we've stabilised the curves, time to start shaping the waistline...

Assuming you've transferred all your dart markings like we did in this post, pinch one of your darts, right sides together matching waistline notches. Pin your dart into place.

Stitch your dart from the waistline to the dart's vanishing point in a nice smooth line. Remember to backstitch at the start of your sewing, but not at the end - instead tied off your threads with a secure double knot.

Press all darts towards the side seams.

Assembling your pleats
To assemble the drapey little knife pleats on the skirt front (upper layer) we first need to identify which notches are coming into play - ignore the notch closest to your dart, that is your centre front notch. Also ignore the notch closest to the raw wrap edge, this indicates your hemming allowance.
You should have 6 little notches in between. From the centre front - bring the first notch over to meet the notch next to it on the right, pin into place - your first pleat. Bring the next notch over to meet the notch immediately to the right, pin into place - your second pleat. Do this one more time so that you have three little knife pleats pinned into place:

Baste your pleats into place about 3/8" or 10mm from the raw edge so that your basting stitches don't show when you come to joining the skirt to the bodice at the waistline with your usual 5/8" seam allowance.
Give them a little press.

Prep your hem
Before we get to basting the two skirt fronts that wrap over one another at the waistline, we need to get the hem started...
Take one of your skirt front pieces and fold and press the hem closest to the waistline in along the stay stitches. Fold and press it in again by the same amount and pin it into place.
All we need to do now is to stitch the first couple of inches of the hem from the waistline so that when we baste the skirt fronts at the waistline, the parts that wrap over will already be hemmed. Stitch the beginning of your hem however you intend to hem the rest of your dress - either by machine or by hand. Repeat for the other skirt front piece.

Basting the wrap
Take your skirt front under layer and lay it out, right side facing you. Lay your pleated skirt front over the top and pin them together at the waistline, matching the centre front notch, and matching the hemmed wraps with the darts on the other layer. Baste by machine 3/8" or 10mm from the raw edge.


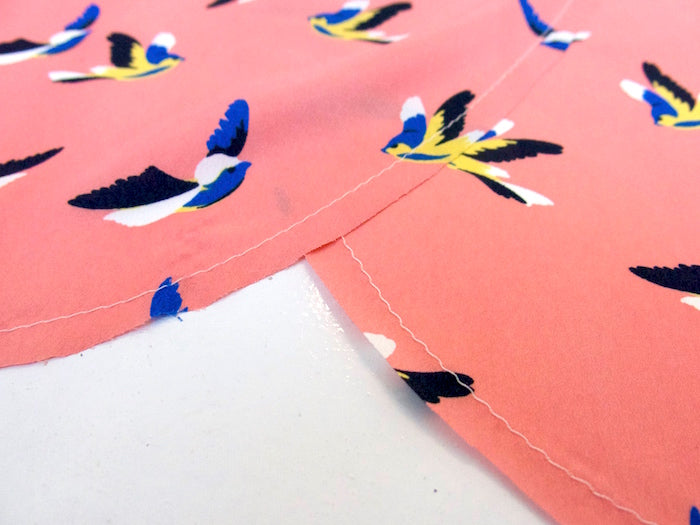
Side seams
Lastly, we need to join the skirt front to the two skirt back pieces at the side seams, right sides together.
Stitch with your usual 5/8" or 15mm seam allowance, press the seams open and finish the excess.

And there you have it. Wrap skirts done, dusted and ready to be joined to the bodice!
-
Elisalex de Castro Peake

Comments on this post (0)