Here we go again guys, it's the first sewalong of 2015! And what a treat of a dress do we have for you, if I do say so myself. It was love at first sketch for me... And ever since the first sample toile, I've made almost nothing but Kim. She's a quick and easy make, but not without a good handful of essential skills and techniques to be learnt along the way. Today we kick off with some talk about fabrics, notions and inspiration...
To make the Kim Dress, you will need the following basics:
- The Kim Dress pattern
- Up to 3.4 metres of your main fabric, although this will vary depending on which variation you choose to make, and the width of your fabric. Please check the back of the Kim Dress folder, or her product page for more details.
- A 16" invisible zipper.
- Other various dressmaking supplies - pins, tape measure, tailor's chalk, fabric scissors, matching thread, an invisible zipper foot, a regular zipper foot, tracing paper, hand sewing needle, hook & eye etc.
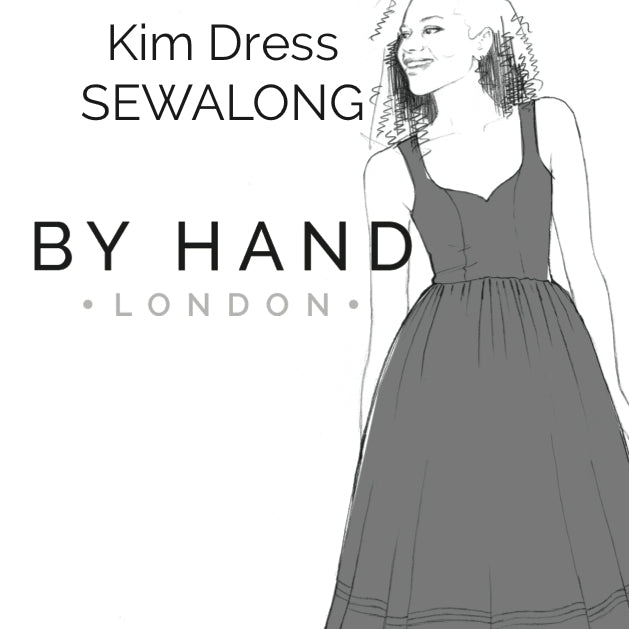
What we're making
Variation 1 - Scoop neck bodice with faux wrap skirt - When I went fabric shopping for this dress, I had every intention of finding a sensible (but elegant) jewel tone wool crêpe. Which would have been lovely. But then I saw this... Drapey swallows on a pink background trumps sensible, right?!

Variation 2 - Sweetheart bodice with full gathered skirt - For this feminine beauty we're dipping into our very own stash and having Patsy print off a few metres of our Evie Blue cotton poplin! We're so excited for this, as this will be the first *official* dress we've made from both our patterns and fabric. Oh, there have been samples and personal makes aplenty, but as it will be part of the sewlong, this one feels really legit.

Let's talk about... Fabric
A smorgasbord of woven fabrics will be suitable for your Kim: cotton lawn and quilting cottons, cotton voile, cotton poplin, seersucker, cotton silk, brocade, jacquard, taffeta, dupion silk, silk satin, silk crêpe, silk habotai, silk noil, wool crêpe, wool tweed, eyelet lace, viscose rayon among others. For the bodice lining we recommend 100% cotton lawn.
The world really is your oyster with Kim, and the list given above and on the pattern itself merely serves as a guide. You could experiment with all sorts - just be sure to make a toile to check that you're happy with the fit before hacking into your main fabric!
My collection of Kims (so far!) range from gingham and floral cotton day dresses to slinky sateen and silk party numbers. Generally speaking, and this just could be my taste, but I tend to make up the gathered skirt variation in more day-appropriate fabrics such as quilting cotton, and save the wrap skirt variation for the more special fabrics - all the while mixing and matching the bodices as I see fit. That's not say however that either variation can't be dressed up or down according to your own preferences. That is, of course, the beauty of making your own!
Let's talk about... Notions
As well as all the usual tools and supplies, you'll be needing a 16" invisible zipper. Make sure your zipper matches your chosen fabric as closely as possible! If this is your first foray into zipper insertion, don't fret!! It's much more straightforward than it may seem, and you can make your life even easier with an invisible zipper foot and a regular zipper for for your machine. The regular zipper foot should have come with your machine, and if not it's a cheap and easy thing to find. For the Kim Dress, we'll be using it to close the back seam, after the zipper has been put in.

Your sewing machine probably won't have come with an invisible zipper foot included, but trust me, it's well worth the investment - they're not massively expensive, around the £5-10 mark, but it is something you will use again and again.

Matching thread. Sounds like an obvious thing to mention, but trust me, very often it's the most obvious things that get forgotten. When buying thread, bring a swatch of your fabric in order to get the best colour match (or clash!), and get more than you think you need. I always buy two big spools when out shopping for a new project - that way I know I won't be running out mid-make, and more often than not I'll have plenty leftover to add to my growing rainbow of thread!

Another obvious thing to mention is needles for your sewing machine. To get the most out of your machine, you need to be using the right size needle for the type of fabric you're working with. Fine needles used on heavy fabrics will break very quickly, while sturdier needles will snag delicate silks as you sew.

Let's talk about... Inspiration
...Or Kimspiration as we've started saying here in the studio!
For me, it doesn't get any better than a 1950's silhouette. Whether it's a twirly girly daydress...

{left - right: 1958 poster; vintage dress}
...or a more ladylike figure-hugging wiggle dress, Kim has it all.

As with all sewing patterns, I thrive off the possibility of mixing and matching to create entirely new designs. With Kim, the bodice makes for such a perfect starting point when you start to think of all the skirts you could substitute. I for one am excited to try recreating that incredible Miu Miu dress from 2008...

{left - right: Charles James; Miu Miu}
And just as all manner of skirts can be added to the Kim bodice, so can both of the Kim skirts be made up as a separate. Simply omit the bodice, insert a shorter zip and whack on a waistband - and I'll be going into more detail regarding Kim skirts during the sewalong, so hold tight if you don't feel up to this alteration just yet. I'm feeling pretty partial to these chic wrap numbers, and I think I have just enough of a delicious burnt orange wool crêpe to make one...

{left - right: Ulyana Sergeenko; image source; ASOS}
I'm sure I've mentioned this before, but I love me good dirndl dress. I spent a lot of time in the Italian Alps as a child, and having to wear traditional Tyrolean dresses has definitely helped to shape my sense of style (not so much the having to wear Lederhosen though - let's forget that part). The bright colours, the clashing prints, the frilly white shirt... I would happily dress like that every day. And with Kim, I can.

{left - right: dirndl-online; skirt & pastel dress by Lena Hoschek}
-
Elisalex de Castro Peake

Comments on this post (4)
Hi Cha,
Ooooh sounds incredible!! If I were you, I’d go for the best silk velvet you can afford! Just the right amount of structure (stretch not ideal) with the perfect drape (velveteen and cotton velvet are much stiffer). Line the bodice with a soft and fine cotton lawn or voile.
Let us know how you get on!
— Elisalex - By Hand London
Hi there,
I’m planning on making the Kim dress in a black velvet (version 1). What would be the ideal type of velvet to use? Ie stretch, velveteen,… I’m just looking for a bit of advice from the pros. ;)
Very excited to start this one!
Thanks!
— Cha
Hello BoxerDogs!
No such thing as a stupid question! When making a toile (pronounced “twul”), there’s no need to make a lining, but I would pin or baste the zip in place to give you an idea as to how the bodice will fit when it’s all done up. Alternatively, you could also ask a friend to pin you in at centre back, making sure that he/she pins exactly 5/8" in from the centre back raw edge.
Hope this helps!
— Elisalex - By Hand London
Great post! Very excited about this. I’m making version 2. Have got my material sorted (a dark turquoise/orange/white/grey chalky checked cotton) and now just need to find a matching zip and thread.
Can I ask I very stupid question? When you make the toile of the bodice do you attach the zip, and do you include a lining – or are you just trying to shape the outer fabric?
Oh, and how do you pronounce toile? I’ve taken to just mumbling it because I’m not really sure!
— BoxerDogsPJs