Things are really hotting up here at BHL Studios as we approach the finish line of the Flora Dress Sewalong...
Today we will be:
- Joining the skirt to the bodice
- Inserting the invisible zipper
- Closing the back seam
*To be taken to all the posts in the Flora Dress Sewalong, please click here*
Step 1 - Seaming the waistline
To join the skirt to the bodice at the waistline, start by laying out your bodice, as flat as you can get it, right side facing you. This applies to both bodice variations.

Now place the skirt on top, right sides together, and pin into place along the waistline matching side seams, the open centre back and the bodice darts to the skirt's pleats. For the tank bodice variation two, make sure you keep your bodice lining out of the way.
Stitch the waistline seam, finish the excess and press down for the faux-wrap variation one, and up into the bodice for the tank variation two.
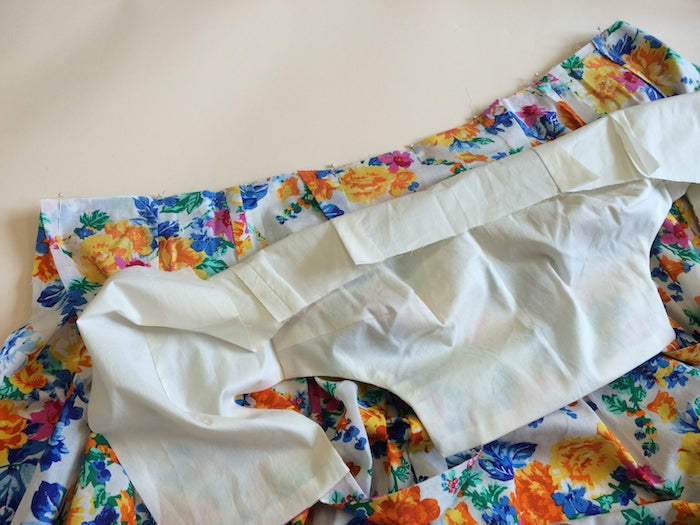
If you have decided to fully line your Flora Dress, repeat the last step to join your bodice lining and skirt lining together. Press your waistline seams (of both shell and lining) open, and finish the excess.
From the inside out, your Flora should be looking a little something like this...

...or this:

Looking flyyyyyyy!
Step 2 - The zipper
This part is probably the trickiest and fiddliest part in the making of the Flora Dress. If this is your first time inserting an invisible zipper, please don't fret! It's actually very straightforward, and once you've conquered your fear with a little practice, just think of all the things you could make...!
Before you begin, you’ll need to change the foot on your machine to the invisible zipper foot. The invisible zipper foot is unique in that it has two grooves along either side of where the needle goes up and down and in an out of the fabric. These grooves, or tunnels, are what we need to feed the zipper teeth through in order to get our stitching as close to the teeth and as straight as possible.

If you are using an overlocker/serger to finish your seams, it’s a good idea to apply that to your open back seam now, as overlocking a seam once the zipper has been inserted is a nightmare. Just make sure you don’t trim away any excess as you go, as this will mess around with your 5/8” or 15mm seam allowance for your zipper and back seam.
Open the zipper as far as it will go, lay it face down and press the teeth away from the tape. Do this on a low heat, as the zippers are largely plastic after all and have been known to melt.
Place the right side of your zipper facing down and the right side of your fabric facing you. Then, place the right-hand side of the tape down the left-hand opening of your dress and pin into place. Bear in mind that zipper tape is not 5/8” or 15mm wide, so you will have to come a little further in from the raw edge in order to achieve the right amount of seam allowance. Double check this with a measuring tape if you’re unsure.

Starting from the top, position the raised teeth in the left hand tunnel of the foot, so that you are stitching to the right of the teeth. Stitch until the foot meets the zipper pull (which should still be all the way down).

Gently press the fabric to reveal the side you have just stitched. Halfway there!
Now in order to be sure that the waistlines meet perfectly either side of the zipper, zip up your zipper and place a pin on the unstitched side of the zipper tape to mark the waistline.

Unzip your zipper and flip it over so it is lying face down onto the right-hand side open centre back of your dress, right sides together. Just as you did before, position and pin the loose zipper tape in place down the right-hand edge of your dress, starting with the pin you used to mark the waistline.

Position the teeth in the right hand tunnel of your zipper foot and stitch down the length of the zip. Close the zipper and gently press. Done!

Step 3 - Closing the back seam
To close the back seam, we need to swap to your regular zipper foot:

With right sides together pin the remainder of the back seam.

Start your line of stitching as close as possible to where the stitching finished on your zip, and continue to the hem. It may not align perfectly at first, and will certainly be a bit fiddly as the bulk of the zipper gets in the way – so don’t worry!


Once you're done with that, press the back seam open, being especially careful when pressing over the zipper - turn down the heat!
We're so nearly there guys! In the final post we'll be covering hems and finishing touches, but for now, excuse us while we have a little drool...

-
Elisalex de Castro Peake

Comments on this post (5)
Hi Theresa, if you’re making the tank variation with an unlined skirt, you still need to keep the lining’s waistline free when you join the skirt. Then, at the very end you fold and press in the raw edges of the waistline and hand stitch them to the main fabric for a beautifully neat finish – check out our final sewalong post here – http://byhandlondon.com/blogs/sew-alongs/14092521-flora-dress-sewalong-the-finale
Hope this helps! x
— Elisalex - By Hand London
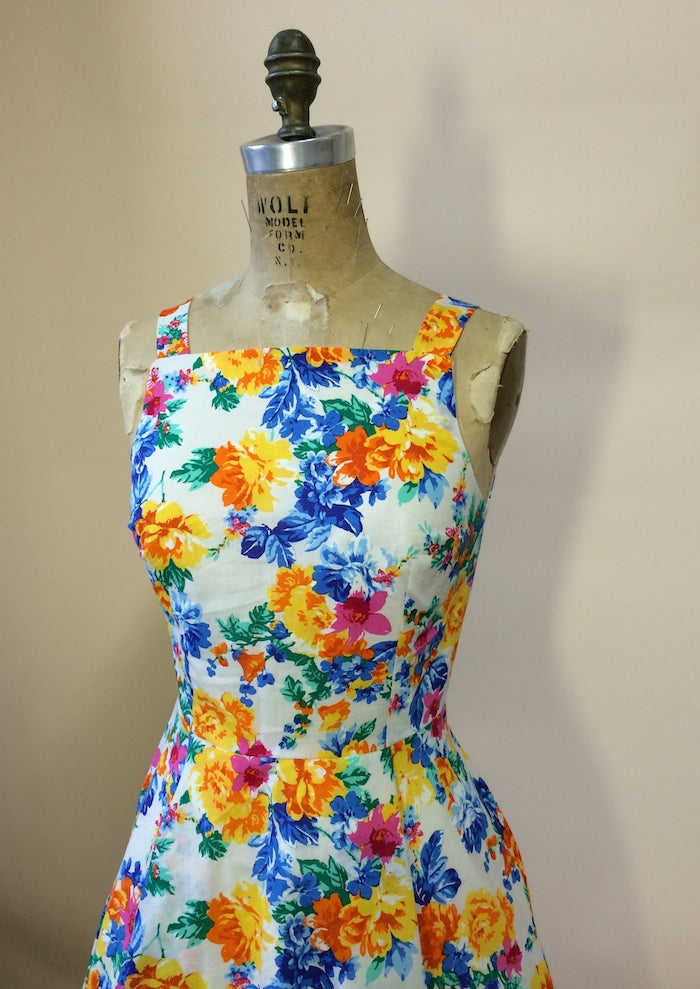
Hi Mariel, thank you! The fabric is from Classic Textiles on Goldhawk road in London – our go-to for delicious fabrics! x
— Elisalex - By Hand London
I love this fabric! Where can we buy it! I love your company! It is a huge inspiration for me.
Greetings from CreativeLatinSoul living in Sweden :). I would love working with you in here.
Best wishes,
Mariel
creativelatinsoul@gmail.com
— Mariel Jumpa
Omg I LOVE that fabric! Wear did u get it from it is beautiful. Totally want to make another nowx :)
— Amber Allen
Wait, you said pull the lining away from the bodice if we are making the tank version, but I am making a tank version and not lining the skirt. So I will just leave it like the war version? Or is there another way to finish the lining for the tank version?
— Theresa