And our off-the-shoulder obsession continues! For this DIY we'll be refashioning a classic oversized mens shirt. Yesyes suuure there are already lots of tutorials out there for mens shirt refashions, but they are just SO easy to get hold of and the look is so flattering that we reckon there's room for just one more to join the interwebs!
All you need is:
- 1 oversized mens shirt in a lightweight fabric
- Your usual sewing supplies
(sewing machine, matching thread, pins, fabric shears, pinking shears, tailor's chalk) - 1 spool shirring elastic
OK! Let's get refashioning.... Just follow our video or step-by-step tutorial below :)
1.
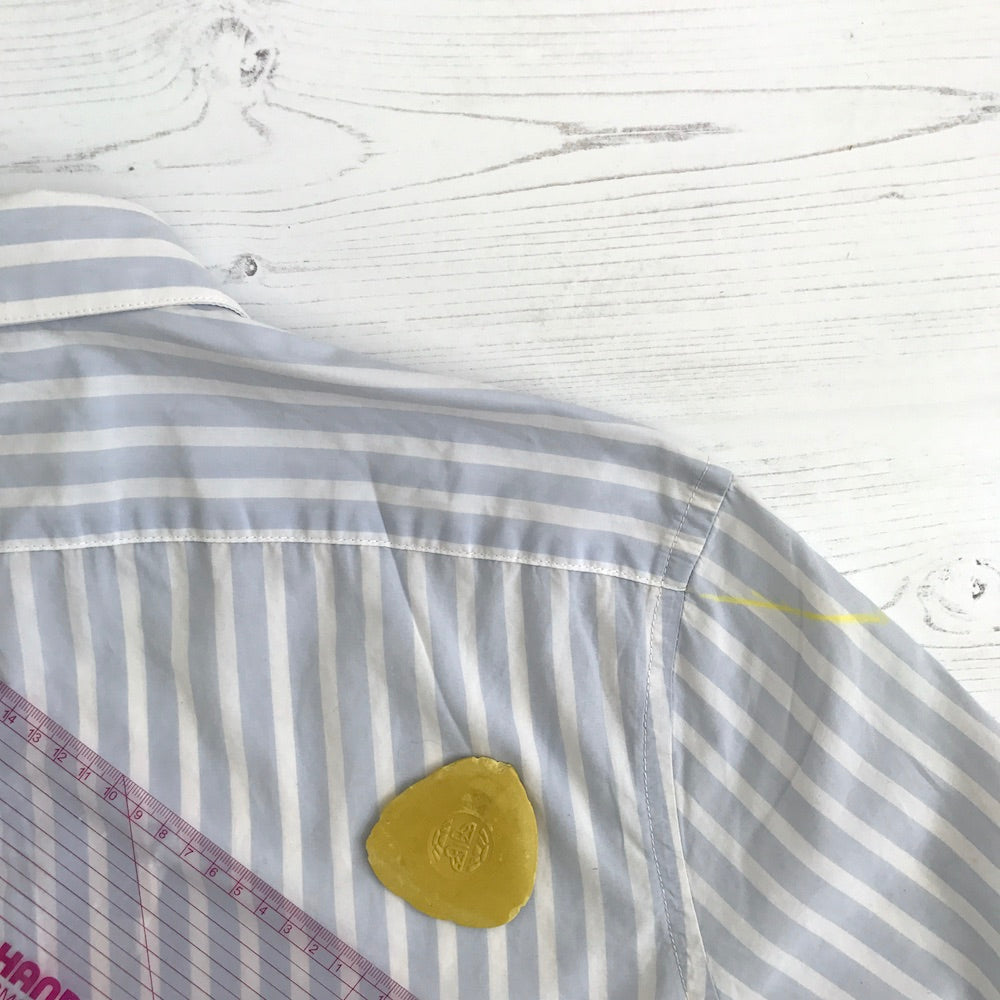
Extend the lines of the yoke across the tops of the sleeves on both arms. This will be your cutting line. NB You need to cut off your collar at this stage! So, if the yoke line is higher than the bottom of your collar, just redraw your line lower so that it is underneath the bottom of your collar.
2.
Now cut along that line.
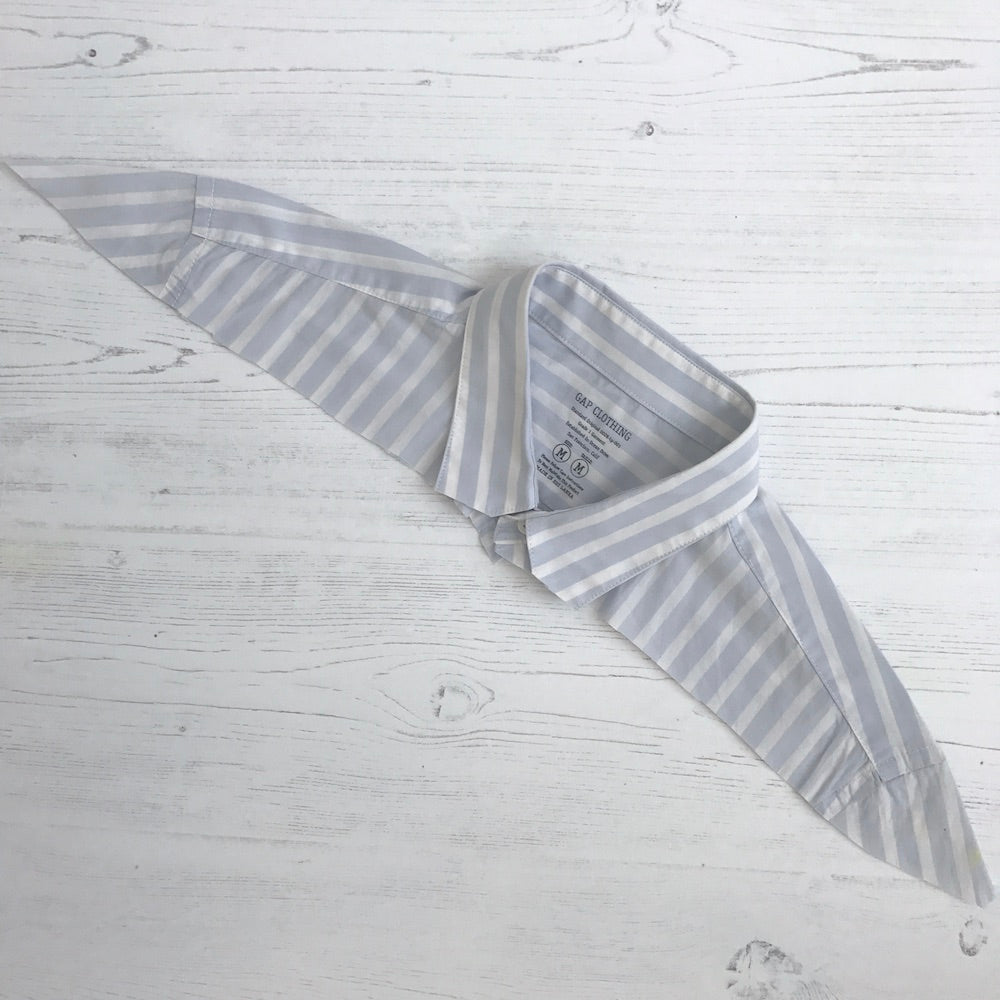
And the bit you cut off should look a little something like this:
3.
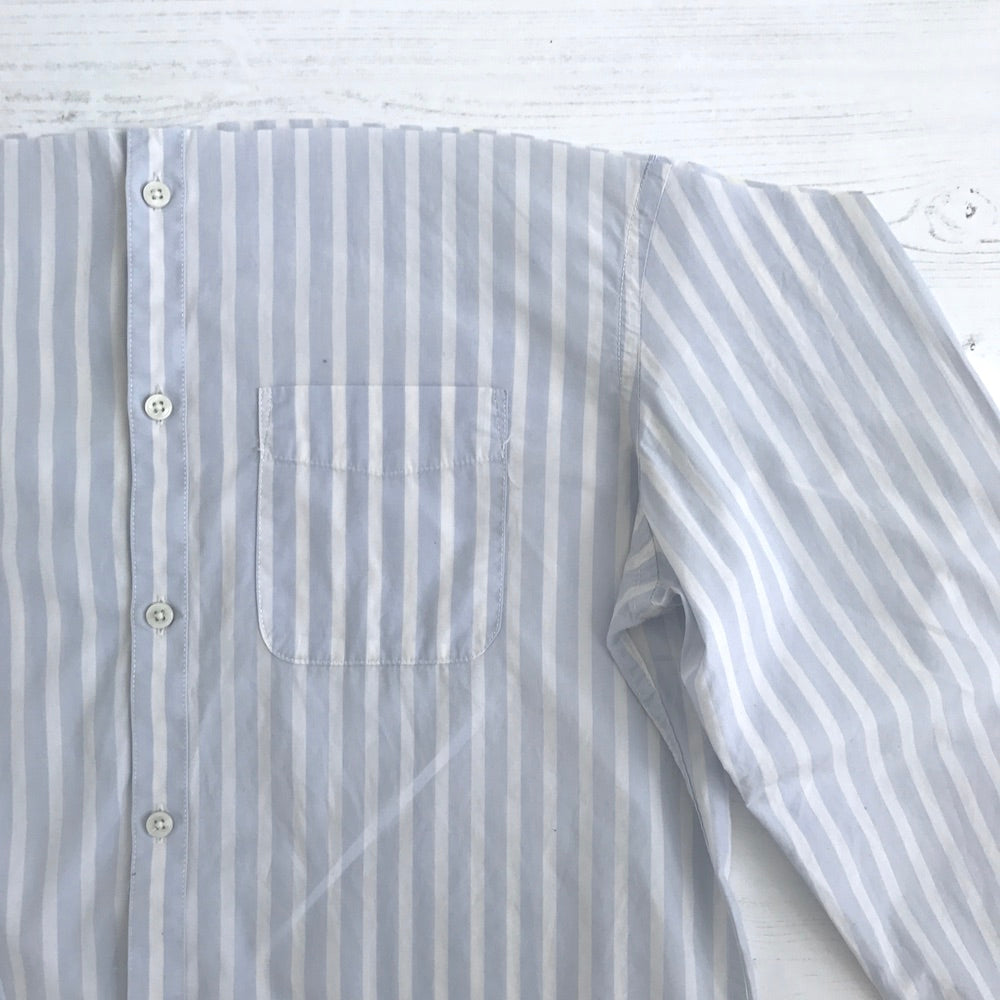
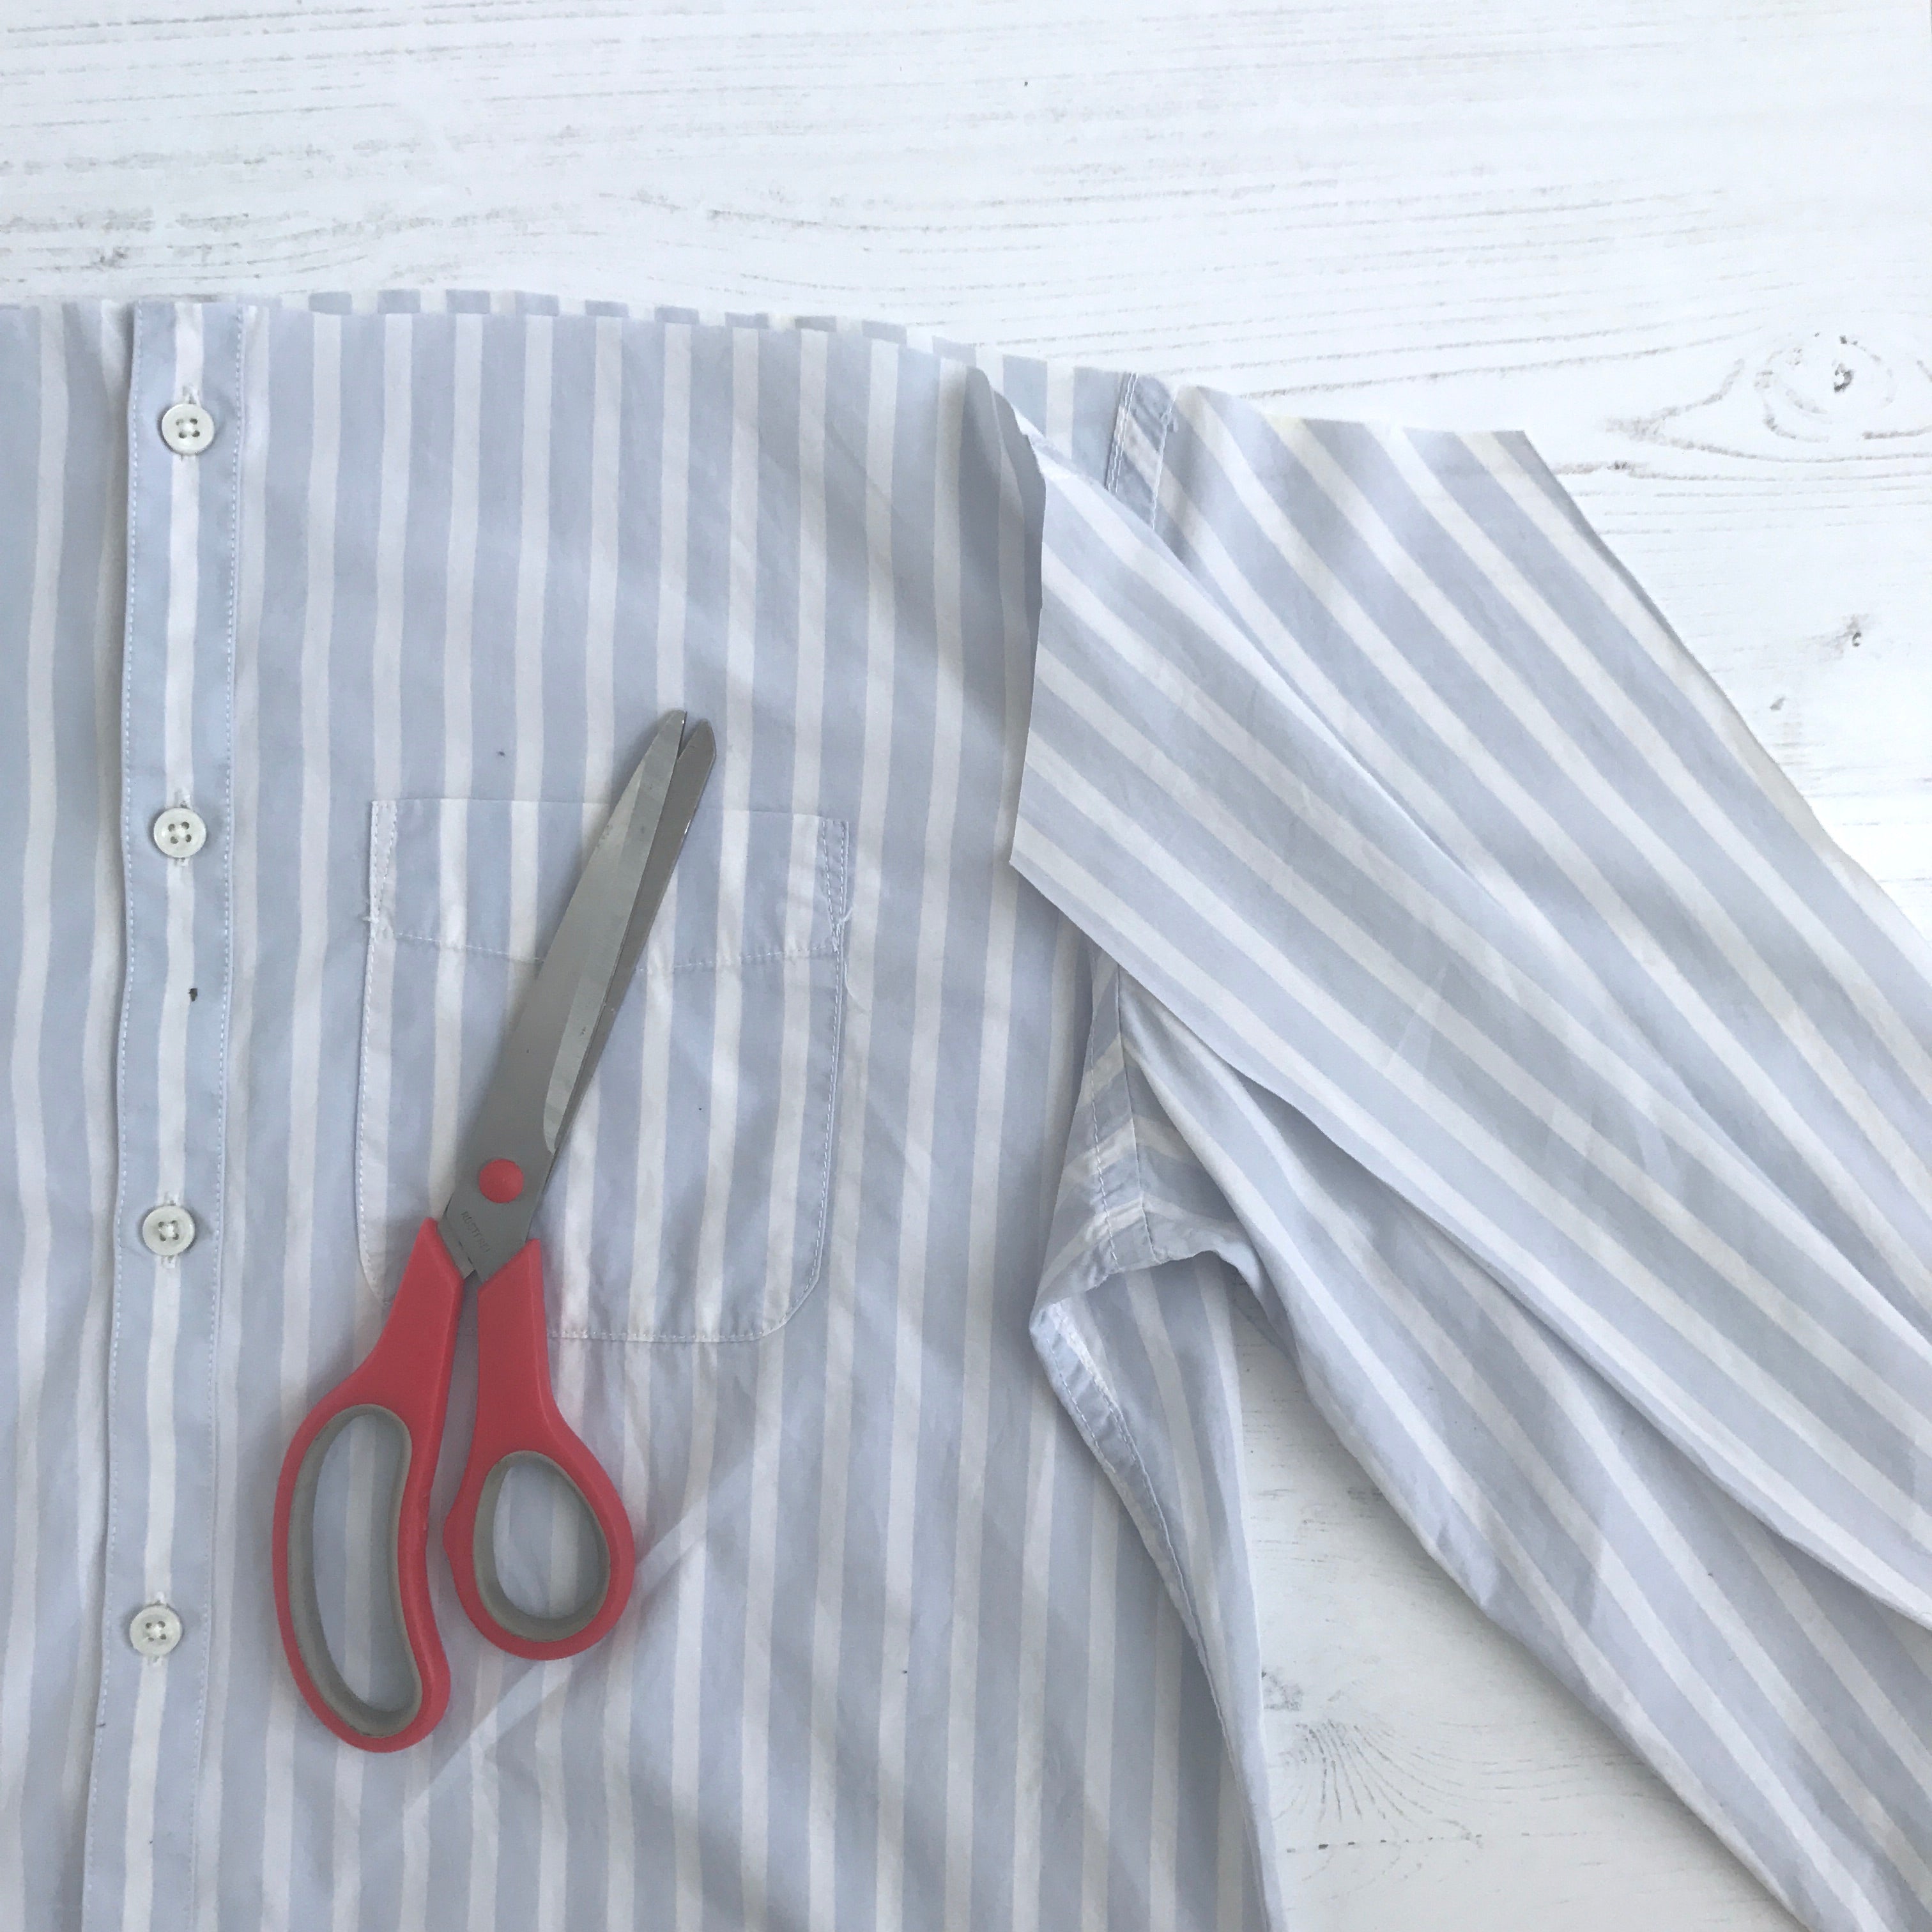
Now cut down the top edge of your sleeves.
4.
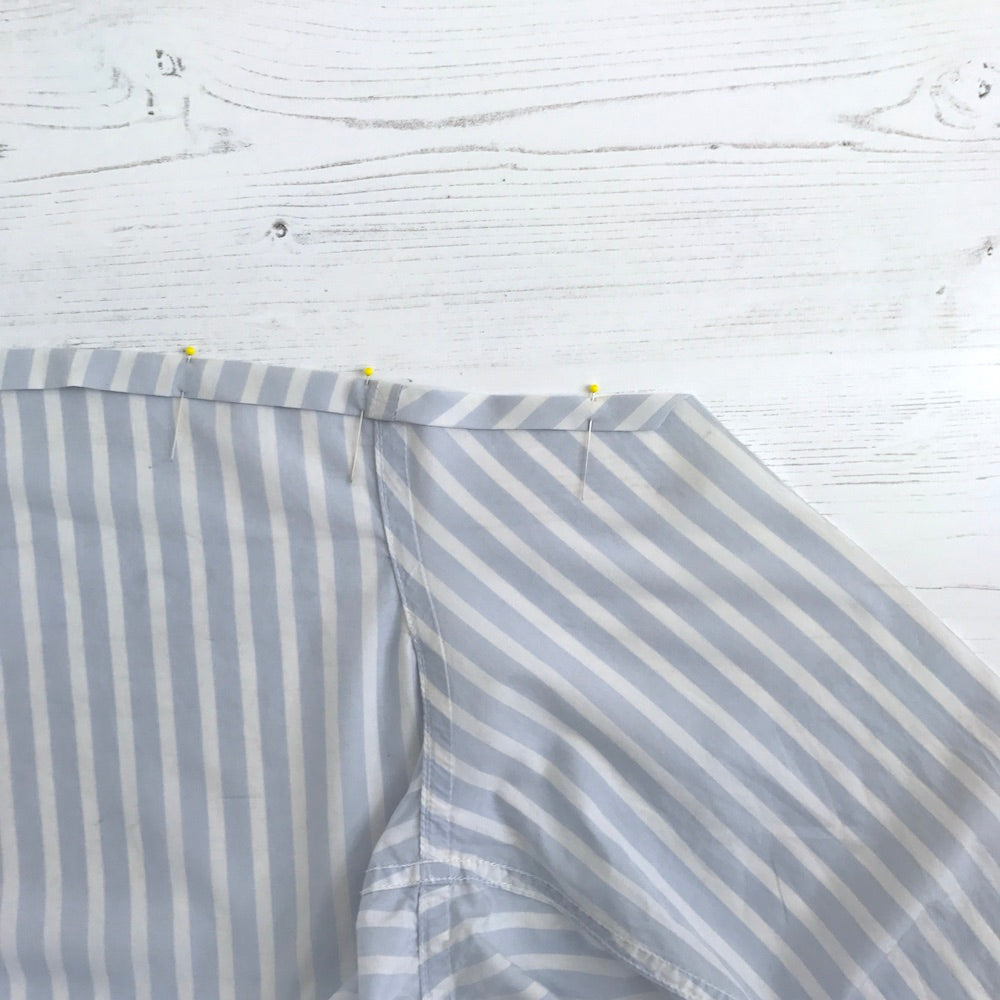
And press your neckline raw edges in by 1/2" and then again by a 1/2" before pinning into place.
5.
Now stitch down your neckline hems, keeping your stitching as close as possible to the folded edge.
6.
Match up your shoulder seams and pin the front and back of your top together at this point.
7.
Trim the tops of the sleeves so that they match and cut off the sleeve placket.

8.
With shoulder seams matched up and right sides together, seam along the top of your sleeve.
9.
Pin the sleeves together at the shoulder seams and just double check the length matches.
10.
Hem your sleeves like you did your neckline.
11.
Wind the shirring elastic onto your bobbin by hand, taking care not to stretch out the elastic.
Once all setup with the new shirring elastic bobbin thread, it should look a little something like this:
12.
Line up the right-hand side of your machine foot with the neckline hem stitching, stitch a straight line right the way around your top. Remember to backstitch at the start and end of your line of stitching! And be sure to sew with the right side facing you, the shirring elastic is your bobbin thread and you need that to come out on the wrong side of your top.
Then when you've finished your first row with the shirring elastic, you simply line up the right-hand side of your machine foot with that row and repeat! We've gone for five rows of shirring in total for both the look and to make sure there's enough tension to hold the shirt up on your shoulders.
When sewing all rows of shirring you need to make sure that you're stretching out the fabric at the back and at the front of your machine foot, to make sure the elastic is nice and taut as you sew.
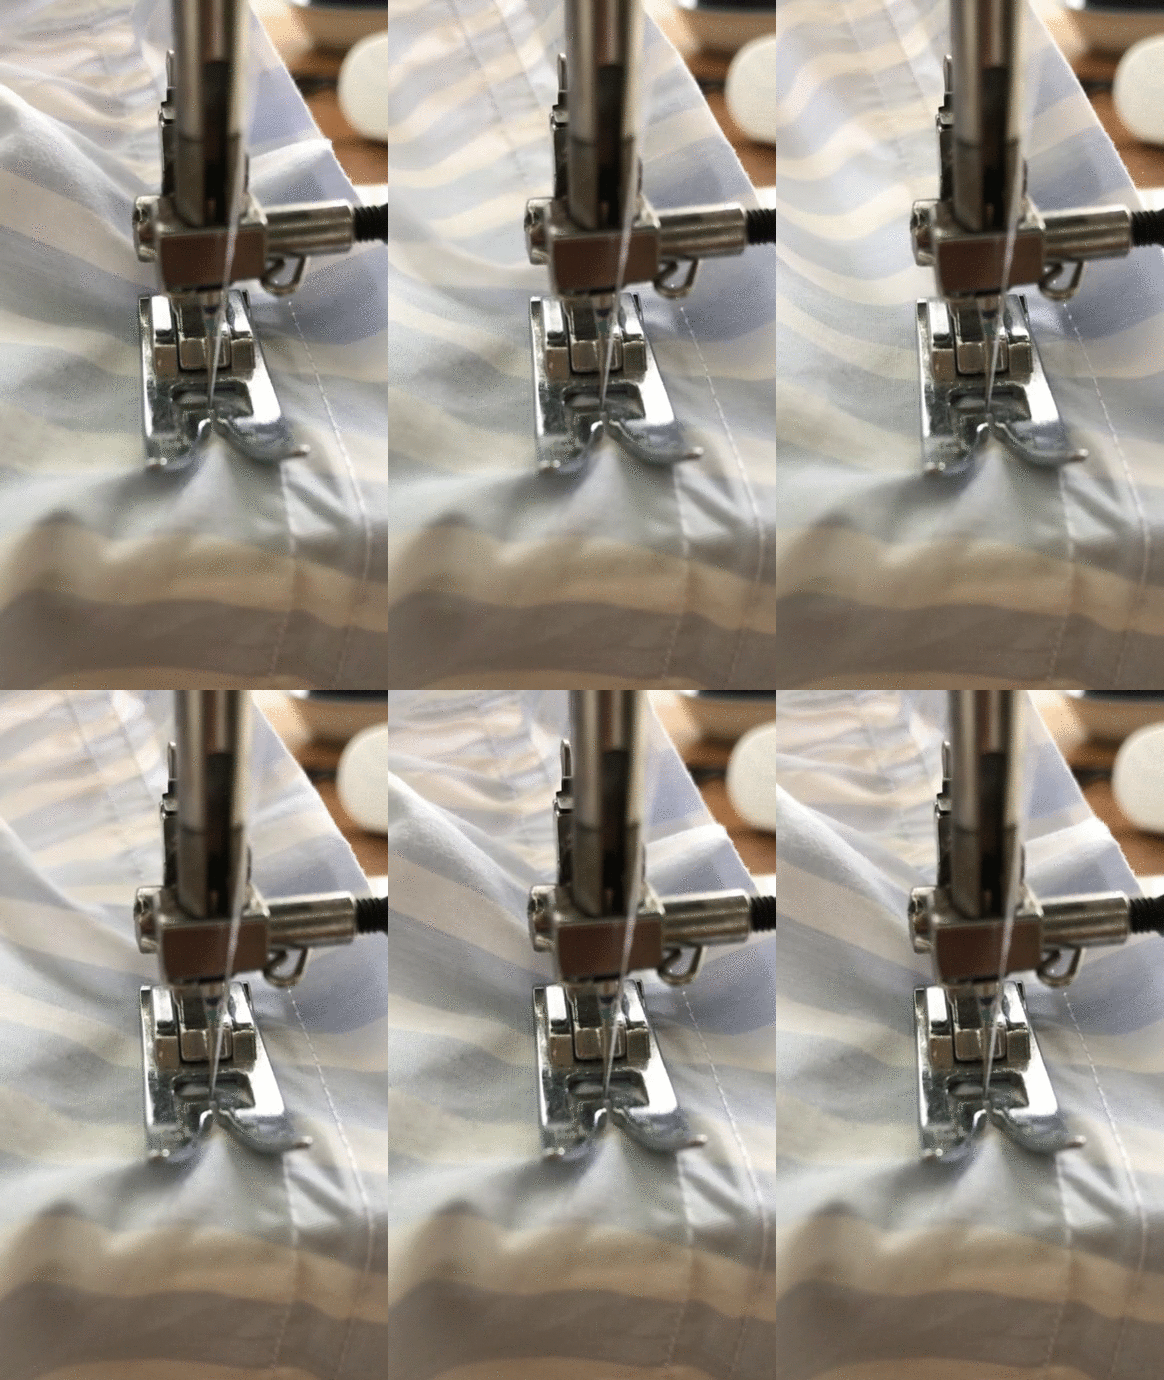
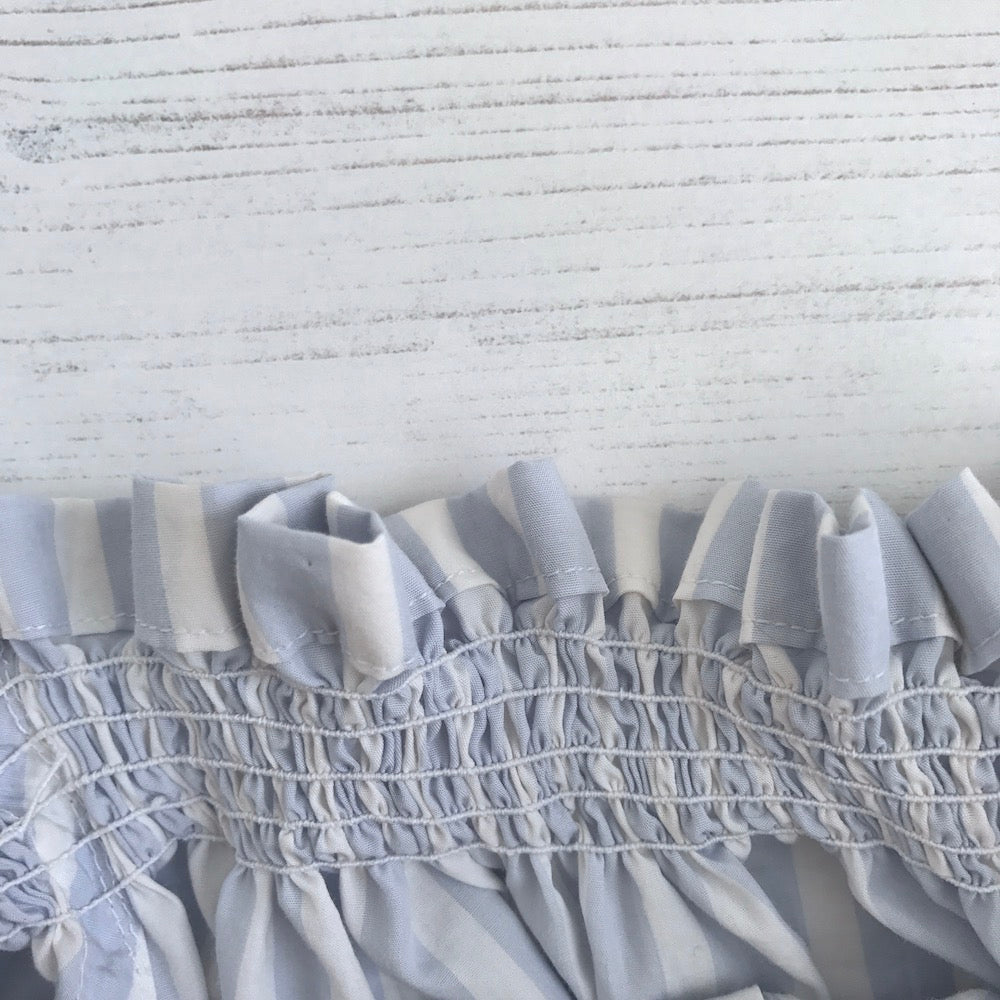
Five rows later is should look a little something like this!
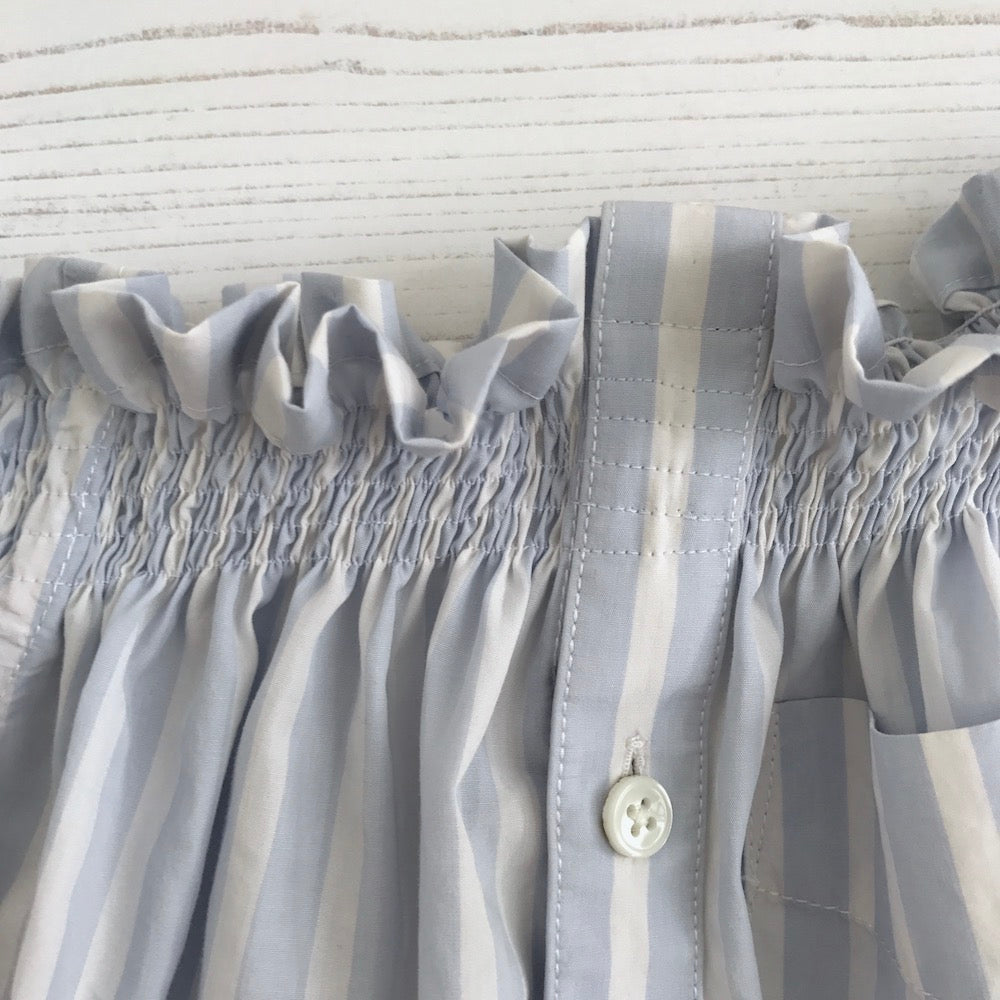
Here's a close up of the right side...
...and the wrong side.
13.
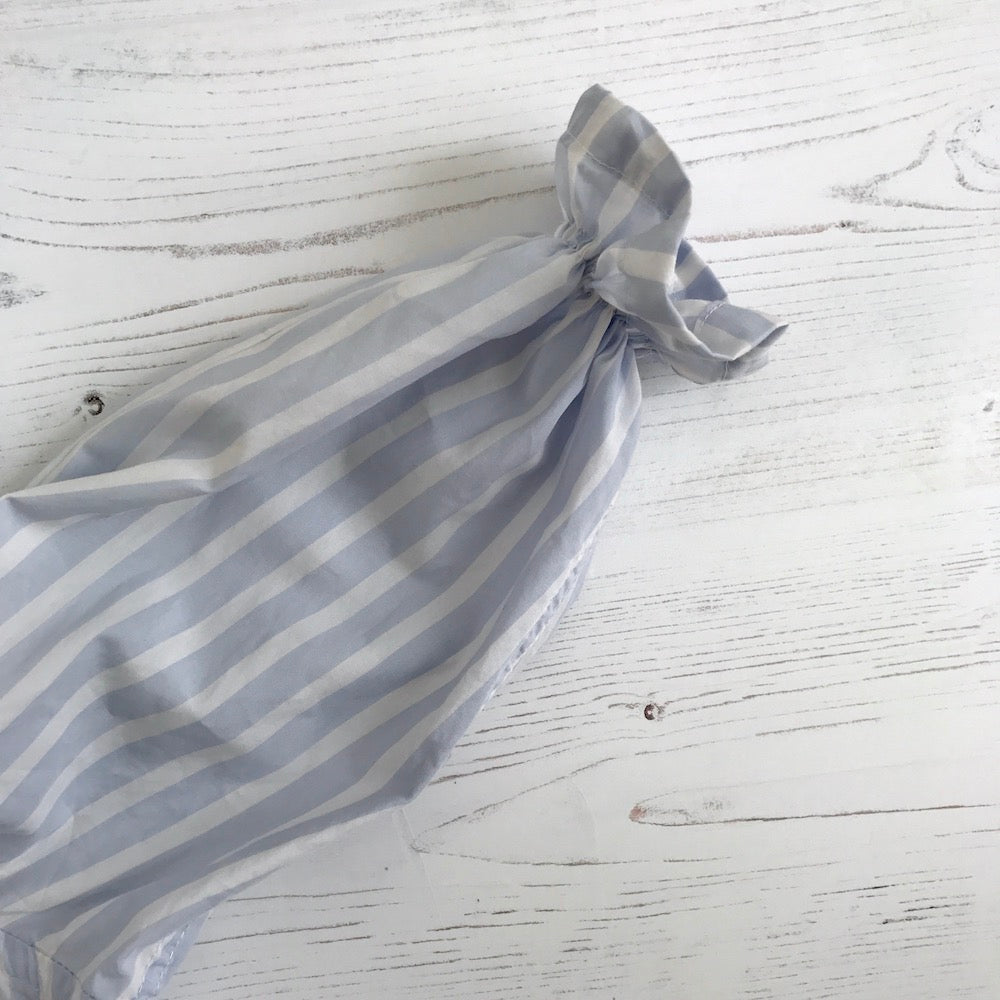
Add two rows of stitches using the shirring elastic to your sleeve approx. 1.5" in from the hem.
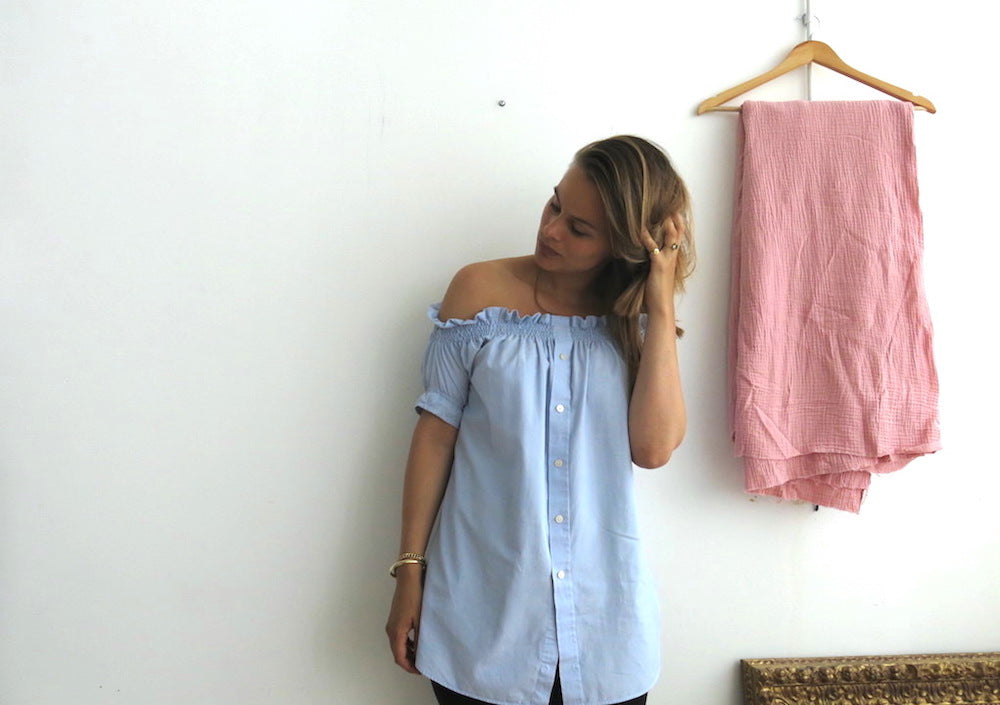
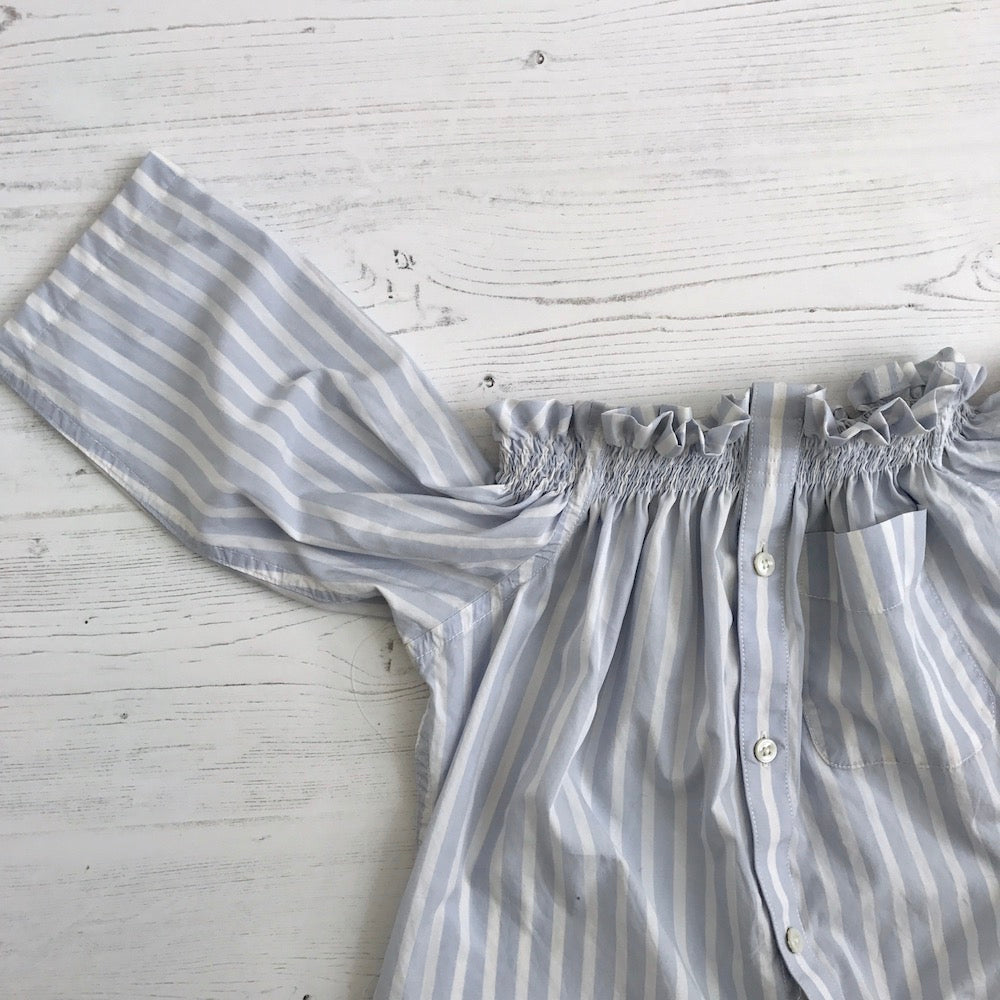
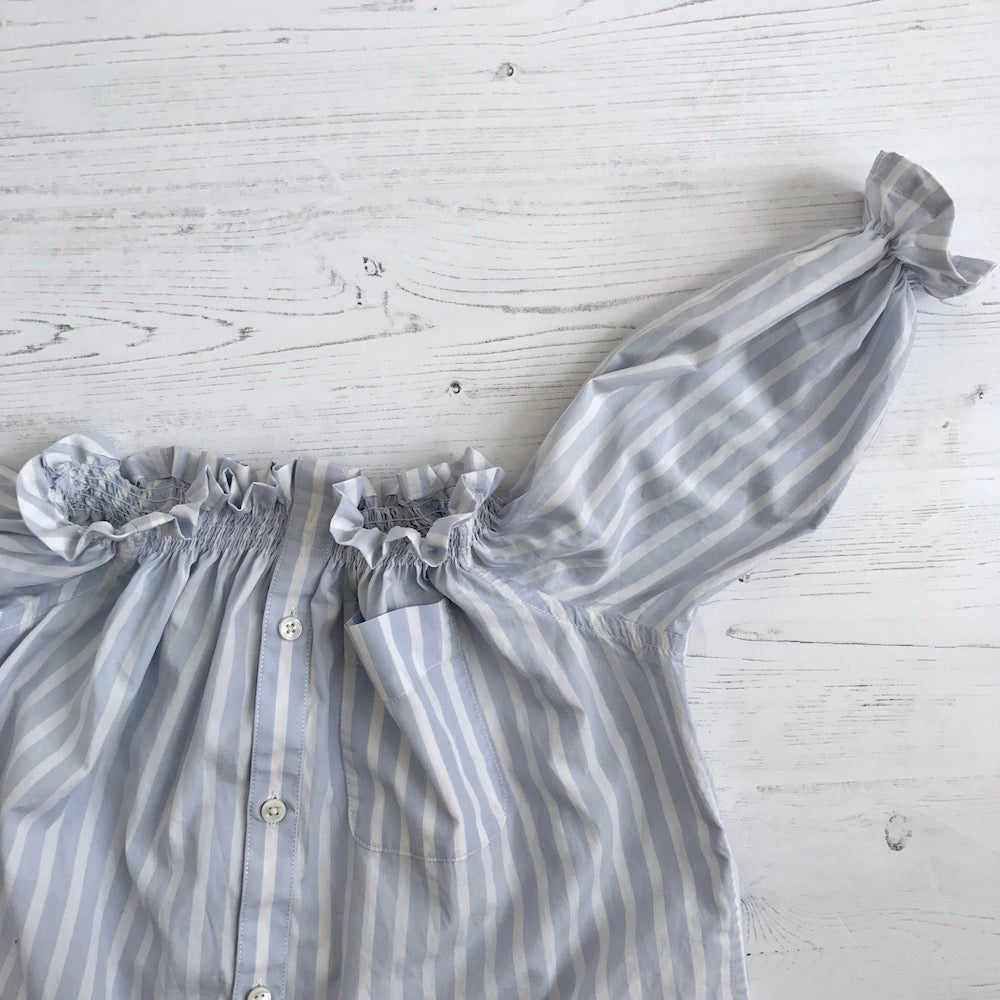
Now your shirt should look a little something like this and you're all done!
If you end up using this tutorial please do share your makes with us! Tag us on instagram with #byhandlondon or @byhandlondon and we'll find ya :) We love hunting down and sharing our sewists' creations, so keep a beady eye out!
x
Charlotte



Comments on this post (8)
These are the easiest instructions I’ve come across so far. I want to do this for my granddaughter. I have never worked with sheering elastic—so I may have to use plain elastic. But I do want to learn how to do the elastic you used. Could you send me an e-mail with these instructions? I don’t know how to save this on my desktop—but I am going to try.
— Bobbie
This tutorial is a great reason to go; shopping at thrift shops for just the right man’s shirt to transform.
— Valerie Smith
This looks adorable and still in style a year later! I noticed that the sleeves are not like the shirt that the model is wearing. In that photo, did you just use the cuff piece instead? Thank you!
Sarah
— Sarah Arnold
Perfect tutorial! I followed each of the clear steps and turned out a cute blouse (formerly my son’s shirt) in no time. I did add straps because the neckline was way too loose. I was using a medium size men’s dress shirt and I’m a size 8-10 top. Steaming the shirring was helpful, but not enough to keep it up on me.
— Robin
Perfect tutorial! Followed each clear step and turned out a cute blouse (formerly my son’s shirt) in no time! Thanks!
— Robin
amazing
— carol
This is so clever. Love off-shoulder tops and dresses as they nicely accentuate my shoulders. Guess I’ll be stealing few pieces of shirts from my hubby’s closet. Thanks for sharing.
- Novie
http://naturallypretty.info
— Novie
This is really neat. Will have to try it this weekend. That is if I can get one of my husband shirts. Lol
— Diana M. Dorn