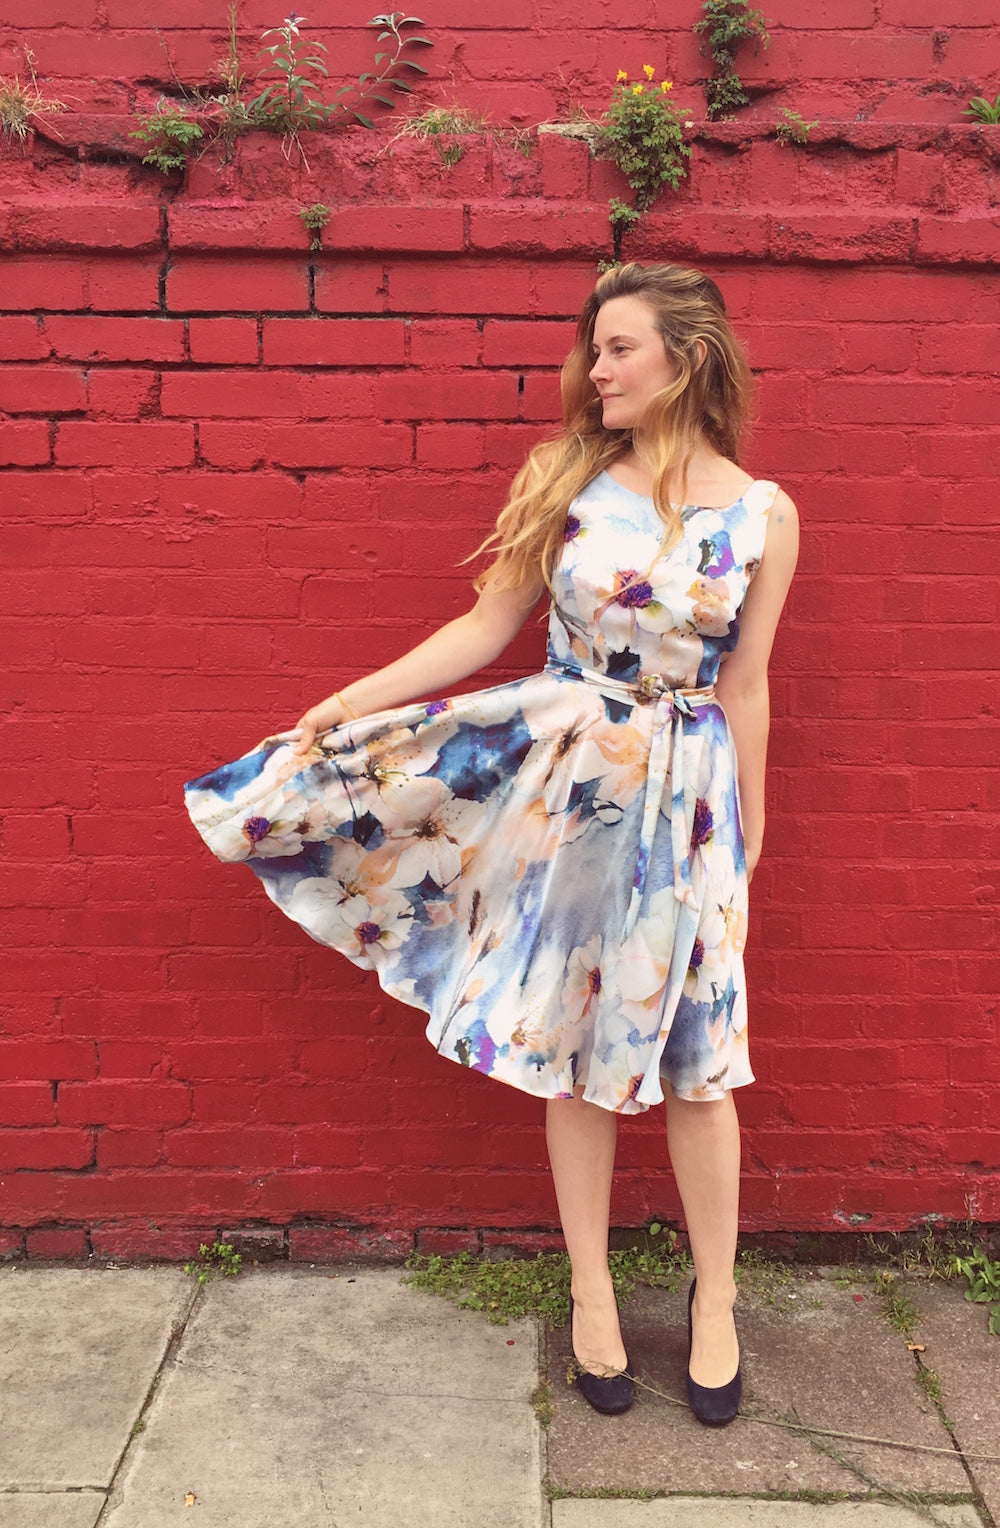
Mouth watering silk from Loving the Fabric; shoes by Chloe
Back when we started designing the Orsola dress, I knew it would only be a matter of time before I made a version of it with a full circle wrap skirt. I had an image of the floaty pastel wraps skirts we used to wear in ballet class as kids, and how effortlessly elegant I used to think the teacher looked in hers. I made a wrap skirt using the exact same method outlined below (just without the bodice) for my column in Love Sewing magazine a few months back, and when I wear it with my cropped pink cardi, I feel like I've really nailed the grown-up, off-duty ballerina look (a great thing IMHO), so a silk dress version was always going to be a winner!
You will need:
- Your Orsola pattern, bodice and waistband pieces only
- Our circle skirt calculator
- Extra fabric: you'll need about a metre for the bodice, and use the diagram on the calculator to figure out how much you'll need for the skirt adding on 50% as we'll be cutting three half circles for the wrap.
- A tape measure and your usual sewing tools and supplies
Step 1
Go about the sewing of your bodice as normal. Stay stitching, darts, lining - the whole shebang.
Step 2 - the skirt
Use the finished waistline measurement of your chosen size to figure out your waistline radius. Make sure you select "full circle" and "midi length".

Now, instead of cutting out two half circles to create a full circle skirt, we need to cut out three half circles - one for the front and two to wrap around the back.

Sew the skirt's two side seams. I'm using an insanely delicious silk from Loving the Fabric, so I've decided to French my seams so they are as delectable inside as they are out :)
Tulip pins from Beyond Measure
You'll be left with two open straight edges on your skirt. These need to be hemmed now - either finish on an overlocker/serger, then press in by 5/8" and stitch, or press in twice - first by 1/4" then by 3/8" - and stitch.
Step 3
Now that we've got our bodice and skirt assembled, follow the instructions for assembling and joining the waistband to the bodice and skirt as given in the Orsola dress booklet to get your dress all sewn up!
With all circle skirts, it's always a good plan to let the hem "drop" overnight - due to the way a circle skirt is cut, with some of the fibres being on the bias and some on the straight grain, the sections on the bias may end up hanging lower than those on the straight, resulting in an uneven, wavy hem:
Level out and stitch your hem...
...and you're done! Now I dare you to stop at just one... (I've made two this month so far!)


Comments on this post (3)
You find the most delicious fabrics! I have a problem finding fabric that doesn’t need lining…or maybe I just think I need to line everything!!!
— Jin
Thank you for the hack! You look stunning as usual and that dress is sublime!
— Anna
So pretty. The fabric is just perfect!
— ooobop