For those of you who saw our recent posts on working with velvet and sequins, you may have noticed some tell tale signs that I was in the process of stitching up a special something, whilst sharing my tips and tricks... Before I reveal my new beauty, I have to add that the inspiration (or blame...!) behind this make came directly from Fiona Parker, who showed up to our Sewists Christmas Party back in December in a show-stopping Kim Dress - bodice made from blood red sequins; wrap skirt in velvet. I'm talking jaw dropping and eye popping Tex Avery style. I immediately began planning my very own velvet-sequins concoction...
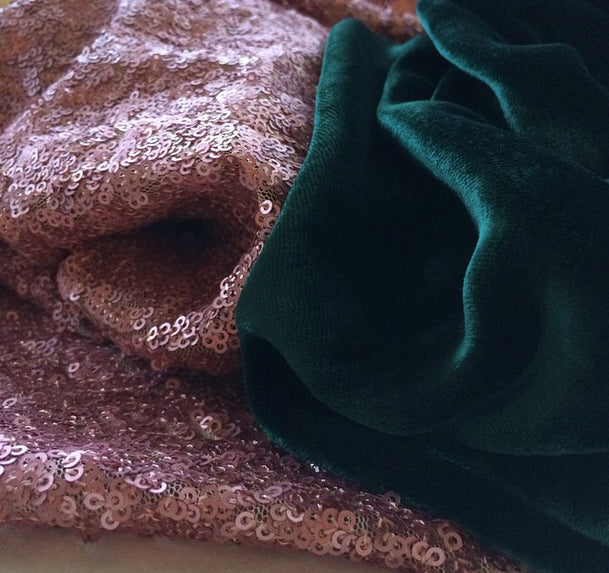
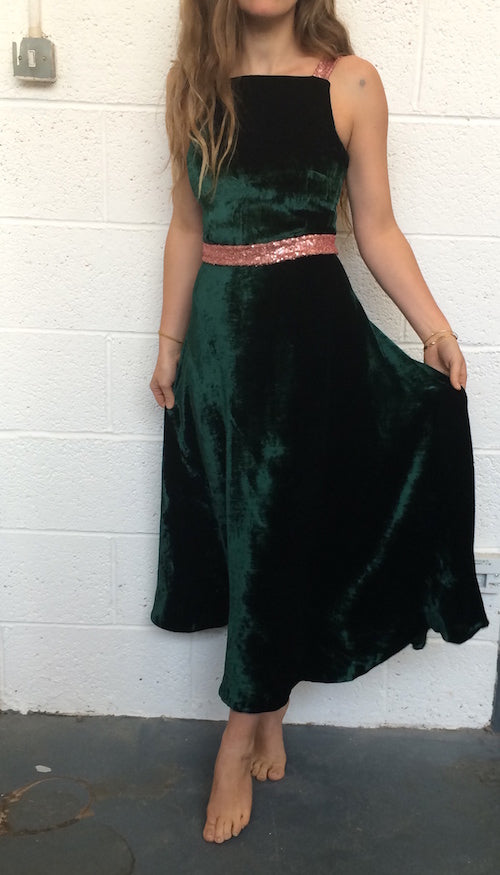
As with a lot of my dresses, I let the fabric choose the pattern. The emerald green silk velvet was a no brainer for me, but when I couldn't find any sequin fabrics to match, I got to thinking about the perfect colour to contrast... After eliminating red sequins (too festive) and gold/silver sequins (too obvious), I quickly settled on dusty pink sequins with a slightly matt finish. Seeing the two colours together instantly made me think of 1930s gowns and Art Deco design. I decided to make a tank bodice Flora Dress with an ankle skimming half circle skirt...

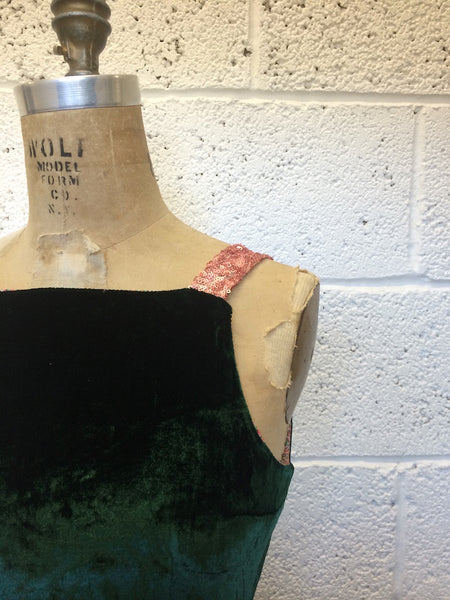
Instead of making the bodice from the sequin fabric and the skirt from the velvet, as Fiona had done, I wanted the main body of the dress in the velvet, all drapey and swooshy and soft on the bodice, and use the sequins for the shoulder straps to contrast.
I even made a matching sequin bow belt, using Tilly's easy peasy tutorial.
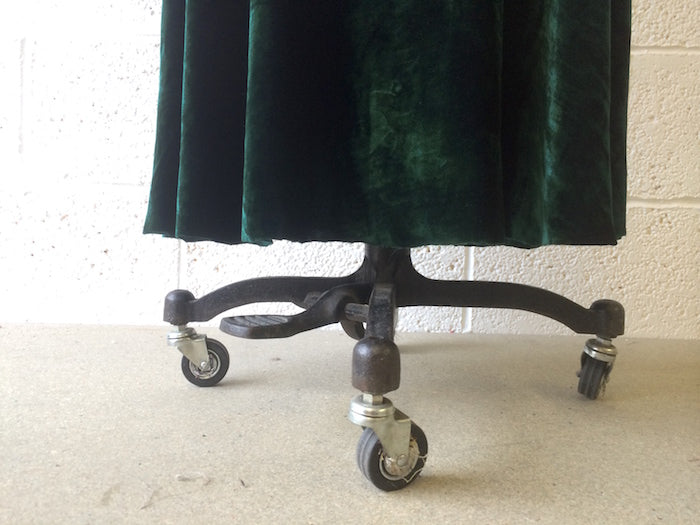
When hemming a circle skirt, or indeed any skirt that has part or all of it cut on the bias, it's super important to leave it to drop overnight before checking the length and stitching the hem. This is especially important with a drapey, almost stretchy velvet such as this. I cut the half circle skirt flat, 35" from waistline to hem all the way around, and after I'd joined the skirt to the bodice and dressed my mannequin to see how it was all coming along, lo and behold the sides were falling a good 3" longer than the rest of the skirt.
To rectify this, instead of taking my dress off the stand and trying to straighten out the hem with the dress lying flat (which would have prevented Gravity from working her magic), I measured from the floor up and marked my desired length with pins all along the hemline to ensure that the dress would have an even hem when worn.
Using the pins as a guide, I then carefully cut away the excess - all the while leaving the dress on the mannequin.
Now, for a curved, delicate hem such as this, I would pretty much only consider a hand finished tape hem - a turned up twice hem would be too bulky in the velvet, and I wouldn't want to risk any raw or overlocking stitches to be seen from the inside - however, as my luck would have it, we just ran out of ribbon in the studio... For the time being, I've simply hand basted the hem in place and I have every intention of rectifying this sloppy finish when I get home!

I'm SO pleased with how this dress turned out - I've always loved 1930's fashion, but never really on me... Until now. It just feels so effortlessly glamorous, so sexy in it's simplicity. I love it both with and without the belt, but with the bow in back, as an unexpected hidden detail.
Happy Friday, everyone!


Comments on this post (5)
Wow. Very nice. That color – the deep green – is so “everything” and will surely keep you company for decades to come.
— Susan Krzywicki
I think I literally just drooled onto my keyboard looking at this dress. Gorgeous. And thanks for the reminder about letting drapey circle skirts hang overnight before hemming—I sometimes forget about that!
— Dani
That’s absolutely stunning!
— Niamh
Bringing velvet back! Beautiful.
— Cat
That’s just gorgeous…retro and modern at the same time. It looks really fun to wear!
— Julie at JetSetSewing.com