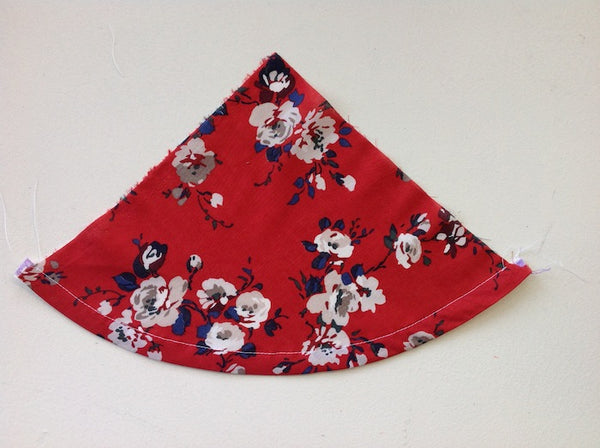
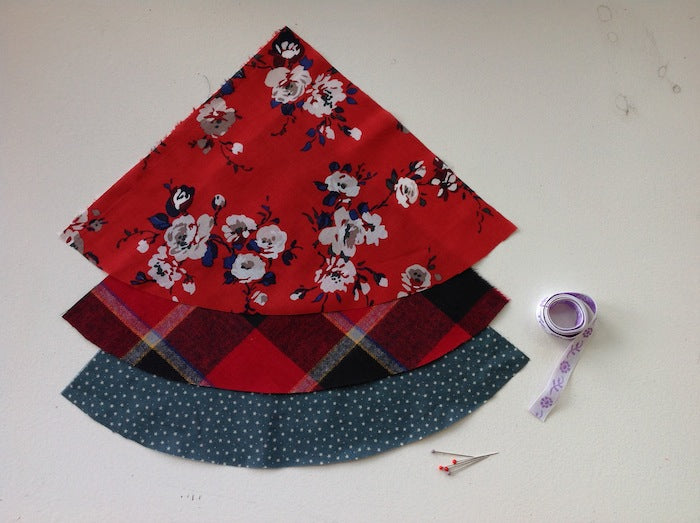
Now that we've finally released our app that figures out the circle skirt maths for you, whipping up a circle skirt couldn't be easier or more mindless, right? Well, right-ish... We've done the math for you, shown you how to insert those pesky little invisible zippers and attach a perfect waistband, but what about the hem?? Circle skirts, by nature, have a curved hem, which can be trickier to finish off flawlessly than a standard fold-it-over-twice-press-it-stitch-it straight hem. The reason being that the raw edge is fuller than where we're trying to hem it into. Not only do we have to gently ease this fullness in, but we also have to try and maintain that perfect curve at the same time. So, in the interest of making the hemming process more of a pleasure and less of a pain, we have put together three easy and foolproof ways to hem a curve...
#1: Perfectly folded hem, à la Polly Top
Good for: Flawless precision
This technique gives the same finish as a normal turned up twice hem, but involves a little set-up trick to make the whole process run a lot smoother...
Step 1:
Sew a line of stitching 1/4" from the raw edge, all along the hemline.

Step 2:
Using that line of stitching as your guide, press the hem in.

Step 3:
Now press the hemline in again using plenty of steam (if your fabric can hack it! Always test it before pressing the real thing), using the raw edge this time as your guide. Pin into place ready to be stitched.

Step 4:
Either machine stitch into place, lining up the folded edge of your fabric with the righthand edge of your presser foot, or blind stitch by hand.


#2: Tape hem
Good for: Pretty innards; giving body and bounce to a lightweight skirt
Step 1:
Find a length of decorative tape or ribbon, long enough to cover the entire length of your hem plus a couple of centimetres extra to tuck under the raw edges where they meet. The tape should be no wider than 2cm.
Pin it to the hemline, wrong side of the tape facing the right side of the skirt, and with half the width of the tape sticking out beyond the hemline.
Step 2:
Stitch into place along the top edge of the tape. This is how it should look from the right side...

...and from the wrong side:

Step 3:
Now press the tape up, and pin into place.

Step 4:
Stitch into place, either by machine or by hand, et voilà! The prettiest hem you ever saw.


#3: Overlocked/serged hem
Good for: knit fabrics; teeny tiny hems when you've accidentally made your skirt too short!
Step 1:
Overlock the raw hemline.

Step 2:
Press the hem in once and pin to secure, ready to be stitched.

Step 3:
Stitch into place.


And there you go - hopefully this tutorial will have shed a little light and opened up some fun options for hemming your circle skirts. Do also check out our rolled hem tutorial - another ideal for curved hems, especially silken ones!


Comments on this post (16)
Lovely advice- I’ve used option #2 with bias binding on a long formal satin skirt – that allowed a really flat finish. To do that, I steam pressed the bias binding (carefully as the satin was a synthetic) so it followed the curve.
— Kate
Thank you, used option two.
— Jane
THANK YOU! Very easy to understand and thumbs up for the clear images!
— Lila
GREAT, thanks so much, the tape one came to my mind but I’m wondering how it will work with my duchess satin material… thanks again, great and simple, love it
— hannah
Love the clear, simple images and step by step instructions. I need to shorten the curved bottom of my husband’s ulta-long shirt and was looking online for a tutorial. The first method on this list looks perfect.
— Laura
Thank you so much for the tutorial. I am making round tablecloths for my daughter’s wedding and this tutorial helped me make beautiful hems.
Merci!
Lillian
— Lillian
Useful tips. Thank you
— murni
Great post! I have taken up sewing again after 35 year hiatus. I made my first circle skirt today and used #1 hem method.
— Ruth
Could anyone help with the skirt being too short at the sides? Instead of there being an equal distance from the hem to the floor, when I sew a skirt it usually goes up at the sides and hangs lower in the front and the back. The photos in this post give a good approximation of the problem.
— Clarisse
Another way to hem a skirt is to fold up 5/8" (or whatever works for you), press the edge (use a clapper to set the crease), then sew over the edge or very close to it using a very close-set small zigzag (about 2.5). Hold the skirt on your lap so that you can see the inside then carefully trim from the hem the part of the 5/8" that is not encased by the zigzag stitching. If your fabric is fragile, you might need toreinforce it before trying this method but it works very well for stable fabrics and the hem is so narrow that there’s not much rippling ( and pressing the hem minimizes that.)
— Stacy
The ribbon hem is such a pretty detail!
I’ve just finished three tops with curved hems, and they all look a bit wonky. I might just un-pick the hems and re-sew them using the first technique…
— Ophelie
Awesome post ! thanks !
— Pinup Babydoll
Very helpful post ;)
— Vani
WONDERFUL!! you just saved me months of headache!!!
— tailor_smurf
Excellent tips! I’ll try one of these on my next skirt proyect!
— Itsiwitsi
I’m loving your blog. Inspirational! I live in South Africa and just want to know if you have a link to any outlets here. I would love to buy your stuff.
Many thanks
Divia
— Divia Pillay