For all youz lot stitching up the button-down Variation 1 Holly Jumpsuit, your journey starts here... Today our bodices will really start taking shape as we tackle darts, seams and facings. Those of you going for the slinky cowl option of Variation 2, you can put your feet up for now - next week will be all eyes on you!
*To be taken to all the posts in the Holly Jumpsuit Sewalong, please click here!*
Today we will be:
- Stitching darts
- Closing the shoulder seams
- Assembling & joining the neckline facing
- Closing the side seams
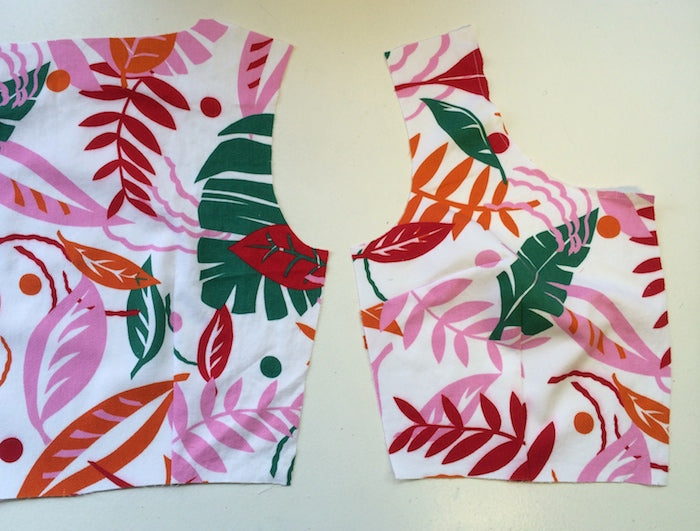
Stitching the darts
The first thing to do, to create the shaping on the bodice, is to stitch the darts at the bust and waistline on the bodice front, and the waistline darts on the bodice back.
Pinch a dart between your fingers, right sides of the fabric together, and pin the dart into place matching the notches and the dart legs that we marked out in the last post.
Start your line of machine stitching at the notches, remembering to back stitch to secure your line of stitching, and ending at the dart's vanishing point.
Do not backstitch when you get to the end of the dart, instead tie off the strands with a little double knot. Backstitching at the vanishing point of a dart could ruin delicate fabrics or even distort the finish of your dart.

Press bust darts down, and waistline darts towards the side seams. Repeat this process for the darts on the bodice back also, pressing them towards the side seams.


Closing the shoulder seams
We now need to join the front and back bodice pieces together at the shoulder seams.
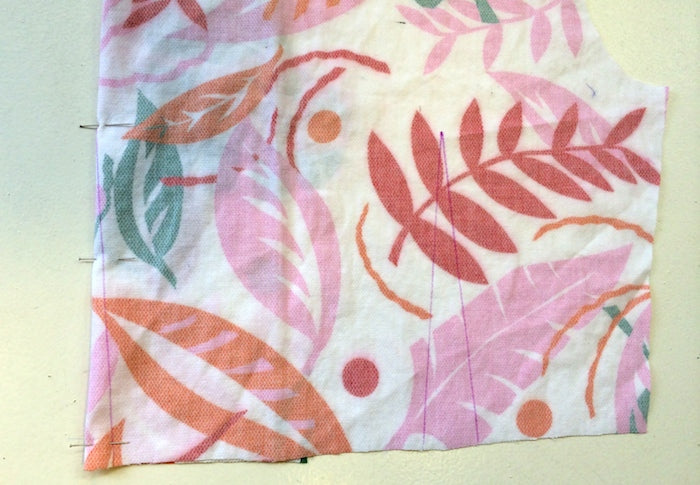
Lay your bodice back pieces on top of your bodice front pieces, right sides together. Pin the shoulders into place.

TIP: Always pin your fabric as shown, with the pins pointing into to the fabric, so that they lie horizontally when the fabric is fed through your sewing machine. Like this, they will be easier to whip out as you stitch, and will be less likely to get crunched down into your machine if you forget to take one out than if they were inserted vertically.
With our usual 5/8" or 15mm seam allowance, stitch the shoulder seams. Press open.
If you have an overlocker/serger, now is the time to neatly finish off your excess seam allowance. "Finishing" your seam allowances, once a seam has been sewn, not only looks pretty and profesh, but results in a longer lasting garment that will be less prone to fraying. If you don't have an overlocker/serger, check out this post on alternative seam finishes.
Joining the facing to the bodice at the neckline
The neckline facing is essentially a partial lining that neatly and seamlessly finishes off the raw edge of the neckline, without the need for hemming or binding.
To begin with, repeat the last step to join the neckline facing pieces together at the shoulder seams. Now is a great time to finish off the outer raw edge (not the neckline!) to keep things nice 'n' neat.
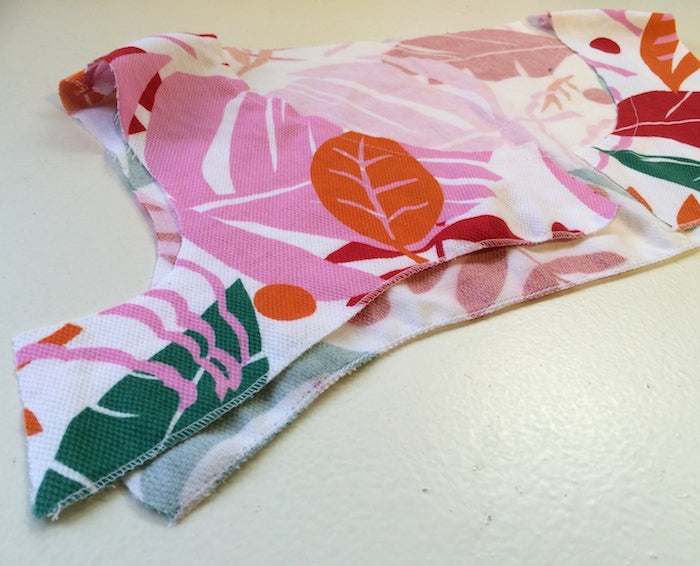
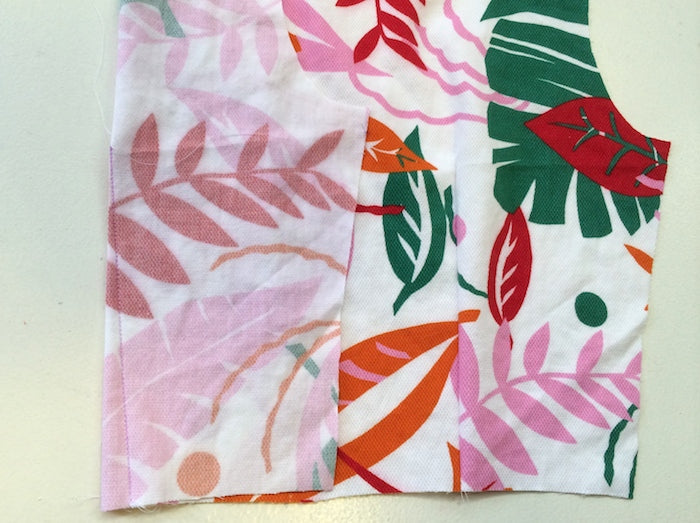
With right sides together, place the facing onto the bodice and pin together all along the neckline. Take care when matching the shoulder seams and centre back. The front opening of the neckline facing will fall short of the front opening of the bodice - don't worry! - this will be finished off all neatly when we come to assembling the placket.

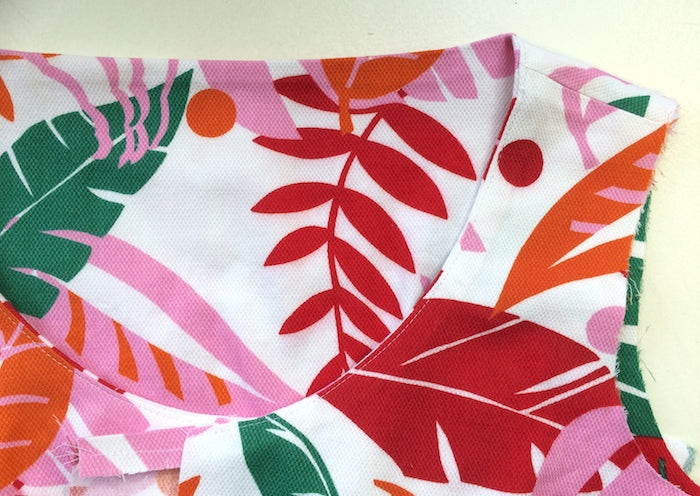
Stitch into place, going slow and carefully around the curves.
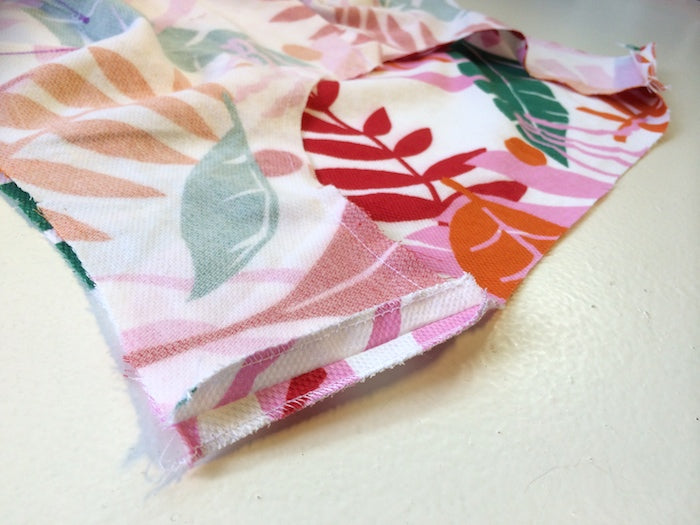
Now clip into the seam allowance at the curves, going about 3/8" into the seam allowance so you don't run the risk of snipping it too far and undoing all your hard work! Clipping the curves will help to release the tension as you turn the facing to the inside, ensuring a perfectly flat neckline with no puckering!

Turn the facing to the inside and give the whole neckline a good press.

To finish off your neckline really beautifully and prevent that facing from peeping out to the front, try understitching the seam allowance - see our tutorial here.

Closing the side seams
Seeing as we have a side seam zipper on the Holly Jumpsuit, we need to leave the left hand side seam partially open in order to insert our zippers later on. Remember, when we refer to the "left hand", we mean the left hand of the garment as if you were wearing it. Conveniently, this is also the left hand of the garment as seen from the wrong side when flat on your sewing table!

First of all, let's close the right hand side seam completely:
With right sides together, pin the right hand side seam and stitch into place, trapping the facing also.

To partially close the left hand side seam, pin and stitch from the underarm to the bust dart only.
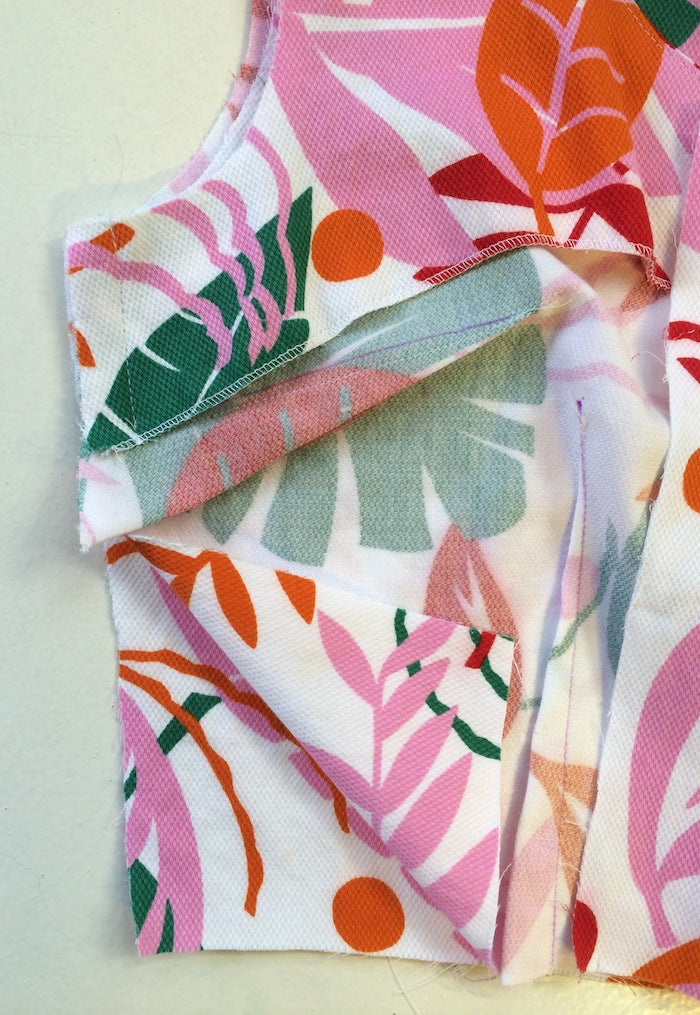
Press the side seams open and finish the excess. If you're finishing your seams with an overlocker/serger, make sure that you don't trim away any of the seam allowance from the partially closed side seam awaiting the zipper!

And we're done for today! It's amazing how quickly things start coming together once you get sewing. In the next post we'll be assembling and inserting the sleeves - much easier (and incredibly satisfying) than it sounds, we promise!

Psssssst... Pattern hack potential! Why not omit the sleeves altogether and finish off the armholes with some bias binding instead for a sleeveless bodice??
-
Elisalex de Castro Peake

Comments on this post (0)