Hi BHL, my name is Sophie Bach and I'm a 24 year old student living in Trondheim, Norway. I only started sewing February this year, and I quickly fell in love with the idea of having a wardrobe that is unique and fits me perfectly. My friend told me about your site, and I have become the biggest fan of By Hand London. I have bought all of your patterns and can't wait for more to come. I have a little blog that I write in now and then, http://sopbac.blogspot.no/, but I update my instagram account (username @sopba) a lot more frequently.

Tutorial for Floralex Dress with backless straps.
For this tutorial you'll need the Elisalex bodice pattern, the pattern of the skirt of your choosing (I'm going with Flora skirt again) and a 25-30 cm (10-12 inch) zipper.
So here we go! For the Elisalex bodice you'll only need the centre-front, side-front and side-back piece, and a little math, but just a tiny bit. The centre front and side front doesn't need any changing, but we use the side-back piece as navigation. First off, we trace the side piece that is going to be attached to the side front piece.

And here comes the hardest part, which isn't really that hard. I use a size US 8/UK 12, so this means that my waist is 72 cm according to the finished measurements on the By Hand London website (28 1/4 inches, sorry I'm going to use the metric system from now on), so 36 cm for the front, and 36 cm for the back. We need two back pieces for inserting the zipper in the middle, 18 cm on each piece, but we also need to add the seam allowance on the side seam, and by the zipper, so adding 3 cm to it and we have 21 cm in total for the back piece.


Now we have the side seam and the length. I didn't want the zipper to start at my waist so I added 10 cm up on my back, an on the side we add an extra 1.5 cm for seam allowance.

Then draw the diagonal line between them. I wanted the straps to match up, so I placed two notches about 10 cm in and 4.5 cm width (the width of the strap). Your back piece is done!

I measured the shoulder seam for my traced pattern to be 7.5 cm so I cut out 2 pairs of 7.5 cm width and 50 cm of lengthen straps. Turned out I only needed 42 cm, but better to be safe then sorry, right?
Now that your tracing is done, cut out the fabric pieces and we're ready to sew. First of all, sew the bodice front and sides together, and then the back pieces on to each sides. Repeat for the lining. Then we go over to the straps, right sides together and sew each side with the seam allowance of 1.5 cm. Trim the edges as much as you can and turn it over and give it a good press. After you're done you should have something like this:

Now, lay your shell down with the right side facing up, then place your straps at the shoulder seam and by the notches you made on the side-back so its in a cross. The straps will be a bit shorter, so you'll have to just pin it there anyway though, it will work, I promise! Lay your lining on top of that with the wrong side facing up. Pin everything together.


Start sewing from the end of the notch from the left side to the beginning of the right notch.
Be careful not to sew on the straps underneath (unless it's by the shoulders of course), trim the edges and turn it right side out.

Here is the point when you need a significant other or friend to be your zipper. The job usually falls to my boyfriend who doesn't have a clue what he's doing, but he manages to do simple tasks with clear instructions. The reason why you need extra hands is that you need to have your arms down to be able to see how much of the strap you need to cut off for the dress to sit natural, they can also help you pull the straps to fit your unique body and measure it.

Measure and cut the straps to fit, and sew the remaining of the bodice. If you want to you could also secure the straps at the intersection with a few hand stitches. Voila!

Cut out your skirt. I choose the Flora skirt once again to show you a replica of the previous dress, but this time I added some pockets, because I'm lazy and don't like carrying around purses at parties. Then attach the skirt to your bodice, remember to line up the seams from the skirt and bodice, insert the zipper, hem the dress and your Floralex dress with backless straps are done!


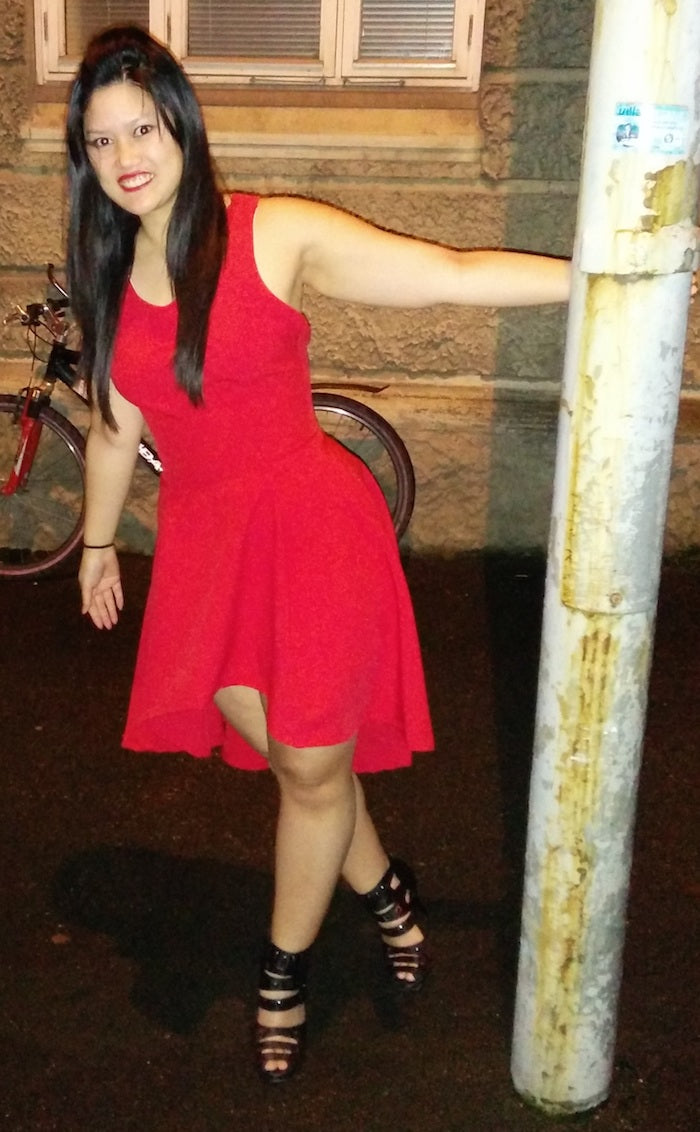
And look! No side-boob! Your ladies are secure even without a bra, thumbs up!

Hope you enjoyed this tutorial and that it has been helpful, maybe making one for a fun Christmas party? Sophie out.
-
Elisalex de Castro Peake

Comments on this post (1)
The dress looks awesome! Your creativity knows no boundries! I’m so proud of you! :D
— Julie