
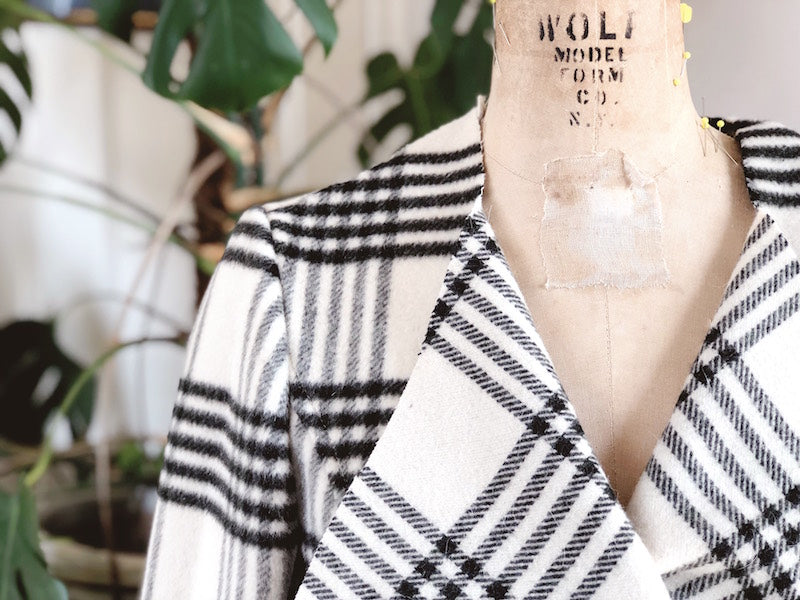
We're getting closer and closer to the finish line folks! Today it's all about the sleeves, and we can't wait to try our Rumana coats on at the end of today's task!
You will need:
- The assembled shell of your Rumana coat and the sleeve pieces
- The assembled lining and sleeve lining pieces
Sewing the sleeves
Take the larger outer sleeve piece and lay it down, right side facing you. Lay the narrower inner sleeve piece on top, right sides together, and pin the longer seam - this is the sleeve's back seam.

Stitch with the usual 5/8" or 15mm seam allowance, grade the excess seam allowance of the larger outer sleeve piece, press the whole seam over towards the outer sleeve and topstitch as you did for the coat's princess seams.

Right sides together, pin and stitch the remaining shorter seam - this is the sleeve's underarm seam. Press this one open. No need to topstitch here, in fact you'll see that it's actually impossible to do so!

Repeat for the other sleeve, and for the sleeve lining pieces, although no need to topstitch the sleeve lining - simply press seams open.
Shoulder seams (shell)
In the last post, we sewed the shoulder and side seams of the lining, but not the shoulder seams of the coat shell. Let's do that now before we set those sleeves in.
With right sides together, pin and stitch the shoulder seams, remembering to align the the front and back at that imaginary seam line, not the raw edge. There will be a little triangular shaped overhang at the neckline edge - this is normal and very common for shoulder seams, but you should see that the seam line (5/8" in from the raw edge) matches up perfectly.

Press the shoulder seams open. Now we're ready to set those sleeves in!
Setting in the sleeves
Turn your sleeves out to the right side, and your coat shell to the wrong side. Slip one of the sleeves into its corresponding armhole - remember that the longer topstitched seam of the sleeve matches up with the back of the coat.
Pin carefully and frequently! Match notches and gently and evenly distribute the excess ease at the sleeve head. I find that it's easiest here to just use my fingers to manipulate the fabric and get loads of pins in there, but you may prefer to run a couple rows of basting stitches around the sleeve head in order to gather it gently to get it to fit. If you do choose this method, remember that the sleeve head should not have any visible gathers when sewn (that's why I prefer to use my hands as opposed to gathers, as I almost always get a little pucker or two when I use the gathering method..)! The other thing to remember is that coating fabrics usually have enough give to make the easing process more straightforward.

The seam allowance at the sleeve head / armhole is 3/8" or 10mm. Removing the tray of your sewing machine, thereby reducing the bed area and making it easier to feed the armhole through, stitch the sleeve into place. Press the seam towards the sleeve and repeat for the sleeve on the other side, and the sleeve lining.

Woo hoo! Things are really taking shape and we're closer to the finish line than you think! This is a great time to try your coat on and check that you're happy with the sleeve length and coat length - remembering that they will both be 4cm shorter when hemmed.
Next up: We'll be assembling and inserting the collar - super satisfying believe me! - and attaching the coat's front and neckline facing.
-
Elisalex de Castro Peake

Comments on this post (0)