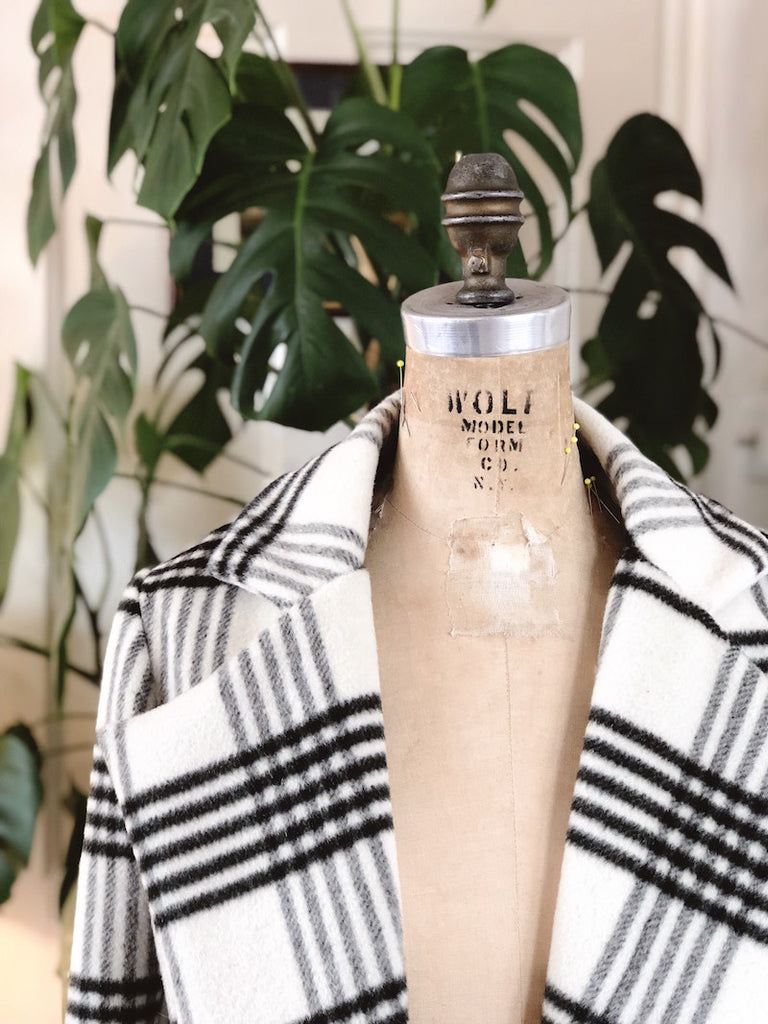

We're so close to the finish line we can practically smell it! Today we'll be sewing the collar and facing of our Rumana Coats, ending up with something resembling a very nearly complete coat...
The collar
Before we begin, make sure that you have everything interfaced, labelled (upper collar, under collar) and ready to go. Check back on this post if you still need to interface.
Start by taking your upper collar piece, and one of your collar stands. If you only interfaced one collar stand piece, that’s the one that needs to be joined to the upper collar.
In order to make easing in these two opposing curves less of a nightmare, we’re going to start by running a line of machine basting stitches (wide stitch length, no backstitching) 3/8” or 10mm from the raw edge of the upper collar’s inner curve.

Staying within the boundary of the basting stitches, clip into the curves. This will release the tension and enable you to ease the collar stand in. Make sure that you don’t lose your notches though!

Now, with right sides together, pin the upper collar to the collar stand at the inner curve of the collar and the longer outer curve of the collar stand.


When pinning, keep in mind that you are matching up the actual seam line, not the raw edges, so you will have a little triangular over hang where the collar stand pokes out - this is normal, and necessary in order to get a flush seam (just like at the shoulder seams).

Stitch carefully with 3/8” seam allowance. Remember to reduce your stitch length back to 2.5ish! Grade the excess seam allowance of the collar stand and press the whole seam into the collar stand. You may need to clip into the seam allowance a little more in order to release any tension caused by the seam allowance.

From the right side, topstitch the collar stand as neatly and close to the seam as possible - 2mm from the seam is ideal.

Repeat for the under collar and remaining collar stand piece and remove any visible basting stitches.

Now place your upper collar and under collar right sides together and pin at the three outer edges, matching notches and corners. The under collar is a tiny smidge smaller than the upper collar so you will need to manipulate the two pieces together as you sew, gently stretching the under collar to fit. This is so that when it’s turned out to the right side the seam rolls subtly to the under collar.

Stitch with 3/8” or 10mm seam allowance.

Grade the seam allowance and clip the corners.

Turn the collar out to the right side and give it a good press.

At this point, run a line of basting stitches along the open edges of the collar in order to keep it all together as we’re joining it to the coat’s neckline.

Joining the collar to the coat
With the under collar facing the right side of the coat’s neckline, start pinning the collar into place. Start at the centre back and work your way out matching notches.

When you get to the first corners of the collar - which match up with the first corner of the coat, heading off in the opposite direction - you will need to clip into that obtuse angle of the coat in order to open that angle up and continue pinning the last edge of the collar. The pinning of the collar stops when the seamed edge of the collar meets the little step in the coat’s lapel.


(as seen from the inside of the coat)
Baste the collar into place with 3/8” or 10mm seam allowance at the coat’s neckline, pivoting when you get to the corners with the clipped points. It helps if you stitch with the collar facing down and the inside of your coat facing you so you can see the clipped corners as you sew.


Assembling the facing
Before we join the facing to the coat and sandwich the collar, we need to join the front neckline facing pieces to the back neckline facing, right sides together, usual 5/8” or 15mm seam allowance.

NB: Your facing pieces and coat front pieces should all be interfaced - it’s only typing this up now and going through the pictures that I’ve realised I forgot!! This is clearly a case of do as I say, not as I do! Not the end of the world though, still going to be a beautiful, functional coat.
Joining the facing to the coat
With your facing assembled and your collar basted in place, time to join the facing!
Right side of the facing facing the right side of the coat - collar sandwiched in between - pin the facing in place all along the neckline (making that same little clip in the corners), beyond the collar and out to the lapels and down the centre front.

Stitch in place with 3/8” or 10mm seam allowance. I always like to start my sewing at the centre back and sew down each side one by one so as to avoid any distortion/puckering which can happen if you start at one hem and work your way around in one go.
Grade the seam allowance of the facing, carefully clip corners and do your best to grade the bulk at the collar.

Turn the facing to the inside of your coat, give it a good press and admire!


Up next: It’s the home stretch as we join the lining, hem the sleeves and hem and finish off that pesky vent!

Comments on this post (0)