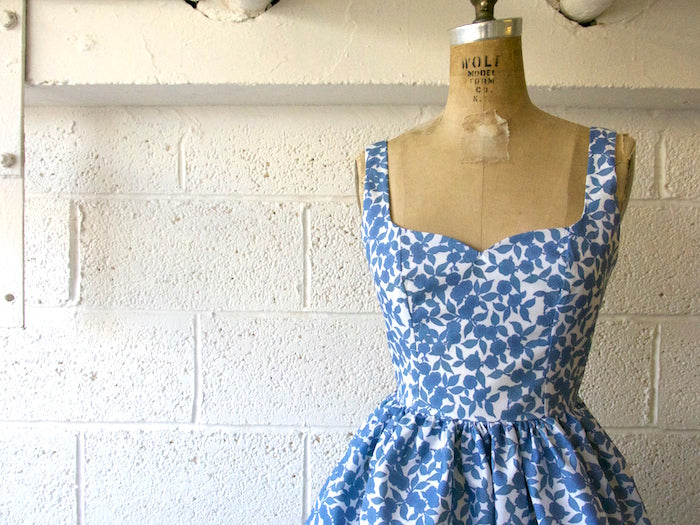
Ahoy there, Sewalongers! We're fast approaching the finish line and our Kim Dresses are really starting to take shape. Today our two's become one as we join skirts to bodices and get stuck into some serious zipper installation.
*To be taken to all the posts in the Kim Dress Sewalong, please click here*
Today we will be:
- Joining our skirts to the bodice at the waistline
- Inserting the invisible zipper
- Closing the back seam
Joining the skirt to the bodice
With right sides together, pin your skirt to the bodice along the waistline. Keep the bodice lining out of the way for now - that will be hand finished in the next post to hide any unsightly seams at the inside of the bodice.
Pin the waistlines together, being careful to match notches, side seams, princess seams to skirt darts in the case of the wrap skirted Variation 1, and the open centre backs.
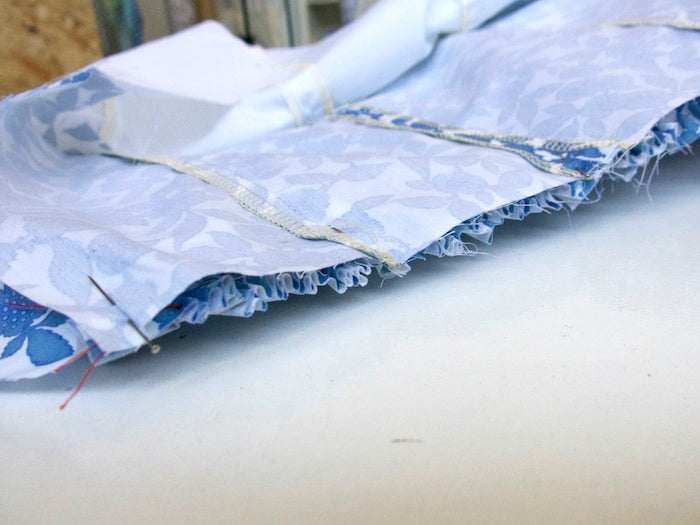
Stitch the waistline into place with your usual 5/8" or 15mm seam allowance. If you're making the gathered skirt of Variation 2, feed your fabric through your machine with the gathered part on the bottom - the feed dogs will help to guide your fabric through preventing your gathers from bunching up as you sew the waistline seam.
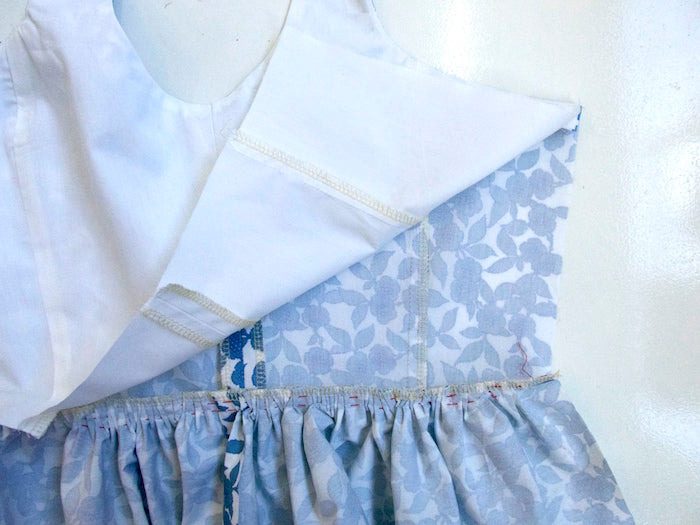
Press the seam up into the bodice and finish the excess. For the gathered skirt, press the seam carefully from the inside so as not to squish your gathers.


Inserting the invisible zipper
If this is your first time inserting an invisible zipper, please don't fret! It's actually very straightforward, and once you've conquered your fear with a little practice, just think of all the things you could make...!
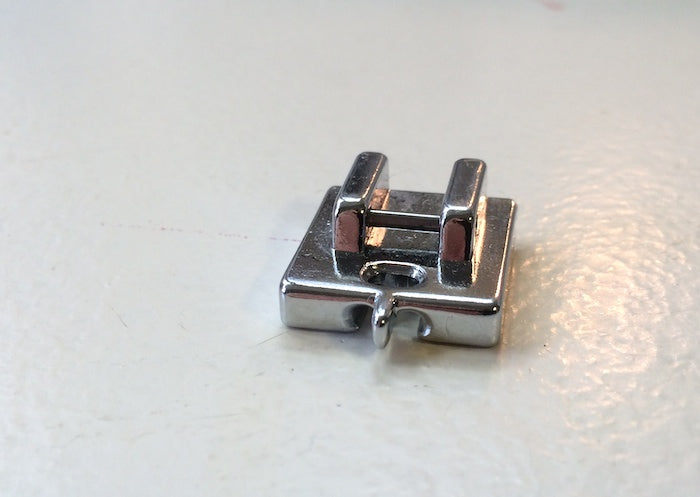
Before you begin, you’ll need to change the foot on your machine to the invisible zipper foot. The invisible zipper foot is unique in that it has two grooves along either side of where the needle goes up and down and in an out of the fabric. These grooves, or tunnels, are what we need to feed the zipper teeth through in order to get our stitching as close to the teeth and as straight as possible.
If you are using an overlocker/serger to finish your seams, it’s a good idea to apply that to your open back seam now, as overlocking a seam once the zipper has been inserted is a nightmare. Just make sure you don’t trim away any excess as you go, as this will mess around with your 5/8” or 15mm seam allowance for your zipper and back seam.
Open the zipper as far as it will go, lay it face down and press the teeth away from the tape. Do this on a low heat, as the zippers are largely plastic after all and have been known to melt.

Place the right side of your zipper facing down and the right side of your fabric facing you. Then, place the right-hand side of the tape down the left-hand opening of your dress and pin into place. Bear in mind that zipper tape is not 5/8” or 15mm wide, so you will have to come a little further in from the raw edge in order to achieve the right amount of seam allowance. Double check this with a measuring tape if you’re unsure. Align the top of the zipper teeth with the neckline seam so that the redundant part of the zipper tape extends past the top of the centre back.
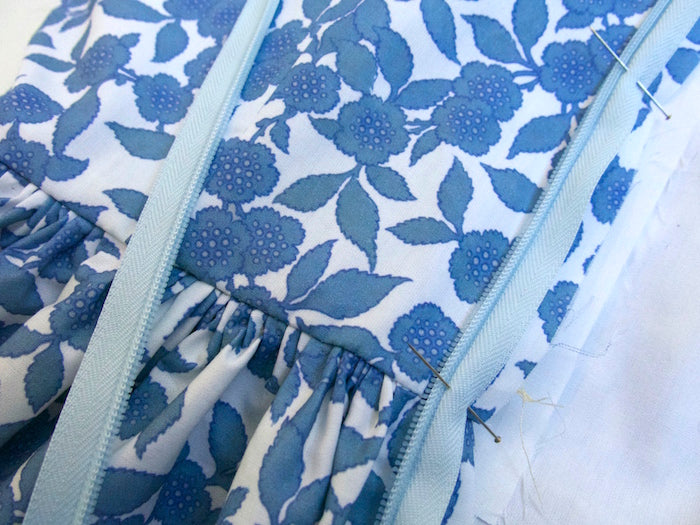
Starting from the top, position the raised teeth in the left hand tunnel of the foot, so that you are stitching to the right of the teeth.

Stitch until the foot meets the zipper pull (which should still be all the way down).
Gently press the fabric to reveal the side you have just stitched. Halfway there!
Now in order to be sure that the waistlines meet perfectly either side of the zipper, zip up your zipper and place a pin on the unstitched side of the zipper tape to mark the waistline.
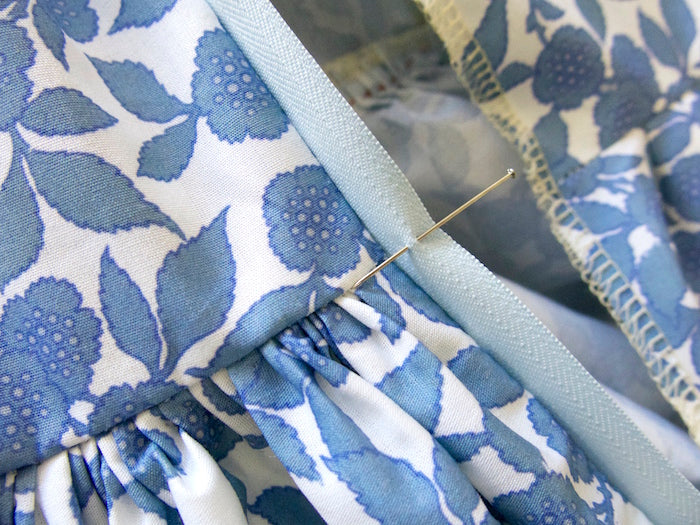
Unzip your zipper and flip it over so it is lying face down onto the right-hand side open centre back of your dress, right sides together. Just as you did before, position and pin the loose zipper tape in place down the right-hand edge of your garment, starting with the pin you used to mark the waistline.

Position the teeth in the right hand tunnel of your zipper foot and stitch down the length of the zip.
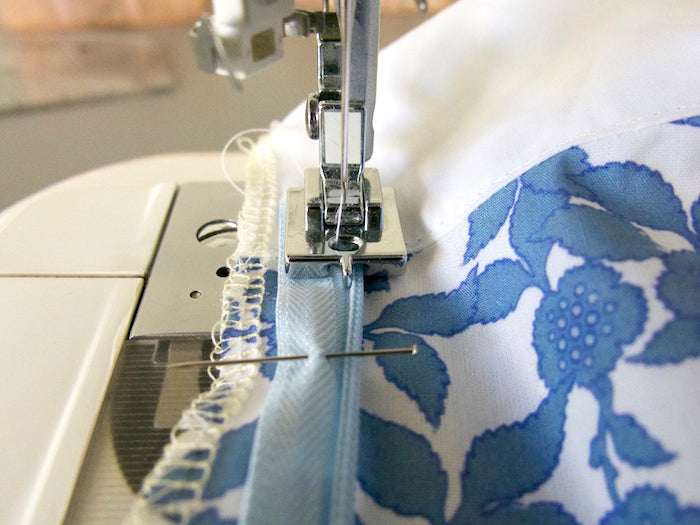
Now zip up your zipper and gently press from the right side. Done! And woulddya look at that beautifully matched waistline seam?! #score
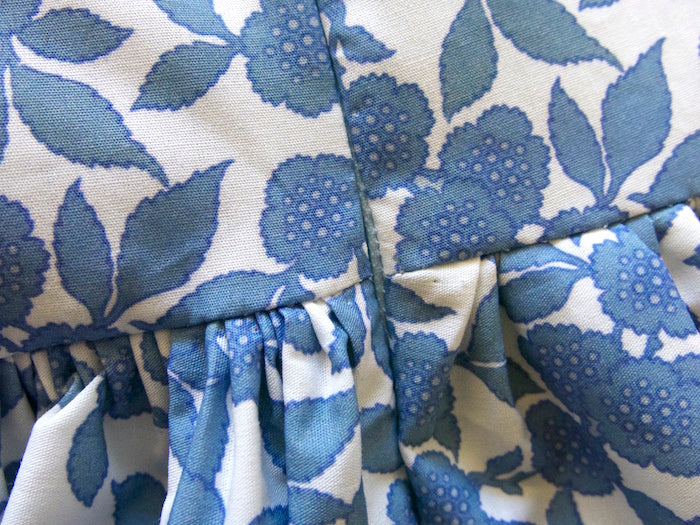
Closing the back seam
To close the remainder of the open back seam, we need to swap to a regular zipper foot:
With right sides together, pin the remainder of the back seam down to the hem.
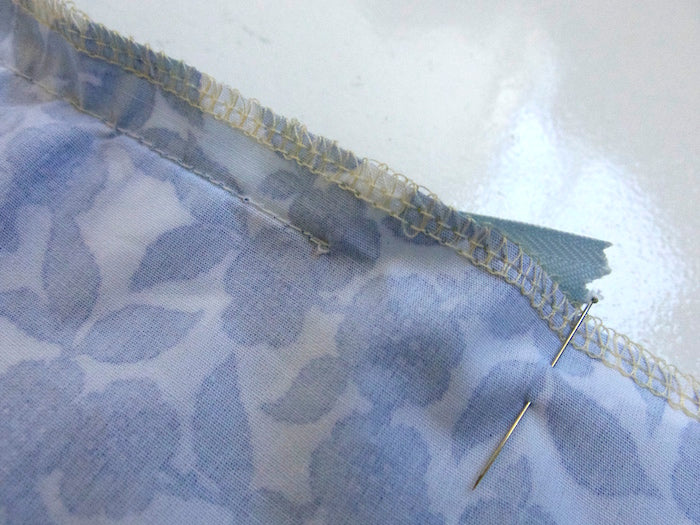
Start your line of stitching as close as possible to where the stitching finished on your zip, and just a little bit up from where it ends, and continue down to the hem. It may not align perfectly at first, and will certainly be a bit fiddly as the bulk of the zipper gets in the way – so don’t worry!

Once you're done with that, press the seam open, being especially careful when pressing over the zipper - turn down the heat!

We're so close now guys! In our next, and final post, we'll be hemming our dresses, neatening off the bodice linings and going through some extra nifty finishing touches. As ever, we love nothing more than seeing your makes, so please please please share your Kim's with us on Facebook, Instagram or Twitter using the handy hashtags #KimSewalong or #KimDress so we can find you. Alternatively, feel free to email us your Kim pics to help@byhandlondon.com. We'll be putting together a little round-up of your Kim's at the end of next week, so you still have plenty of time!


Comments on this post (2)
Hi Christina, you should be able to find an invisible zipper foot from any good haberdashery, or Amazon. I’m not really sure what you mean about the gap across the waistband seam – if you need further help with this please feel free to contact me at help@byhandlondon.com – I hope this helps! ~Elisalex
— Elisalex - By Hand London
Where did you get that invisible zipper foot? I’ve had trouble with all of the one’s I’ve found.
Also what do you do with the extra gap that appears across the waistband seam?
— christina gardner