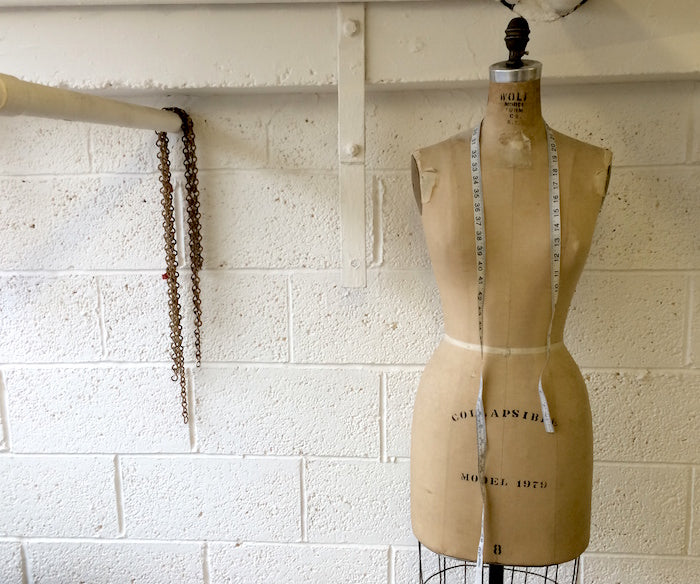
Aloha Sewists, and welcome to the Alterations section of the Kim Dress Sewalong! Throughout these posts we will be going through as many pattern alteration tutorials as we can physically crush in, relevant to the Kim Dress. But it doesn't end there - the extra great news is that a lot of these tutorials will be applicable not only to the Kim, but to a huge amount of other patterns too as we tackle most of the common issues surrounding pattern fitting.
*To be taken to all the posts in the Kim Dress Sewalong, please click here!*
We thought we'd ease y'all in gently and start with the simplest of adjustments:
Lengthening & shortening the bodice
What you'll need:
- Your traced bodice pieces of the Kim Dress (Variation 1 or 2, cut out in the size dictated by your waistline measurement)
- Paper scissors (not the fabric shears!)
- Extra paper
- Tape
- A pen
Please note: We are using itty bitty replica's of the pattern pieces to illustrate the alterations as simply and clearly as possible - please make sure that you alter your real-life pattern pieces, complete with notches, pattern info and grainlines!
Diagnosis - This can be a very subjective alteration as it very much depends on where you like your waistlines to fall. Unlike some of the more complex alterations such as full bust adjustments that can be diagnosed on body measurements alone, this one will need to be spotted on a toile/muslin. Once you've tried on your toile make a note of how much you'd need to add or take away from the bodice in order to make it sit right for you. This is the amount you'll be lengthening or shortening your bodice by.
Step 1
Start by taking your bodice front pieces and if you haven't already, trace off the double lines that run parallel to the waistline and say "lengthen/shorten here".
Step 2
Slice the bodice through the middle of the double lines.
Step 3
If you need to lengthen the bodice, slip a little piece of scrap paper underneath your pattern and tape the top portion of the bodice down. Move the bottom portion of the bodice down by however much you need to lengthen the bodice by, making sure that you keep it even all the way along. When you're happy with the added length, tape it all down, draw in the gaps at the side seams and trim away the excess scrap paper.
Remember to apply this process to all bodice pieces, lengthening them all by the same amount!
If you need to shorten the bodice, just move the bottom portion of the bodice up into the top portion by however much you need to shorten the bodice by, and tape the overlap into place. Again, remember to apply this equally to all bodice pattern pieces.
And it's as simple as that! This technique can be applied to pretty much all bodices, and indeed to many skirt patterns or trouser legs. You could even apply this technique to lengthen or shorten the Kim wrap skirt.
Tip from the top: Always check your adjustment by making another toile to check the fit. Once you're happy with your newly adjusted pattern, copy it out onto some card for extra safe keeping! Although this is a straightforward adjustment to make, no one wants to have to do it twice...


Comments on this post (0)