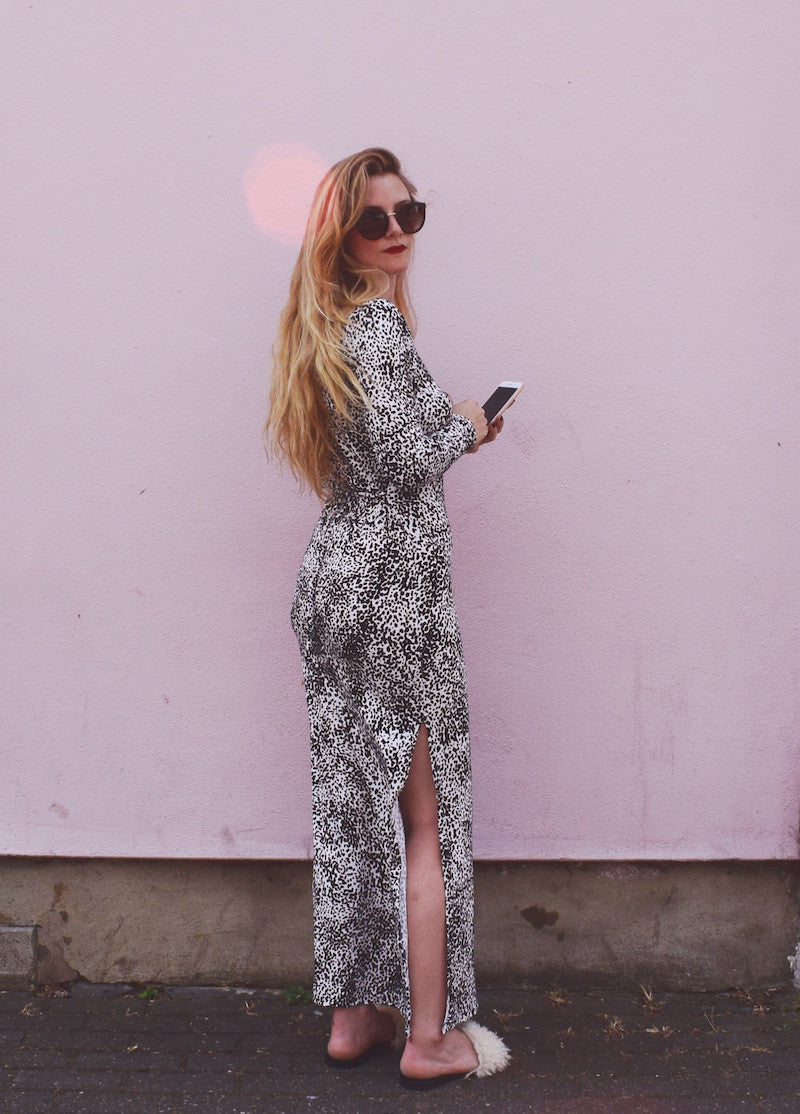
The feedback we get from our pattern testers doesn't only help us to weed out typos, perfect fit and clarify sewing instructions, it very often results in some great pattern hack inspiration! While we were testing Poppy, one thing we wanted to know was whether or not people felt that the fisheye darts were necessary on the maxi variation. Was the slouchy fit without the darts still flattering enough? Or were the darts indispensable to the streamline of the silhouette? Eventually, we settled on recommending the darts on the back, so as to avoid the dreaded all-back-no-bum look, but Emmie of @vintageinkfairy made a hack suggestion that really stuck - little side seam belt loops and a chic rouleau tied in back. Her tester version looked so good, we couldn't wait to try it out for ourselves...
You will need:
- The Poppy top & dress pattern
- A loop turner (optional)
- Your fabric (see the fabric recommendations and requirements on the info page of the instructions)
- Your sewing machine and usual tools and supplies
Constructing the belt loops and rouleau tie
The great thing about this hack is that you won't actually need any extra fabric, as we're going to be making the belt loops and tie from existing scraps.
To make the belt loops, cut two little rectangles measuring 1" x 3". Fold in half lengthways, right sides together and stitch with a shallow zigzag stitch.
Use your loop turner to turn them out to the right side.
For the rouleau tie, cut a longer strip measuring 1" x 55" (or longer or shorter depending on your own personal preference). Construct it in the same way as the loops, tying a little knot at each end to finish.
Assembling the dress
Go about the construction of your Poppy dress in the usual way, until you get to seaming the side seams...
With the right side of the dress facing you - front or back, doesn't matter which - place your loops facing inwards at each side seam aligned with the waistline notch (the first notch down the side seams from the underarm). Pin and baste into place.
Sew the side seams as normal, and remove any visible basting stitches at the loops.
Sew the rest of your Poppy as usual. For mine, I decided to have a split up one leg only, and I lengthened it by about 4" for a bit more leg flash!
You have two options when it comes to styling your new waist tie - either use the rouleau to encircle your waist completely, like a traditional belt...
...or - my favourite - a bit like a trench coat bring the ties back on themselves and tie loosely in back.


Comments on this post (2)
This little hack inspired me to finally finish and start some projects that I was hesitant to work on because I knew adding darts would be difficult for me but some kind of shaping was necessary to make it look like I wasn’t wearing a pillow case. Thank you so much!
— Arti Patel
I suddenly got the urge to learn something new today.. I am not a sewist, by nature. I have only sewed four things in my life, and With the instructions being clear and concise it will have a beginner sewer feeling like a professional sewer in no time!!
— Hannah