*Pssst! This amazing flamingo print fabric is available to buy from our designer gallery!*
In today's Nerdy Sewing Tip, I'll be showing you how to quickly, simply, and painlessly create a perfect mitred corner, all on a sewing machine! If you've ever been frustrated by imperfect hand stitched mitred corners, or worried about the durability of mitred corners that aren't actually joined to each other along the diagonal, then look no further - this technique is both durable and flawless.
Step 1
Fold and press your seam allowance in by 1/2", or 12mm. Apply this to all edges that will require a mitred corner.

Step 2
Next, fold and press your seam allowance in by a further 3/4", or 20mm.

Step 3
Open out the edges, keeping the original 1/2" fold in place.

Step 4
Now fold the corner over diagonally so that you make a complete square with all the pressed folds lined up, as shown and highlighted in pink below. There's no need for you to draw out the square as we have, but if you feel like it might help guide you for the first couple of tries, go ahead!
Carefully press this diagonal fold.

Step 5
Open out the corner - you should have a perfect diagonal press line skimming the corner of the innermost right-angle press line.

Step 6
Now fold the corner back on itself, so that right sides are together. Make sure that all pressed fold lines match up, as well as the pressed and folded outer edge of your fabric.
To create the mitred corner, we're going to stitch along the press line that runs at a right-angle from the corner and down to the outer edge.

As there are two press lines that go from the corner to the outer edge, which could be easily confused, we've highlighted the one we're going to be stitching along below in pink:

Step 7
Stitch along the press line, remembering to backstitch at the start and finish of your line of sewing.

Step 8
Snip off the corner, about 2mm from the stitched line.

Step 9
Now turn your corner out to the right side, use a point turner - or any long pokey thing (a knitting needle is ideal) to carefully push the corner out and give it a good press.
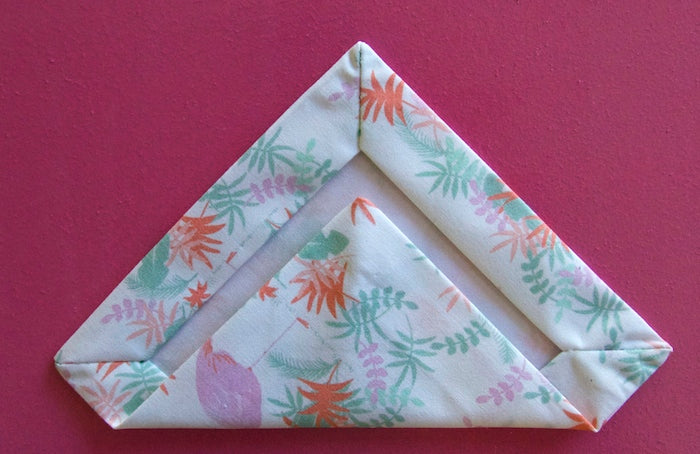
Repeat this process for all remaining corners, sit back and admire your work!

-
Elisalex de Castro Peake

Comments on this post (10)
Thanks so much for this! I was daunted at first but your photos are so clear, I was able to make a really neat corner for my mum’s hanky! 😊😊
— Alison
Thank you this is very well done. Most of us know what you meant in step one and two, but the edges that you fold here are not seam allowances. They are hem allowances.
— Ev R
Thank you for a beautifully illustrated and explained tutorial.
— Anita
Awesome tutorial! I haven’t sewn since high school, which was 20 years ago. I decided to make my mom handmade handkerchiefs for her upcoming birthday and with the help of your instructions they came out great!
— Michael Lynn
Thanks for this easy and very clear instructions!!
Love it!!
— Lili
Just used your tutorial this afternoon to make a tablecloth for my living room! Never thought I’d sew for home dec one day (sewing clothes is so much funnier, right?) but now I did, I’m surprised at how satisfying it felt!
— Juliette
Thankyou and tutorial was easy. No more fustrating corners
— Niketa
The instructions are by far the easiest tutorial on a meitered edge I have ever seen. I’m going to do this today!! Thank you!!!
— Kim
Thank you for these terrific instructions!! :)
— Kate
Mmmm….. Nerdy my a**! Thank you! ❤
— Adri VelBac