Guys, Winter is coming... Again. The chill in the air is for real, and we're pretty sure it's planning to stay awhile. We're not too bummed out though, because with the arrival of Autumn comes a whole lot of goodness too, as long as you adhere to the wise words of the Scouts: always be prepared. To us, that means never running out of hot chocolate, keeping our latest knitting project close to hand, and never going anywhere without a favourite, and preferably oversized, scarf/shawl/pashmina/shahtoosh. But instead of spending a small fortune on the latter, we thought it would be way more fun (for our bank balances) to make our own! Here's how...
You will need:
- 1.5m pashmina wool (we snaffled ours from Classic Textiles on Goldhawk Road)
- Your sewing machine loaded up with matching or contrast thread
- Fabric scissors or a rotary cutter
- A pin

Step 1
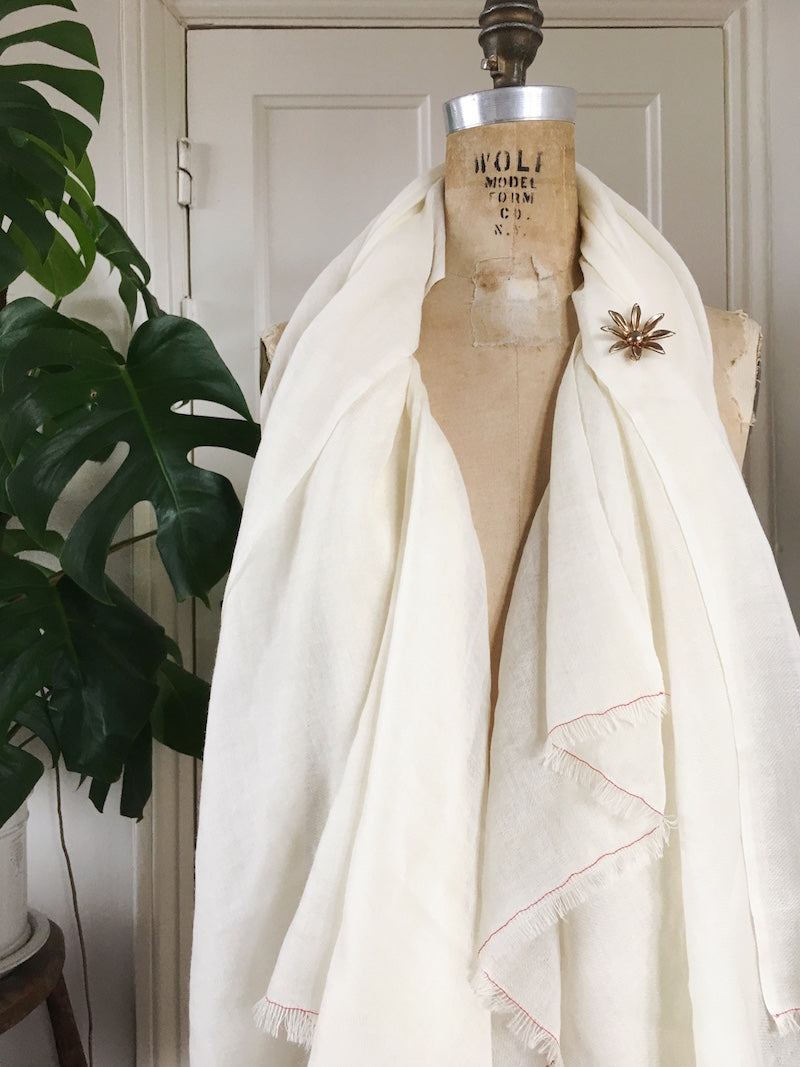
Trim your piece of fabric to the size you want your pashmina to be. Our length of fabric is 150cm wide by 150cm long, which is perfect, so all we're going to do is trim the cut lengths to neaten it up a bit.

Step 2
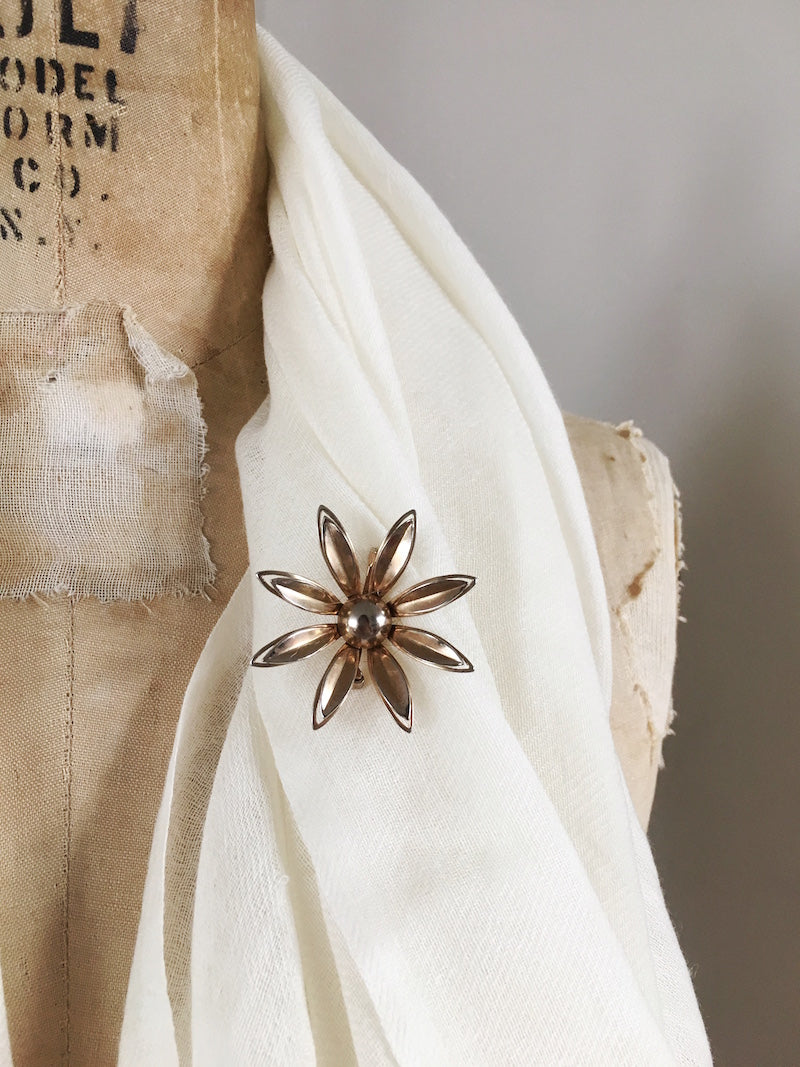
We're going to leave the selvedges as they are - nice and neat and woven and not fraying - but we're going to create a sort of frayed fringe at each of the raw ends.
Sew a straight line of narrow machine stitches about 1" from each raw end. The key here is to stitch as accurately along the grainline as possible... Thread colour here is a personal choice; you could opt for a matching thread in order to keep your stitches invisible, or mix it up with a visible contrast like we have.

Step 3
Take your pin and use the sharp end to help you, carefully pull out the threads that run parallel to your stitching one by one.

Any threads that cross your line of stitching (ie. where you've stitched ever so slightly off grain - and don't worry - you probably will here and there, impossible not to!) simply need to be carefully snipped when they get to the base of your fray so as not to distort the stitches and fray beyond.

And that is literally all there is to it! A soft and cushy, warm and cosy pashmina style shawl to see you through the cold and grizzly months ahead, made in under an hour. Score!


-
Elisalex de Castro Peake

Comments on this post (1)
This is so clear and easy. And your pashmina is absolutely lovely! Thanks for sharing, I’ve got to give this a try!
kennedyelise.com
— Kelsey