It's safe to say that at least 80% of the population of my closet lies in the full skirted cotton day-dress region. I think it's also safe to say that at least 80% of you reading this post can probably say the same. As much as I love the printed cotton full skirted look, there are two things that get on my nerves - 1. When the wind blows it up over my head, and, 2. When it never looks as full and pouffy as the girls on the vintage pattern sleeves. Enter the petticoat. Once upon a time a wardrobe staple - for both practical and aesthetic reasons - I feel like these days they are massively under-represented and in dire need of a comeback. Bonus is that the extra layers will keep you warm in Winter and give you added dancing swishability in Summer always.
You will need:
- 2-3m cotton lawn
- 3-4m net or tulle (avoid the scratchy stuff!)
- A length of elastic or a drawstring long enough to encircle your waist
- Our circle skirt calculator, or this post
- Your usual dressmaking tools and supplies
Step 1
The petticoat consists of two layers - the cotton lawn underskirt, which is a half circle skirt cut using your hip measurement, plus a couple of extra inches to allow for getting it on and off, to work out the radius. The tulle top layer is also a half circle cut in the same way as the cotton underskirt, but is has a gathered hem ruffle for extra flounce! Cutting the petticoat according to your hip measurement as opposed to your waist basically results in a half circle skirt that is easy to slip on and off without the need for a zip or opening, but also means your petticoat will be just a tad fuller than a half circle cut according to your smaller waistline. It also means that you'll be able to wear your petticoat up high on your waist or lower down on your hips depending on the style and length of the dress/skirt you're wearing it under.
To cut your cotton underskirt - use your hip measurement plus 2" to figure out the radius of your half circle. Fold your fabric in half lengthways and map out your skirt using the diagram below as a guide. The length you go for is entirely up to you - I opted for a finished length of 24" as that's how long the vast majority of my full skirts and dresses are (classic on the knee length). Just remember to factor in 5/8" seam allowance at the waistline and 1/2" hemming allowance.

To cut your tulle top layer - the tulle is cut in exactly the same way as the cotton underskirt, only shorter in order to accommodate the length of the hem ruffle. I cut mine 16" in length. The hem ruffle is simply a length of tulle that, in my case, was 11" deep and 200" long (2.5x the circumference at the hemline of the tulle top layer). Of course, I had to cut the hem ruffle as two lengths of 100" each which I later seamed to for one continuous loop.
Step 2
Start by closing the back seam of both the cotton and tulle skirts individually. Use a regular straight stitch for the cotton skirt, but switch to a wide zigzag when working with tulle or net.
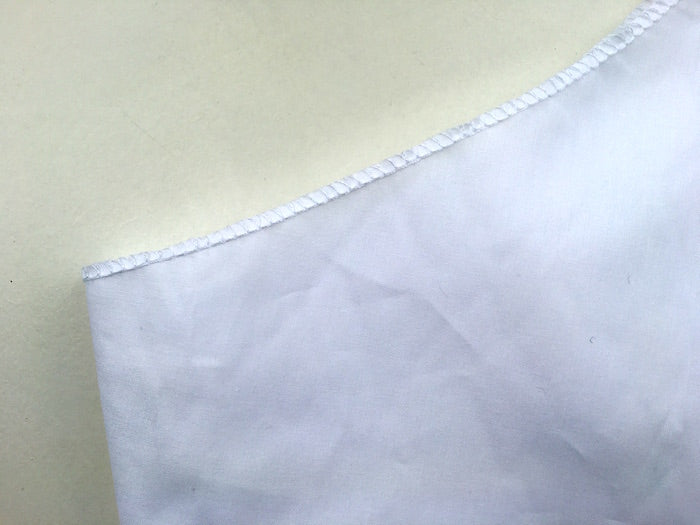
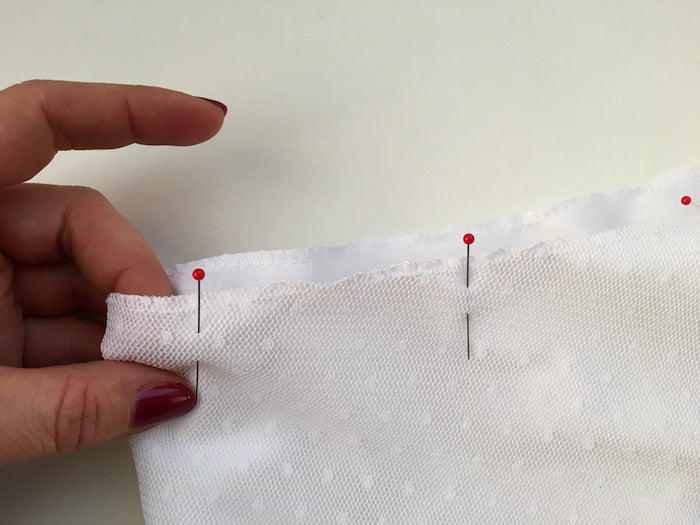
Stay stitch or overlock/serge the waistline of your cotton underskirt.
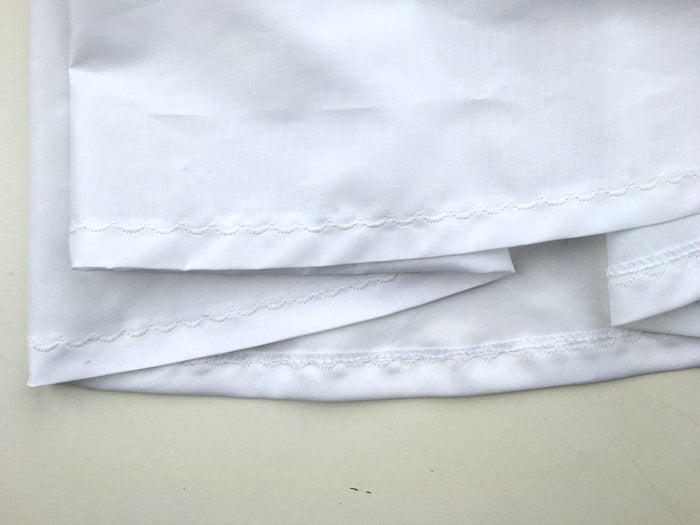
Hem your cotton underskirt. I wanted to add a little hidden detail to mine so I chose one of the decorative stitches to hem my underskirt. It took aaaaaages and used up a lot of thread, but I love the texture and finish of the white on white.
And finally, if you haven't already and need to, join your ruffle lengths to form a continuous long loop. I overlocked mine, but a wide zigzag stitch on a regular sewing machine works just as well.

Step 3
Next step is to gather the ruffle. You can do this by hand or machine, it's totally up to you and the gathering technique you're most comfortable with. You can always check out our tutorial 3 ways to gather, or if you've got some dental floss to burn, try this lightning fast alternative method!
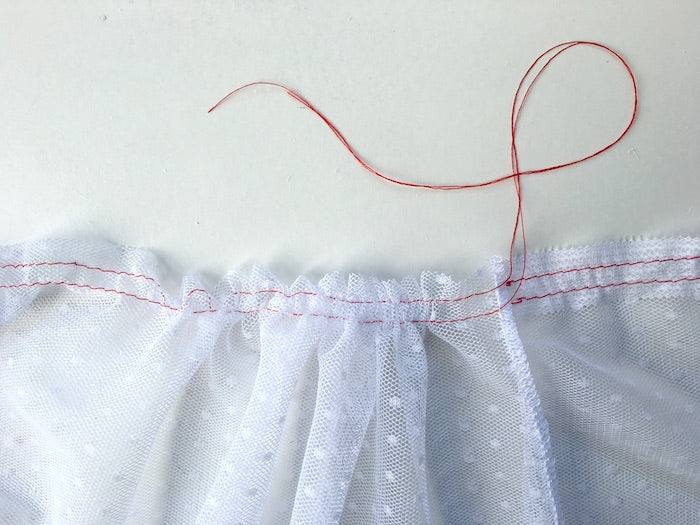
Gather the ruffle so that it matches the hemline of the tulle skirt, and don't forget to tie off your gathering threads in order to prevent your gathers from undoing as you sew...


We're going to sew the ruffle directly onto the tulle skirt, wrong side of ruffle facing right side of skirt, as opposed to right sides together. Choose a wide zigzag stitch and sew from the wrong side, so that the gathered ruffle is helped along by the feed dogs on your sewing machine, and your foot can glide easily over the flat layer of tulle of the main skirt part. Am I making sense?! Words can sometimes start to lose meaning when I'm trying to translate something so practical and visual into written sewing instructions...


Now that your ruffle is perfectly in place, you can remove any visible gathering threads.

Lay your tulle skirt over the cotton underskirt - right sides of both facing you - and pin them together along the waistline. Baste.
Now fold your waistline in by 5/8" and press carefully - but check first how your tulle reacts to your iron! If it is of the melty ilk, place a piece of cotton between the tulle and your iron to avoid destroying your petticoat at the eleventh hour.
Stitch the waistline down, leaving enough space to provide a casing for your elastic or drawstring, and leaving a gap of about 2" unstitched to allow you to feed your elastic through.
To easily feed your elastic through your waistline, attach the end to a safety pin and push it through and along and out the other end.


If you've used elastic, simply tie the ends of in a secure double knot and then stitch down the opening at the waistline. If you've used a drawstring, you'll need to leave that opening open!
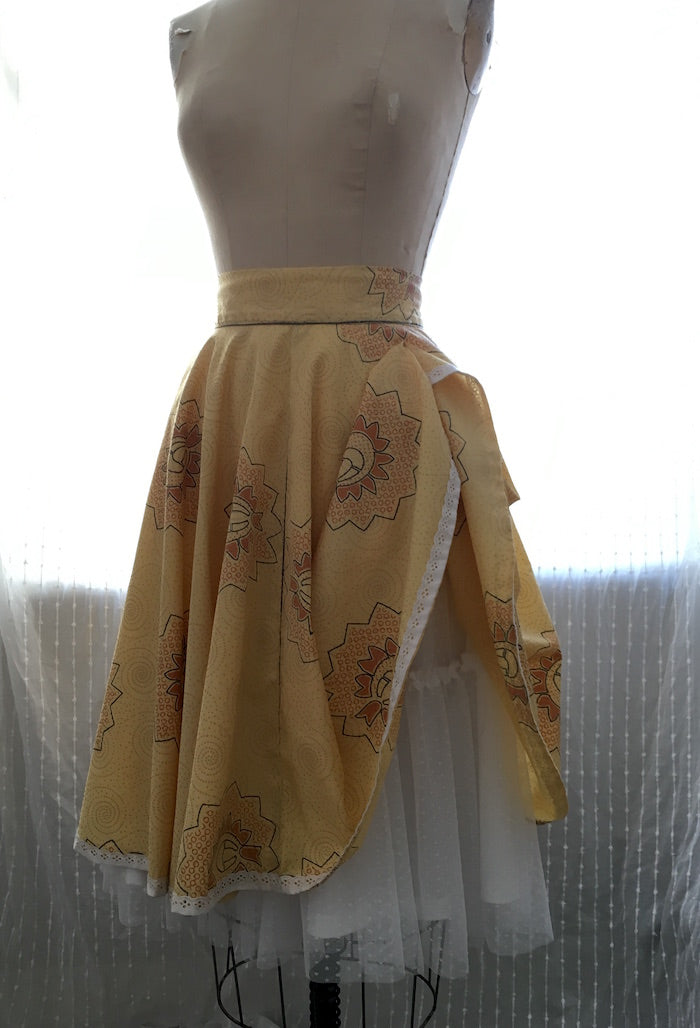
Your petticoat is done! If you made yours to the same lengths and measurements as I did, you'll have a pretty little overhang of tulle past the hem of the underskirt - I personally like this and did it on purpose, but if you'd rather your petticoat be uniform in length, simply trim the excess away :)


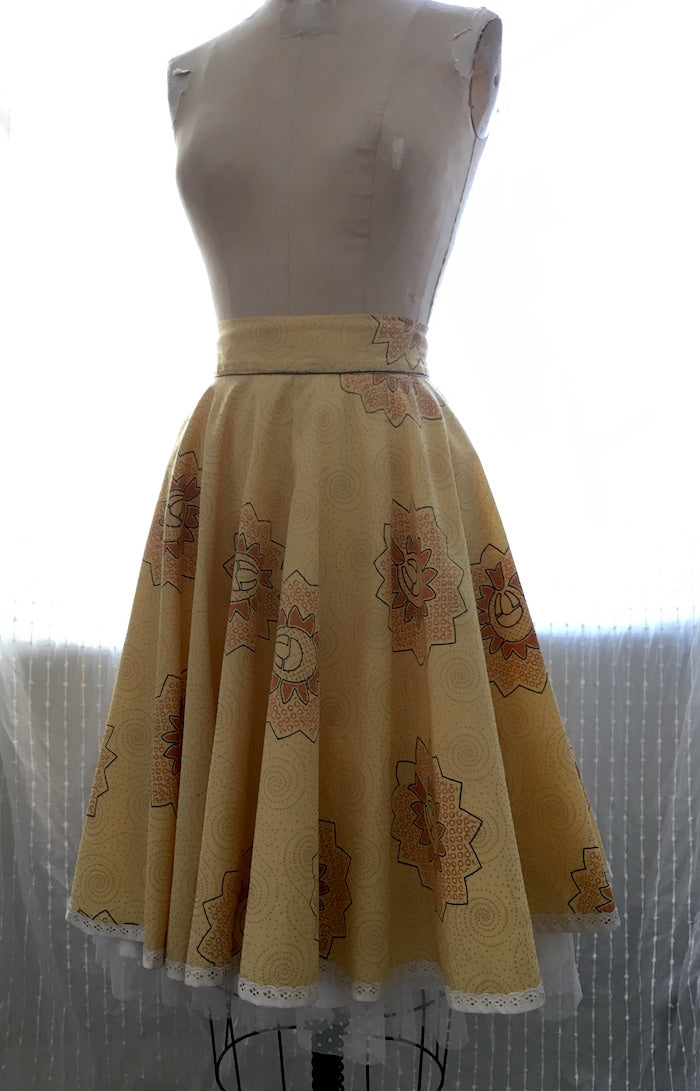
And here she is in action worn under a classic full circle skirt:

I'm already planning a black maxi version...!
-
Elisalex de Castro Peake

Comments on this post (6)
Very lovely, thank you for the wonderful tutorial.
— Denise Vasquez
Lovely! I have some very drapey but not very opaque fabric and this petticoat is just what I need. I suppose it can be made with or without the gathered layer. I don’t want to exaggerate my huge hips too much! Whichever it will be so useful. Thank you.
— Maggie
I too wish they would make a comeback!!!!! I love them and the way they make my skirts and dresses look.
— molly bradley
Hi Evelyn, you could just use the straight stitch, but maybe run two parallel lines for extra security… Don’t be afraid of the serger – have a look at some youtube tutorials and get stuck in!
— Elisalex
This is beautiful and explained really well. Do you know how I might do this without using a zigzag stitch? My machine only does straight stitch (Featherweight 221). (I also have a serger but I haven’t learned how to use it yet.) Thank you.
— Evelyn
This is so pretty! I wish petticoats like this would make a proper comeback.
I will definitely be making one or two in the hope I will inspire others.
Thanks for the fantastic instructions.
— Laura Pankhurst