I think we can all agree that a French seam is up there with the slickest seams of all time. Fast and flawless, and not requiring of any fiddly extras or specialist equipment other than just a basic sewing machine, the French seam is without a shadow of a doubt, my favourite. Going Français on a straight seam is like a stroll along the Seine in Springtime, but what about those pesky curved seams?? In actual fact, the process is pretty much identical to how you'd French a straight seam, with just a little more care and precision taken in the process...
How-to:
Pin your pieces of fabric together, wrongs sides facing. Be sure that you have carefully matched any notches and seams.

Stitch with 3/8" or 10mm seam allowance. Trim the excess right down to about 1/8". The closer to your stitches you can trim (without compromising the seam!), the better - this will ensure that your curved French seam is pucker-free.

Press the seam to one side, and then fold your fabric back on itself so that you now have right sides together. Press, pin, and stitch with a final 1/4" or 6mm seam.
With a straight French seam, you'd be forgiven for sometimes stitching the 1/4" first, and other times stitching the 3/8" first. With a curved seam, it is imperative that you sew the wider 3/8" seam first, thereby reducing the likelihood of ending up with a bunchy, puckery finish.


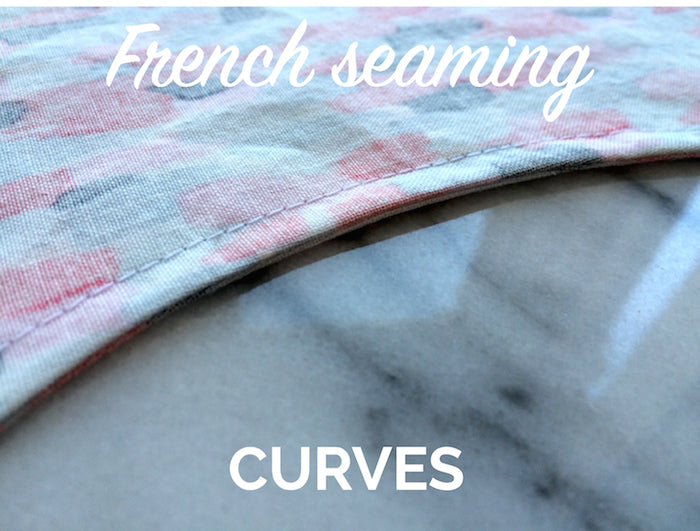
All done! Press your seam allowance off to one side (whichever side it seems to naturally fall to without it feeling like it's tugging) and you're good to go.

Side note: Not all curved seams benefit from going French. We don't recommend that you sew a French seam anywhere that you want to minimise bulk, such as a faced neckline seam or a princess seam at the bust on a lined bodice.
-
Elisalex de Castro Peake

Comments on this post (5)
If you press the seam flat & then press it open on a point presser, it’ll turn easier & the result will be a bit more crisp. Grading the seam slightly will also help with any bulk.
Nice tutorial, very useful for really upping the quality level of one’s sewing!
— Ann
Hi Beth, as long as the seam allowances are pressed off into opposite directions, then you won’t have a bulk problem. Of course, if you have a 3 or 4 seam intersection, you might want to avoid French seams and get down to some serious grading instead. Hope this helps!
— Elisalex - By Hand London
I worry about doing all elements with French seams. Where one seam meets another would there not be too much bulk?
— Beth
Hi Stephanie, go for it!! It’s just the same as we’ve outlined here, just go slow and carefully if there’s any easing in to do at the sleeve head. Good luck!
— Elisalex - By Hand London
I have always wondered but haven’t dared yet doing a French seam on an armhole … do you have any tip on that ?
Thanks a lot !
— stephanie