
Pattern alteration can be a truly daunting thing, especially when you've only just got the hang of sewing! But we're pretty sure that you, like most people who learn to sew, are determined to create a handmade wardrobe that fits and flatters unlike anything you've been able to find in the shops. We're all in the same boat, mainly because hardly anyone - whether you sew or not - will slot perfectly into the sizing proportions set out by high street clothing manufacturers. If this is your first foray into pattern alteration, panic not! Eloise is a very forgiving dress, and the alterations straightforward, so consider this your gentle introduction into the world of FBAs, SBAs, full biceps and the like!
**To be taken to all the posts in the Eloise Sewalong, please click here**
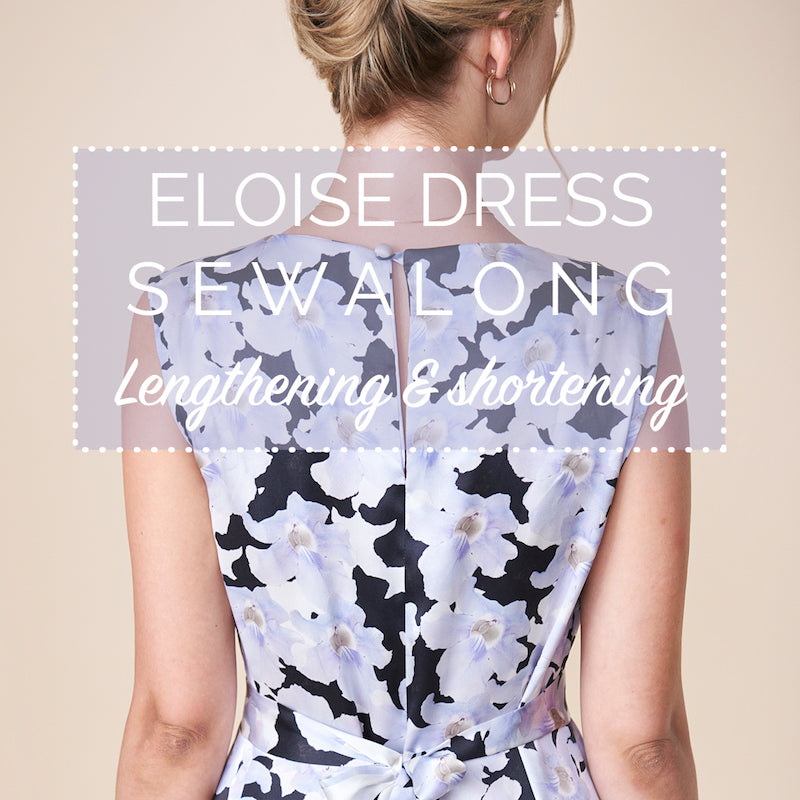
LENGTHENING / SHORTENING THE ELOISE DRESS & SLEEVES
Definitely the easiest alteration you'll ever have to make to any pattern, but one that will familiarise you with the concept of "slashing & spreading", which is integral to pattern alteration.
But what is slashing & spreading??
Slashing & spreading is where we slash (read: cut!) the paper pattern pieces at key points, and then spread them out to create more space where we need it, like at the bust for example. What the term slashing & spreading doesn't imply however, is that with pattern alteration we're not just trying to make the pattern fuller. If you need to reduce volume or length or whatever, once the pattern has been slashed, you can also collapse it in on itself in order to make things smaller / shorter / less full.
On the Eloise dress, there are four spots that you may need to lengthen or shorten:
- the sleeves
- the bodice section of the dress, if you have a long or short torso
- the skirt section of the dress, if you have long or short legs, or simply prefer your dress longer or shorter
- the hem frill, for aesthetic reasons, if you wish to make it longer or shorter
How do I know if I need to lengthen or shorten??
Some alterations can be diagnosed by comparing your measurements to that of the sizing chart on the pattern's instruction booklet. I'm afraid this is not the case for this one!! To spot a long or short torso, to decide whether or not you'd rather your sleeves were longer or shorter, you need to make a toile.
A toile is basically just a practice run of the pattern, sewn up quickly - no fancy seam finishes, one sleeve, raw neckline, you catch my drift - in a cheap fabric that you don't plan on actually wearing, instead using for the purposes of diagnosing the fit so that when you get to sewing with your actual fashion fabric, you know it's going to fit right for you.
When you try on your toile, take a look in the mirror and ask yourself the following questions:
- are the sleeves too long or too short for me? Remember to take hemming/seam allowance into account here, and for the following!
- does the gentle concave curve at the side seams sit by my natural waist?
- do I like the point at which the dress and hem frill meet? Would it be more flattering on me if I raised or lowered that seam?
- do I like the overall length of the hem frill?
When you've decided which points need to be lengthened or shortened, you'll need to figure out how much by. On a dress with a relaxed fit such as Eloise, this isn't an exact science, nor does it really need to be. Using your tape measure, you basically just need to measure on yourself how much shorter/longer you'd like your sleeve/hem frill seam/hemline to be, or how much you'd like to pinch out of, or add to the torso length.
We're going to first show you how to lengthen or shorten in general, and then we will highlight the points on this particular pattern you'll need to apply this technique to in order to fix the various problem areas discussed above.
Lots of commercial sewing patterns will already have lengthen / shorten lines printed on them:

If they don't, all you have to do is draw a horizontal line across the point you wish to add or remove length:

Please note that we are using itty bitty replicas of our pattern to demonstrate - it's not full scale!
Cut across this horizontal line.

To lengthen your pattern piece, bring the bottom piece down, thereby opening up some extra length in between your slash line. Slip a piece of scrap paper underneath, and keeping the distance parallel all the way across, tape it down when you have added the extra length required. If your pattern piece has a centre front, or centre back, that needs to remain straight and flush as you extend the length.

To finish, we need to redraw the pattern lines at the side seams to close the gap we created. Do this with a ruler in order to draw a smooth, straight line from top to bottom. This is called "trueing out". Cut away the excess scrap paper.


To shorten your pattern piece, bring the bottom piece up, overlapping and thereby removing the unwanted length in between your slash line. Keeping the distance parallel all the way across, and keeping centre front/back lines flush and straight, tape it down when you have removed the extra length.


To finish, we need to redraw the pattern lines at the side seams where we overlapped the pattern. Do this with a ruler in order to draw a smooth, straight line from top to bottom. This is called "trueing out". Cut away any excess at the overlap.


Lengthened and shortened sleeve pieces looks like this:

Lengthened sleeve on the left; shortened sleeve on the right
If you need to lengthen or shorten the bodice section of the dress for a long or short torso, we have provided the lines for you to do so on the pattern. If you're working with a pattern that doesn't have these lines, draw across the bodice about 2" up from the waistline. Remember to apply your alteration to both front and back pieces in exactly the same way!


Lenghtened bodice back piece
If you need to lengthen or shorten the skirt portion of the dress (not the hem frill; still on the main dress front and back pattern pieces A & B), you can draw your horizontal line across the pattern piece about 2" up from the hemline and lengthen or shorten as needed:

Remember to apply your alteration to both front and back pieces in exactly the same way!
If you'd like to lengthen or shorten the hem frill (or sleeve frill), instead of slashing and spreading, we're just going to add or remove some length directly to/from the hem:

Image above shows length about to be removed from the hem frill
*

Image above shows length added to the hem frill
And there you have it! With all alterations, we highly recommend that you make another toile to check that you're happy with the alterations that you made before cutting into your delicious fashion fabric!
-
Elisalex de Castro Peake

Comments on this post (0)