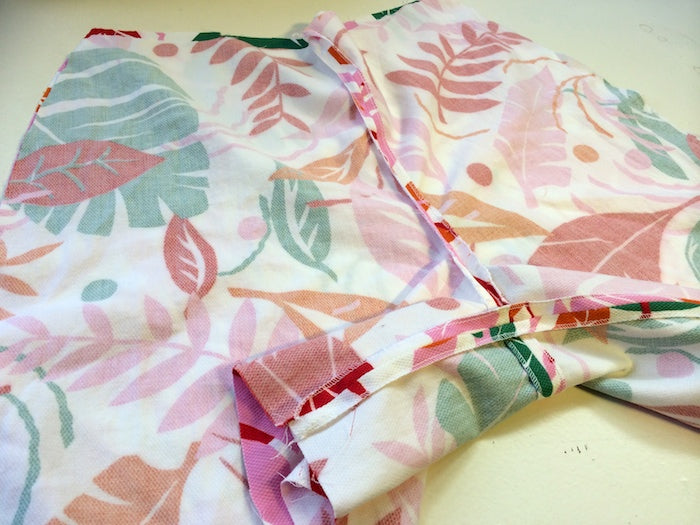
Things are really taking shape today - and we promise that you'll be happily surprised at how smoothly these trousers come together. If you're making the stand-alone trousers of Variation 3, welcome back to the sewalong - we've missed you!
*To be taken to all the posts in the Holly Jumpsuit Sewalong, please click here!*
Today we will be:
- Stitching the darts
- Stitching the crotch seam
- Closing the inseam
- Closing the right hand side seam only
Darts
One of the wonderful things about the way these trousers are drafted is that we only have darts on the trouser back pieces. This not only gives a sleek finish to the trouser front, but also - less dart sewing!
Pinch a dart - which we marked out in this post - between your fingers, right sides together and matching the notches at the waistline.
Pin into place.
Stitch from the waistline down, remembering to backstitch at the start of your sewing, but not when you get to the vanishing point! Instead, tie off your threads with a double knot.
Press the darts towards the side seams.

Your trouser back pieces should be looking a bit like this from the right side... Please bear in mind that we have shown these steps on the shorts variation of the Holly Jumpsuit pattern, but it's exactly the same process for the full length trousers.

The crotch
*If you are unsure as to where the crotch, inseam and side seams should be, please refer back to the pattern tissue where you'll find it all clearly labelled*
Start by taking your two trouser back pieces and placing them together, right sides facing. Pin all along the curved crotch line.
With our usual 5/8" or 15mm, stitch the crotch seam.
Clip into the seam allowance at the curves - but by no more than 3/8" or 10mm so as not to snip your stitches! - to release the tension making it easier to press your crotch seam open.
The inseam
Lay your trouser front on top of the trouser back, right sides together, and pin the inseam, matching the crotch seams.

In order to get your trousers to meet perfectly at the crotch seam, start your line of stitching at the crotch seam and sew each leg one at a time.
Press the inseam open and finish the excess.
The side seam
Finally for today, we need to close the right hand side seam only - and I mean the right hand as if you were wearing the trousers - we need to leave the left hand side seam open, ready for zipper insertion next week.
With right sides together, pin the right hand side seam.
Stitch, press open and finish.
If you're overlocking/serging your seams, and especially if you're making the stand-alone trousers of Variation 3, now is an excellent time to finish the raw edges of your open side seam, as you'll have a nightmare time trying to finish the excess one your zipper has been inserted. Just make sure you don't trim away any of the seam allowance!
Et voilà! You should now have something that very much resembles a pair of trousers or shorts! Go on, try them on...
Regardless of which variation you're making, we'll be back in the early hours of next week to sew the waistline seam, assemble some waistbands, insert the zippers and get these babies all wrapped up!
Until then, goodbye from me and have a wonderfully spooky Halloween weekend! Also, watch this space for an exciting announcement tomorrow...


Comments on this post (0)