One of the things I get asked the most when I'm teaching dressmaking and fitting classes is, "can I just add a sleeve to a sleeveless bodice?". The quick answer is no - a sleeveless bodice has been designed to be sleeveless, and the armhole is very different to one which is designed to hold a sleeve, so by sewing a sleeve into a sleeveless armhole, you'll end up with a whole host of fitting issues that will make you wish you hadn't bothered! However, it is possible to change the armhole of a sleeveless bodice so that it will accommodate a sleeve that will fit well and look amazing! And it's a lot simpler than you might think...
You will need:
- Your sleeveless bodice pieces - we're using our Kim dress pattern
- The bodice pieces of a pattern that has sleeves that you already know to fit you well, or the bodice pieces of a pattern that has the sleeves you want to add! We used our Hannah wrap dress pattern
- Spare pattern paper
- Pens, pencil & a ruler
- Paper scissors
- A French curve (optional)

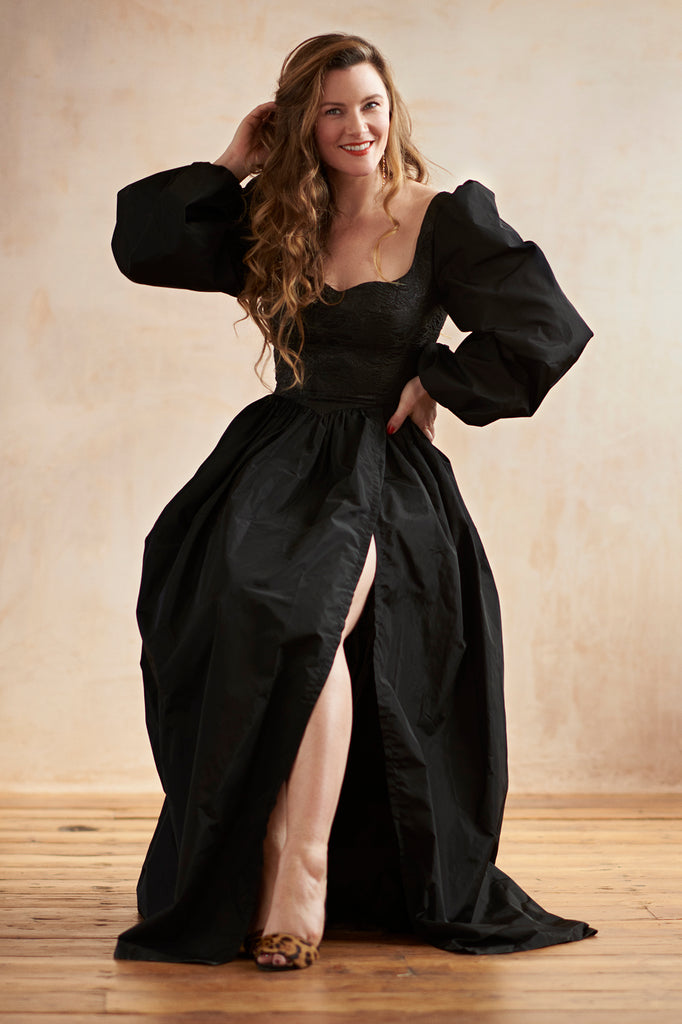
For this extravaganza I made for NYE, I used our Kim dress bodice in a black and lurex cloque, added big taffeta bishop sleeves and a gathered skirt with a thigh high split. All fabric was from New Craft House • Photography by Elodie Nizon; hair & makeup by Poppy France
Before we begin we first need to understand the difference between a sleeveless armhole and one designed for sleeves: in short, an armhole that is designed to fit a fitted sleeve (I'm omitting things like dropped sleeves and dolman sleeves here) fits much closer to your underarm than a sleeveless armhole. The underarm seam of a fitted sleeve should be about 3/4" down from your armpit. An armhole that sits too low will result in restricted movement of your arms, and bizarrely will feel too tight, despite the fact that the problem lies in the armhole being too loose.
Step 1
Take your scrap paper and trace off your sleeveless bodice pieces, front and back. If you're working with a princess seam bodice, like our Kim dress, you'll only need the pattern pieces that contain the armhole - in this case, the side front and side back.

Step 2
Starting with the bodice back, take your existing sleeved pattern and lay it over your tracing. Align the outer corner of the shoulder seam and the edges of the side seam. Trace off the new back armhole curve and the shoulder seam.

You'll find that there is more coverage and that the side seam is now coming up higher - this creates the snugger underarm fit that we're after! At the shoulder, you'll probably find that the angle is a little straighter, and the line considerably longer.
The pink line represents the original sleeveless armhole; the blue line represents the new armhole and shoulder seam.

Step 3
The front armhole will look a lot weirder when compared to the sleeveless armhole, and if you were to trace it directly onto your sleeveless pattern like we did for the back piece, you'd likely end up with a significantly higher underarm and as a result, side seams that don't match. But don't worry! Even though the front armhole of your sleeved pattern is a different shape, what's important here is:
- the armhole circumference (so the sleeve fits)
- the extra coverage at the underarm
So, instead of tracing the front armhole off, instead we're going to raise the side seam by the same amount that the back armhole went up by, and draw a new curve. We're also going to draw the new shoulder seam in the same way we did for the back.
To transfer the armhole notch - which you'll need when in comes to setting in your sleeve - measure the distance between the side seam and the notch on the sleeved pattern piece, and then transfer that same distance on your new pattern piece.

Step 4
We've altered the curve of the armhole both front and back, and now we need to extend the shoulder seam ever so slightly so that there's a little more coverage on the shoulder to prevent the sleeves from slipping off your shoulders.
I extended my shoulder seams in towards the neck by 1cm (3/8"). Then use a French curve or your best hand drawing skills to redraw the neckline using the image below as a guide.

And that's pretty much all there is to it! I would definitely advise making a quick toile of this new bodice with the sleeves to check that you're happy with the fit, before you cut into your main fabric.

For this dress - because obviously I had to make another version just for the sake of this tutorial :) - I used our Kim bodice again, and the sleeve pattern piece from our Hannah wrap dress. The floral fabric is a viscose twill from Fabric Godmother, and the black bodice is a stretch twill from Rainbow Fabrics.
-
Elisalex de Castro Peake

Comments on this post (4)
Finally, I find a dress that fits the image in my head perfectly and it’s not a pattern! Is there a chance of this being made into a single pattern? ❤️
— Rosy
G’day – thank you so much for this! I’m a beginner sewist and trying to work out this kind of thing just does my head in. I was just wondering how/if you need to adjust for different seam allowances when you do this? I have a bodice pattern with French seams, and I’m trying to add the Hannah dress bishop sleeve pattern. I’m guessing the seam allowances will be very different, and if I sew the French seams the armhole circumference will no longer be correct. Is that right?
— Vicky
This is so clever! Thanks for the tutorial.
p.s. i can’t find sleeves that fit me well, could you make a tutorial on sleeve fitting?
— Franci
Really clear and helpful, thank you, really want to try it with the Polly top
— A E Green