Remember at school when you would cover all your folders and exercise books in wrapping paper to keep them protected (and looking super cool and reflective of your personality, obviously)? Well, this stash-busting DIY is kind of like that, only way better.
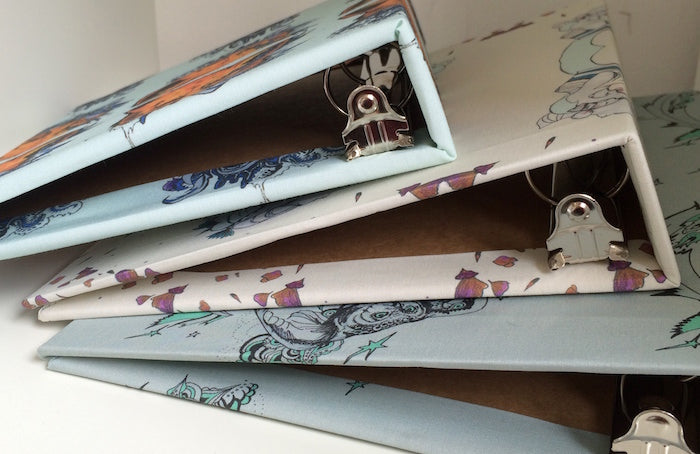
These sweet little fabric covered folders make the perfect gift or scrapbooking project, or simply a pretty vessel to store all those boring receipts!
You will need:
- A ringbinder folder - we've used A5 sized folders
- Enough fabric to cover your folder
- Fabric glue (optional)
- Your usual tools and sewing supplies

Lay out your folder flat onto your fabric. In order to cut a piece of fabric big enough to cover your folder, mark the fabric 1 1/2" all around the perimeter of the folder.

Cut out your fabric.
We're now going to mitre the corners of the fabric in order to create a perfectly slick finish to your folder cover, allowing you to slip it on and off securely and easily (that is, if you don't stick it down with glue!).
Fold and press each raw edged length of your fabric in by 1/2". Then fold and press in again, this time by 1".

Open out the corners and fold and press in at a diagonal, keeping the initial 1/2" fold intact and aligning the 1" fold lines as shown below. If you're struggling with this part, please see our perfect mitred corner tutorial.

Now fold the corner back on itself and stitch along the press line that runs at a right angle from the fold.

Snip away the excess close to your stitching, and turn your corner back to the right side. It should be looking a little something like this:

Repeat this process for all four corners.

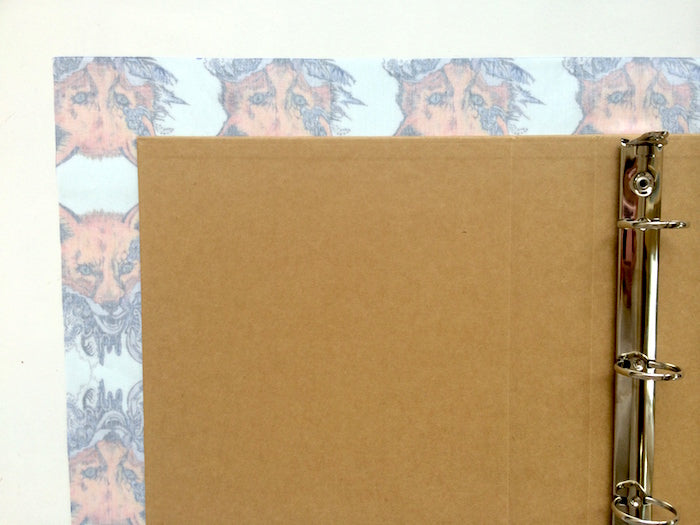
Now you can slip your cover onto your folder! Insert one side of the folder into the cover, then fold the other side of the folder back on itself in order to get the other side of the cover on without breaking both folder and cover! It should fit nice and snug, but you could always use a little fabric glue to secure it into place some more.

Pssst... The fabric we used to cover these folders was printed by us! You can find the foxes here, the owls here, and the love-heart lady here.

-
Elisalex de Castro Peake

Comments on this post (4)
WOW! Thank you so much for this tutorial! I needed to know how to cover fabric over one of the folders that I will be creating, thank you so much for this guide!!!!!
— Iyeesha Akim
These look lovely. I was so cool, I used to cover my school books with pages from Smash Hits.
— Karen
Hi Jen, we got our ringbinders from Paperchase on Amazon. All the best!
— Elisalex - By Hand London
Hi,
This is a lovely DIY tutorial. I’ve been looking for plain cardboard binders and wonder if you might share where you found yours. Many thanks
— Jen