When you spend all your days designing, sampling and sewalong-ing for future sewing patterns and the freshly-released, it can be so easy to neglect designs that were previously all-consuming. My once most favourite pattern ever, the Anna Dress, has somewhat fallen by the wayside recently while I spend all my extra-curricular studio time with my new love Kim. But that's not to say that old flames can't be rekindled with fresh eyes and renewed inspiration...
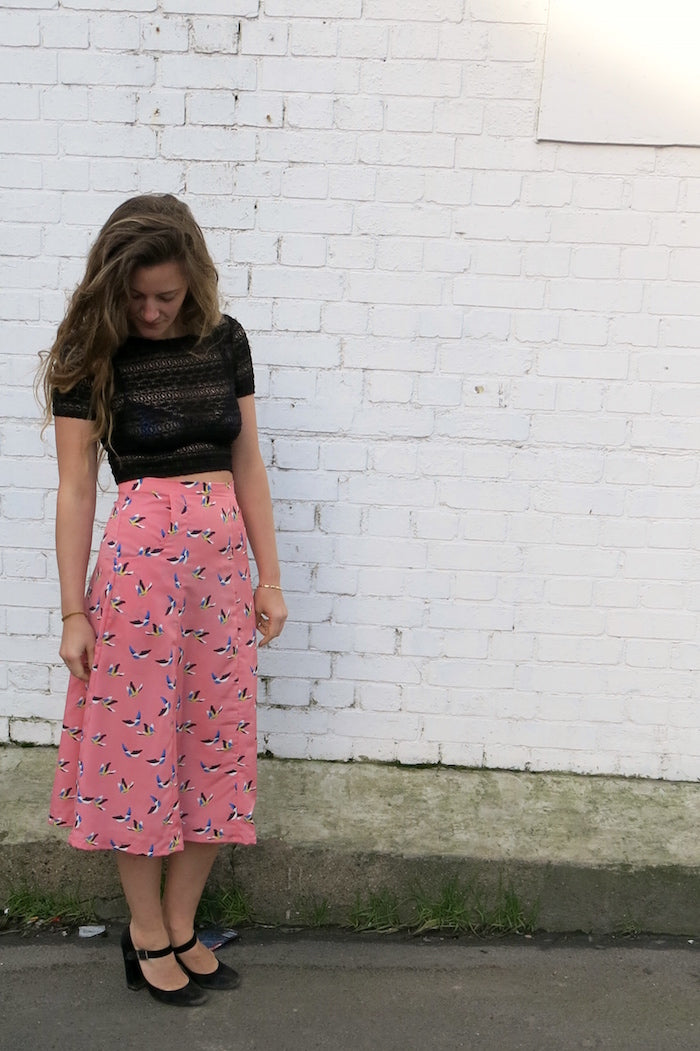
*Please note: to illustrate this technique, I've hacked the Anna Dress into a skirt simply by omitting the bodice and whacking on a waistband. These pockets can still be applied to the dress, or indeed any garment - be it a skirt, dress or trouser - provided it has side seams*
You will need:
- The Anna Dress pattern - skirt side front piece only (C)
- Pens & pencils
- A ruler
- French curves (optional)
- A pattern punch or tracing wheel
- Swedish tracing paper / dot & cross paper / baking parchment to trace the pattern pieces
- An air erasable fabric pen or tailors chalk
- Fabric, thread and your usual sewing supplies
Step 1
Start by laying out your Anna Dress skirt side front panel (C).

Step 2
Mark out the side seam allowance at the waistline at either side.

Step 3
The best bit! This is the part where we draw out how we want our side slant pocket to look like.
Remember that the left hand edge of your pattern piece is the side seam, whereas the right hand edge will be the side front seam.
It's really up to you as to how curved or straight you'd like the entrance to your pocket, and you may find it easier to use a French curve - just make sure that it doesn't start too close to the side front seam (the right hand edge of the pattern piece), and that it ends at the side seam (left hand edge) with enough space to get your paw in!

Step 4
We now need to add a little seam allowance to this pocket entrance. I've added a scant 10mm seam allowance, as opposed to the usual 5/8" or 15mm, so as to avoid bulky seams.
As you can see, I have marked out the seam allowance to the left of my pocket entrance line in pencil, and gone over it with a pattern punch. This will make for easier tracing of the pocket lining and pocket pouch later on, without having to cut into my original skirt piece. If you don't have a pattern punch, simply draw out your seam allowance, and use a tracing wheel when it comes to drafting the remaining pocket pieces.

Step 5
To complete the pocket, we now need to draw out the pocket lining. I've started mine 10mm in from the seam allowance at the top, and made it deep and wide enough to fit my hand.

Step 6
Again, mark out the pocket lining seam allowance to the right of the pocket lining line.

Step 7
Take your tracing paper (or baking parchment in my case here!), and place your skirt pattern piece on top, securing it with pattern weights.
We are going to trace off two new pieces - the pocket pouch and the pocket lining.
Trace off the pocket pouch by drawing along the entire waistline, down the left hand side seam, and around and up the outer pocket lining line.
Trace off the pocket lining by marking both new curved lines, and what's left of the waistline and side seam between them.
If you have used a pattern punch, mark through your perforated line with a pencil. If you are using a tracing wheel, simply glide your wheel along the seam allowance line to transfer the shape.

Once you've traced it off and cut it out, your pocket pouch should look like this:

And your pocket lining should look like this:

Our new pattern pieces are all done! Now we get to the really fun bit...
Cutting...
Cut out your Anna Dress skirt panels as normal, except for the skirt side front that we have just altered.
Pin the skirt side front pattern piece to your fabric (which should be folded in half lengthways as normal).
Mark out the pocket entrance curve, either with an air erasable pen, tailors chalk or a tracing wheel.


Cut along the pocket curve, and then cut out the rest of the skirt piece as normal. Your pair of skirt side front pieces should be looking a little something like this:

Now pin and cut a pair each of your new pocket pouch and pocket lining pieces. Your pocket pouch should be the same fabric as the rest of your dress/skirt, but you can choose a contrasting fabric for the lining if you fancy (I've used the same fabric throughout).


Sewing it all up...
Start by taking one of your skirt side front panels. With right sides together, lay over its corresponding pocket lining piece and pin along the curved pocket entrance.

Stitch into place (remembering your 10mm seam allowance!), clip the curves, and turn to the wrong side of the skirt.


To keep the pocket lining secure, you could topstitch 1/4" or 6mm in from the curve.
Now with the wrong side of your skirt facing you, lay on the pocket pouch piece - right side of the pocket pouch facing the right side of the pocket lining and the wrong side of the skirt side front panel. Pin along the outer curve.


Stitch into place. This raw seam will be visible from the inside of your skirt, so if you like things to be pristine both inside and out, I highly recommend you finish this seam, either with an overlocker/serger, or with pinking shears.

Now all that's left to do in the construction of this side slanted pocket, is to secure the straight seams - simply baste the pocket pouch to the skirt panel along the waistline and down the side seam, making sure that the pocket and skirt panel are smooth and flat.


Repeat this for the other pocket, and then go about the assembling of your skirt as normal!


If you need any assistance in the making of your Anna Dress, remember that you will always have access to the Anna Dress Sewalong, and I am more than happy to answer any queries in the comments below.


-
Elisalex de Castro Peake

Comments on this post (8)
I noticed it’s been a while since you posted this, but any idea how much yardage would be required for just the skirt portion of the Anna dress?
— Elisabeth
thank you for helping me out.
— Felicia
I love your sample, nice work.
— felicia
Hi VintageVera, I’m afraid I’m not quite sure what you mean… Structurally, the pocket needs a lining in order to make it a contained pocket – without the lining your and would just go right through to nowhere! In terms of fabric however, you could of course make it from whatever you wanted, and yes, a lighter pain material would be fine. Just be aware that the fabric you choose for the pocket pouch will be on show. I hope this helps, if not do please get in touch at help@byhandlondon.com x
— Elisalex - By Hand London
Not sure why this needs a lining. Wouldn’t creating the pocket out of a lighter plain material work?
— VintageVera
One pattern…so many options! I’ve had the Anna pattern for some time now, but I haven’t done it yet, in spite of loving basically every version of it I’ve seen so far…guess i’m waiting for the perfect fabric to come my way!
I love the fabric and skirt length combo you used for this version, it looks very 1930s!
— Juliette
Hi Emma, I used a drapey rayon for this, but a nice lightweight cotton with a bit of body would do just fine too :)
— Elisalex - By Hand London
Well I might just have to buy the Anna pattern just so I can do this!
One question – is that a cotton or rayon fabric as the drape looks lovely?
— Emma