Aloha Sewists, and welcome to the Alterations section of the Kim Dress Sewalong! Throughout these posts we will be going through as many pattern alteration tutorials as we can physically crush in, relevant to the Kim Dress. But it doesn't end there - the extra great news is that a lot of these tutorials will be applicable not only to the Kim, but to a huge amount of other patterns too as we tackle most of the common issues surrounding pattern fitting.
*To be taken to all the posts in the Kim Dress Sewalong, please click here!*
Today we'll be talking about how to alter a paper pattern for swaybacks. Sounds a little scary but I promise it's actually a very simple and straightforward alteration to make, and one that will make the world of difference to the fit of your handmade garms.
What you'll need:
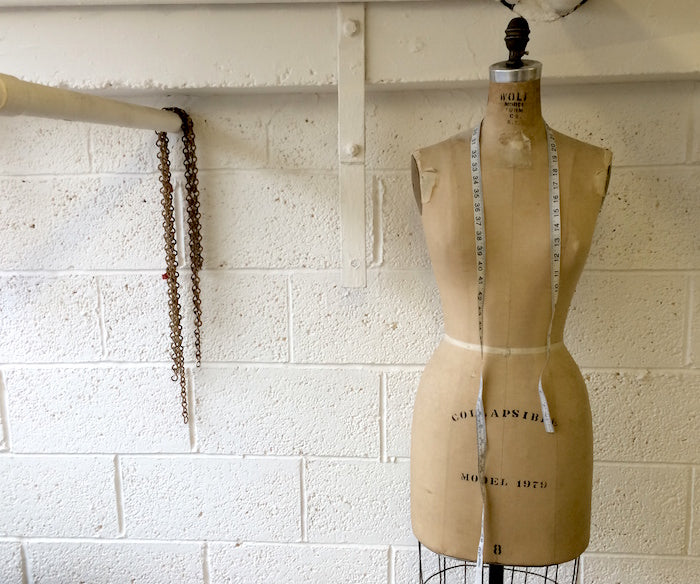
- Your toile of the Kim Dress
- Your traced and cut out bodice centre back, side back and wrap skirt back pieces of the Kim Dress. Make sure you trace the pattern pieces according to your waistline measurement
- Tape measure
- Pens
- Paper scissors (not the fabric shears!)
- Extra paper
- Tape
Please note: We are using itty bitty replica's of the pattern pieces to illustrate the alterations as simply and clearly as possible - please make sure that you alter your real-life pattern pieces, complete with notches, pattern info and grainlines!
So what exactly is a Swayback? And how do I know if I have one??
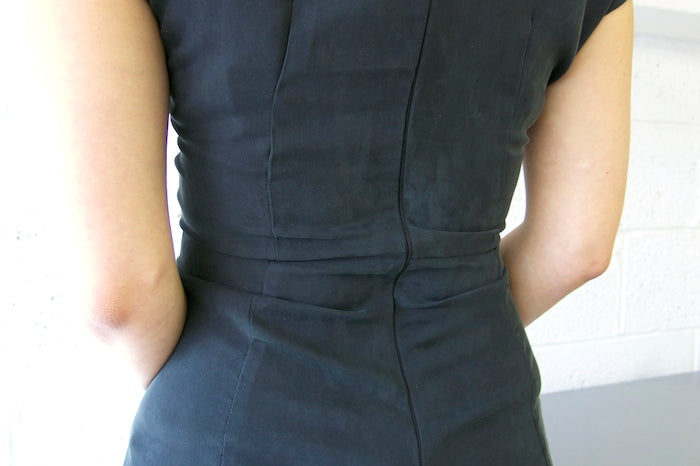
A swayback is basically an exaggerated concave curve at the small of your back. It can be due to your posture, for example if you're a dancer or gymnast, or it could just be the natural shape of your spine.
If you have a swayback, you'll notice that garments often seem too long at the centre back, creating horizontal wrinkles where the excess fabric pools at the small of your back.
As with most fitting alterations, but this one more than most, it's important not to mis-diagnose! Other fitting issues that could easily be misconstrued as a swayback include:
- Short torso/high waistline - if the horizontal folds extend around the front of the waistline as well as the back, or the entire waistline falls below your natural waist, try shortening the bodice first. A swayback will only be too long at the centre back, but should fit nicely at the centre front and side seams.
- Full bust - if you have a full bust, this will elevate the waistline at the front, probably causing it to droop down at the back and create those horizontal wrinkles. Try a full bust adjustment.
- Full or high butt - if you need more space in the ole buttock department, it could make the fabric near the waistline ride up and pool at the small of your back. By the same token, if you have a full butt and you've cut your dress to fit your hip measurement, chances are it will be too big at the back waistline. Try a full butt adjustment.
The good news is that altering your pattern for a swayback is really quick and easy! All we need to do is pinch out those unwanted folds and thereby shorten the centre back, without changing the side seams or front.
Step 1
Put on your toile and carefully pinch out the horizontal folds that occur across the small of your back. If you have a friend to help you out here, all the better. Pin the excess fabric in order to measure the amount by which you'll need to shorten the centre back.
From the toile, we need to determine how much excess needs to come out of the bodice (above the waistline) and how much needs to come out of the skirt (below the waistline). If you're making the full gathered skirted Variation 2, you will only need to eliminate the excess from the bodice back pieces, not the skirt.

Step 2
Now you can take off your toile and measure that unwanted excess.
For example, we pinched out about 2" of excess fabric at the centre back - 1" from the bodice and 1" from the skirt, sloping out to nothing at the side seams. As a result, we'll be taking out 1" from the centre back length at the bodice back, and taking out 1" from the centre back length at the wrap skirt back.
Step 3
Take your traced bodice back piece and mark out the seam allowance lines at the side back seams (shown in blue).

Step 4
Then mark 1" up from the waistline at the centre back and draw a smooth line from that 1" mark out to the side seam to create your new waistline (shown in pink). When you get to the first seam allowance of the side back seam, stop your line there and start it again from the seam allowance on the bodice side back piece so that the waistline remains smooth once it's all sewn up.
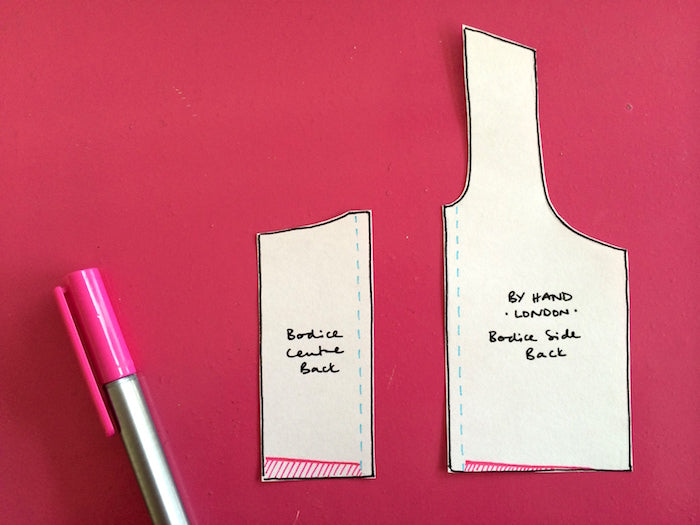
Trim away the excess.

Step 5
Repeat this process for the skirt back piece of Variation 1. Remember - no alteration needs to be made for the full gathered skirt of Variation 2.
Tip from the top: Always check your adjustment by making another toile to check the fit. Once you're happy with your newly adjusted pattern, copy it out onto some card for extra safe keeping! Although this is a straightforward adjustment to make, no one wants to have to do it twice...
-
Elisalex de Castro Peake

Comments on this post (2)
Hi, thanks for your detailed explanation. I understood every bit of it and will try it soon. Please just a quick one, if I’m making a full dress to the knee without a joining at the waist to the skirt, how do you tackle the sway back? Many thanks.
— Oby
Ty u🤗
— Tanvi