Aloha Sewists, and welcome to the Alterations section of the Kim Dress Sewalong! Throughout these posts we will be going through as many pattern alteration tutorials as we can physically crush in, relevant to the Kim Dress. But it doesn't end there - the extra great news is that a lot of these tutorials will be applicable not only to the Kim, but to a huge amount of other patterns too as we tackle most of the common issues surrounding pattern fitting.
*To be taken to all the posts in the Kim Dress Sewalong, please click here!*
In this tutorial, we'll be going through one of the most common pattern fitting issues we've come across - back necklines that are too gapey or too tight. If you're new to dressmaking, I wouldn't be surprised if the width/slope of your shoulders is just about the last things you've thought to consider! And truth be told, it's almost impossible to predict how a dress/top will fit at the neckline until you've made a toile.
What you'll need:
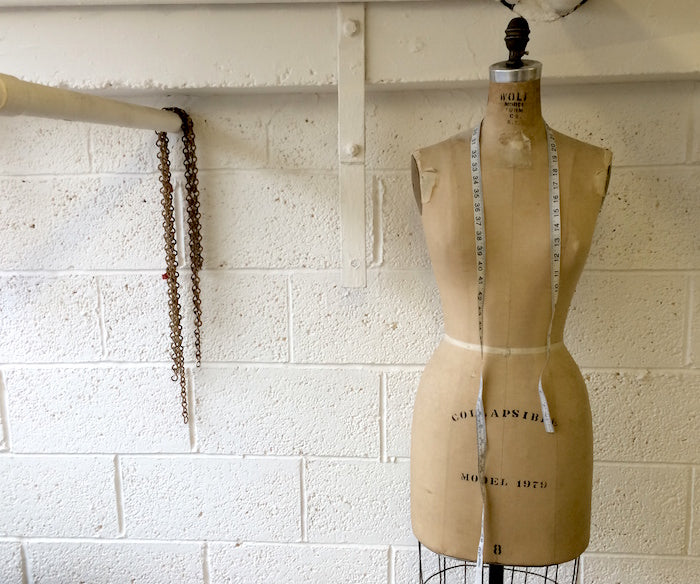
- Your toile of the Kim Dress
- Your traced Bodice Centre Back piece of the Kim Dress (cut out in the size dictated by your waistline measurement).
- Ruler
- Pens
- Paper scissors (not the fabric shears!)
- Extra paper
- Tape
Please note: We are using itty bitty replica's of the pattern pieces to illustrate the alterations as simply and clearly as possible - please make sure that you alter your real-life pattern pieces, complete with notches, pattern info and grainlines!
How to fix a gapey back neckline
Step 1
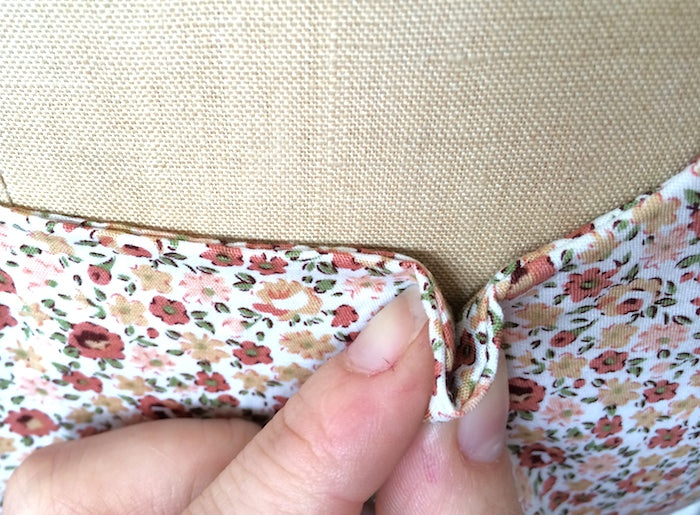
Diagnosis - how do I know if my back neckline is gaping? A gapey back is not hard to spot! Look in the mirror and check out your back. Is the neckline falling away from your back? Do your shoulders and back have way too much room? Could it do with being a little more snug? These are all tell-tale signs that you need to fix a gapey back neckline.
First things first, we need to figure out how much we need to reduce the bodice back by. This is where making up a toile comes in super handy - you will literally be able to pinch out the excess equally on either side of your centre back and then figure out by how much you'll need to reduce the back neckline by (and it really helps to either have a friend to help you with this part!).
Step 2
Let's imagine that we pinched out an inch on either side of the centre back. That'll be a total reduction of the back neckline of 2".
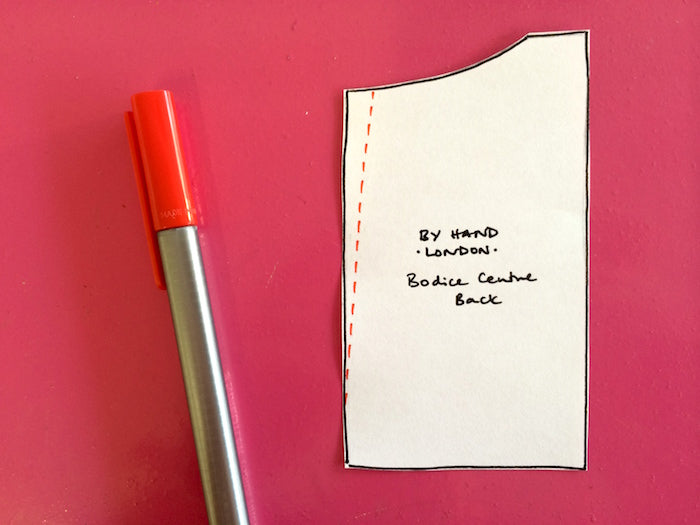
Take your traced and cut bodice centre back piece and mark out the seam allowance along the waistline (shown in blue). Then draw a straight line from the middle-ish of the neckline down to the seam allowance, using the image below as a guide (shown in pink).

Step 3
Now carefully cut along the pink line from the neckline down to the waist, stopping when you hit the seam allowance line.

We need to create a pivot point at the waistline to enable us to open up or close the bodice in on itself without having to cut it clean in two - to do this, make a little snip from the waistline and up to where you stopped cutting the long pink line, as shown below.

Step 4
To reduce the unwanted excess at the back neckline, simply close the bodice in on itself by an inch, or however much you pinched out of your toile either side of the centre back. When you're happy, tape it down and redraw the curve of the neckline if need be.
Don't worry about the extra little triangle you may have created in the seam allowance at the waistline - the seam line itself hasn't gotten longer or shorter so a little excess in the seam allowance won't make a difference.

If it's just a small amount of excess gape that you need to fix, another way to go about it is to shave off a slither at the centre back. This can be done to the pattern piece itself (shown below in red), or simply by moving the invisible zipper further in from the seam allowance at the centre back, grading steadily back to the usual 5/8" or 15mm seam allowance as you approach the waistline, to tighten it up a bit at the back neckline.
How to fix a tight back neckline
Step 1
Diagnosis - how do I know if my back neckline is too tight? If you have a particularly broad or muscular back, or your toile feels too tight around the back or armholes, then this adjustment is probably for you!
Again, we first need to figure out by how much we need to increase the ease in the back by, and this is made possible by making up a toile (and it really helps to either have a friend to help you with this part!). Snip into the neckline either side of the centre back, slashing about 2" down into your dress. By opening up the neckline, you'll see by how much you need to increase the neckline by to fit you better.

Step 2
Repeat steps 2 & 3 outlined above to mark out the waistline seam and your pink slash line. Cut along the pink line and create your pivot point at the waistline.
Slip a little piece of scrap paper underneath your bodice back piece and open up the slashed pink line by however much you need.
When you're happy, tape it down, redraw the back neckline and trim away the excess scrap paper.

Tip from the top: Always check your adjustment by making another toile to check the fit. Once you're happy with your newly adjusted pattern, copy it out onto some card for extra safe keeping! Although this is a straightforward adjustment to make, no one wants to have to do it twice...
-
Elisalex de Castro Peake

Comments on this post (2)
Hi Jen, thanks for your kind words about our sewalong! Very happy to hear that it helps. In terms of the grainline, it would indeed stay the same as it originally was so that the centre back remains on the straight grain. Hope this helps!
— Elisalex - By Hand London
Thanks so much for this wonderful sew along! The instructions were perfect for removing the gape in the back of my toile.
But I’m not sure about the grain line? Does it stay the same? Or do I change it to accommodate for the amount I’ve removed? I cut my new centre back piece so the grain line was the same as the centre side grain line. Is that correct? Or should I have left it? Would appreciate any guidance. Thanks!!
— Jen