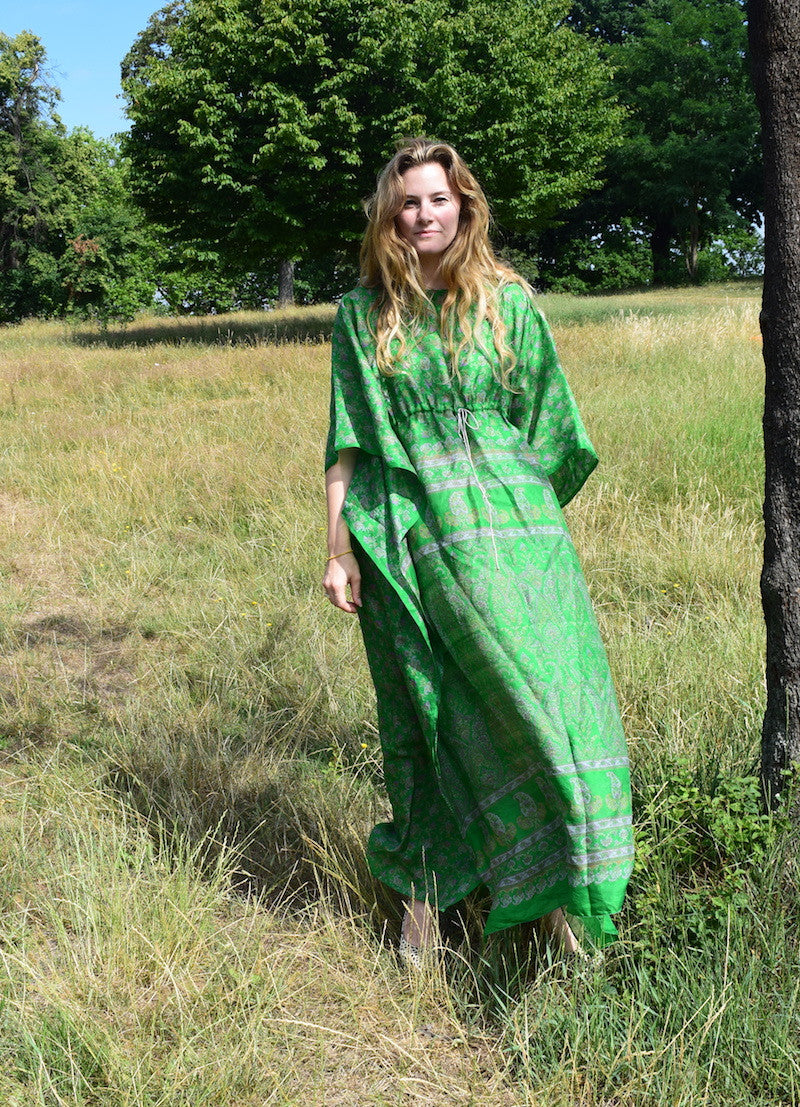
When it's so hot that all you want to be is naked, a floaty kaftan-style cover up is the next best thing.
Crazy easy to make, but with just enough technique to keep you from getting bored while you sew, our cover-up will leave you looking as fabulous as any one of these iconic kaftan wearers.

What you need:
- Fabric - we used a vintage silk sari - you'll need a length of fabric that is double the length you want it to be from shoulder to hem (approx 280cm and ideally a narrower width of about 115cm)
- Bias binding - either homemade or shop bought
- A length of twisted cord for the waist tie (optional; you could also use a length of binding made from the same fabric as your kaftan)
- Your sewing machine and usual dressmaking tools and supplies
Step 1
Take your length of fabric and hem the two raw widths. No need to hem the selvedges!

Step 2
Fold the length of fabric in half widthways, and cut a shallow semi circle from the middle, about 10" wide. This will be the neckline.

Finish the raw neckline with bias binding. For help with this, see our Polly Top video tutorial, and skip to 5:36. Alternatively, if you prefer the binding hidden on the inside (like we did for this project), use the method outlined here.


Step 3
With wrong sides facing, and using the diagram as a guide, stitch the side seams, leaving about 15" open at the bottom for side seam splits.
Start your side seams about 10" down from the shoulder, and approximately 20-30" apart from each other, dependent on your bust measurement. You'll want to allow about 6" - 10" of ease onto your bust measurement. My side seams were 21" apart, giving me a total finished bust measurement of 42"; my bust is 34".
This construction creates a grown-on sleeve that continues down the side seam like wings.

Step 4
The last thing we need to do, and the fiddliest part of this project, is create the casing for the waist tie.
Start by marking out where you want the garment to cinch on your body. This will be your waistline. I opted for a slightly empire line, 12" down from the shoulder / neckline. Sew two little buttonholes at the centre front along this line - this is where the waist tie will pop out to the front - kinda hard to see from the image below the diagram, but they're there if you look for them!


Prep the casing by cutting a long strip of fabric 1 1/2" wide and long enough to encircle the waistline, with a little extra to overlap. Fold and press the raw edges in by 1/4".

With your garment inside out, pin the casing into place along your desired waistline.

Where the two ends overlap, fold the short raw edge in for a neat finish. Top stitch the casing into place along both folded edges. You will have to stop your stitching when you get to the side seams and restart on the other side so as not to trap the "wings".

Open up the buttonholes and use a safety pin to feed your waist tie through and out the other buttonhole.
All done!


-
Elisalex de Castro Peake

Comments on this post (13)
I’ve been looking all over for a pattern like this. Thanks for posting! Yours looks so elegant. Mine will be more beach-y.
— Kiyomi
Great instructions and illustrations! Some of the instructions out there leave me scratching my head. And I’ve been sewing for 50 years. I used your instructions and have a great kaftan that sewed up like a dream. Thanks for taking the time to be thorough. 💕
— Pam
Really great tnks for this
— Chynewtt
THANK YOU SO MUCH FOR THIS PATTERN!!! I have a good friend who needs new clothing, and has a large size, but is on a budget,and was never shown how to use a sew machine—but this is a very easy, comfy pattern..
— Doreet
Great choice of materiall. Your instructions are really clear.
— Faith
Your work is inspiring
— carol
So chic and so simple to make! You can take this one from the beach to cocktails & dinner if you wanted to!!
— Regina Roza
This is exactly the pattern I’m looking for, superb !!!!
— Lilly
I luv, luv, luv …………………… this gorgeous cover!!! Thanks so much for sharing!
— Doris
Kaftans are the first thing I pack for holidays. They’re just so versatile. From the beach to dinner by changing shoes and accessories. I even wear one to bed when staying with family or friends so I look semi respectable in the morning.
Until now I have always bought my kaftans. Thanks to your easy-to-follow tutorial; I’m going to update my kaftan wardrobe with a few I made myself. I might even make a few for Christmas gifts ?
— Laurel Goulding
I may need to buy a sewing machine so I can make this for my upcoming trips to Ibiza and Thailand (both weddings!)
:)
— Lisa
Stumbled upon this site while searching for a new sewing project. This is easy enough for me. Would love to do this. I just have to find the right fabric. You look fabulous by the way!
— Elna Smith
I absolutely love this! Easy to follow instructions! Nice look! Thanks for the tutofrial!
— Sharon Spencer