
Hi everyone! I’m Kate from Project Patterns. I’m a professional pattern cutter and teacher based in Bristol.
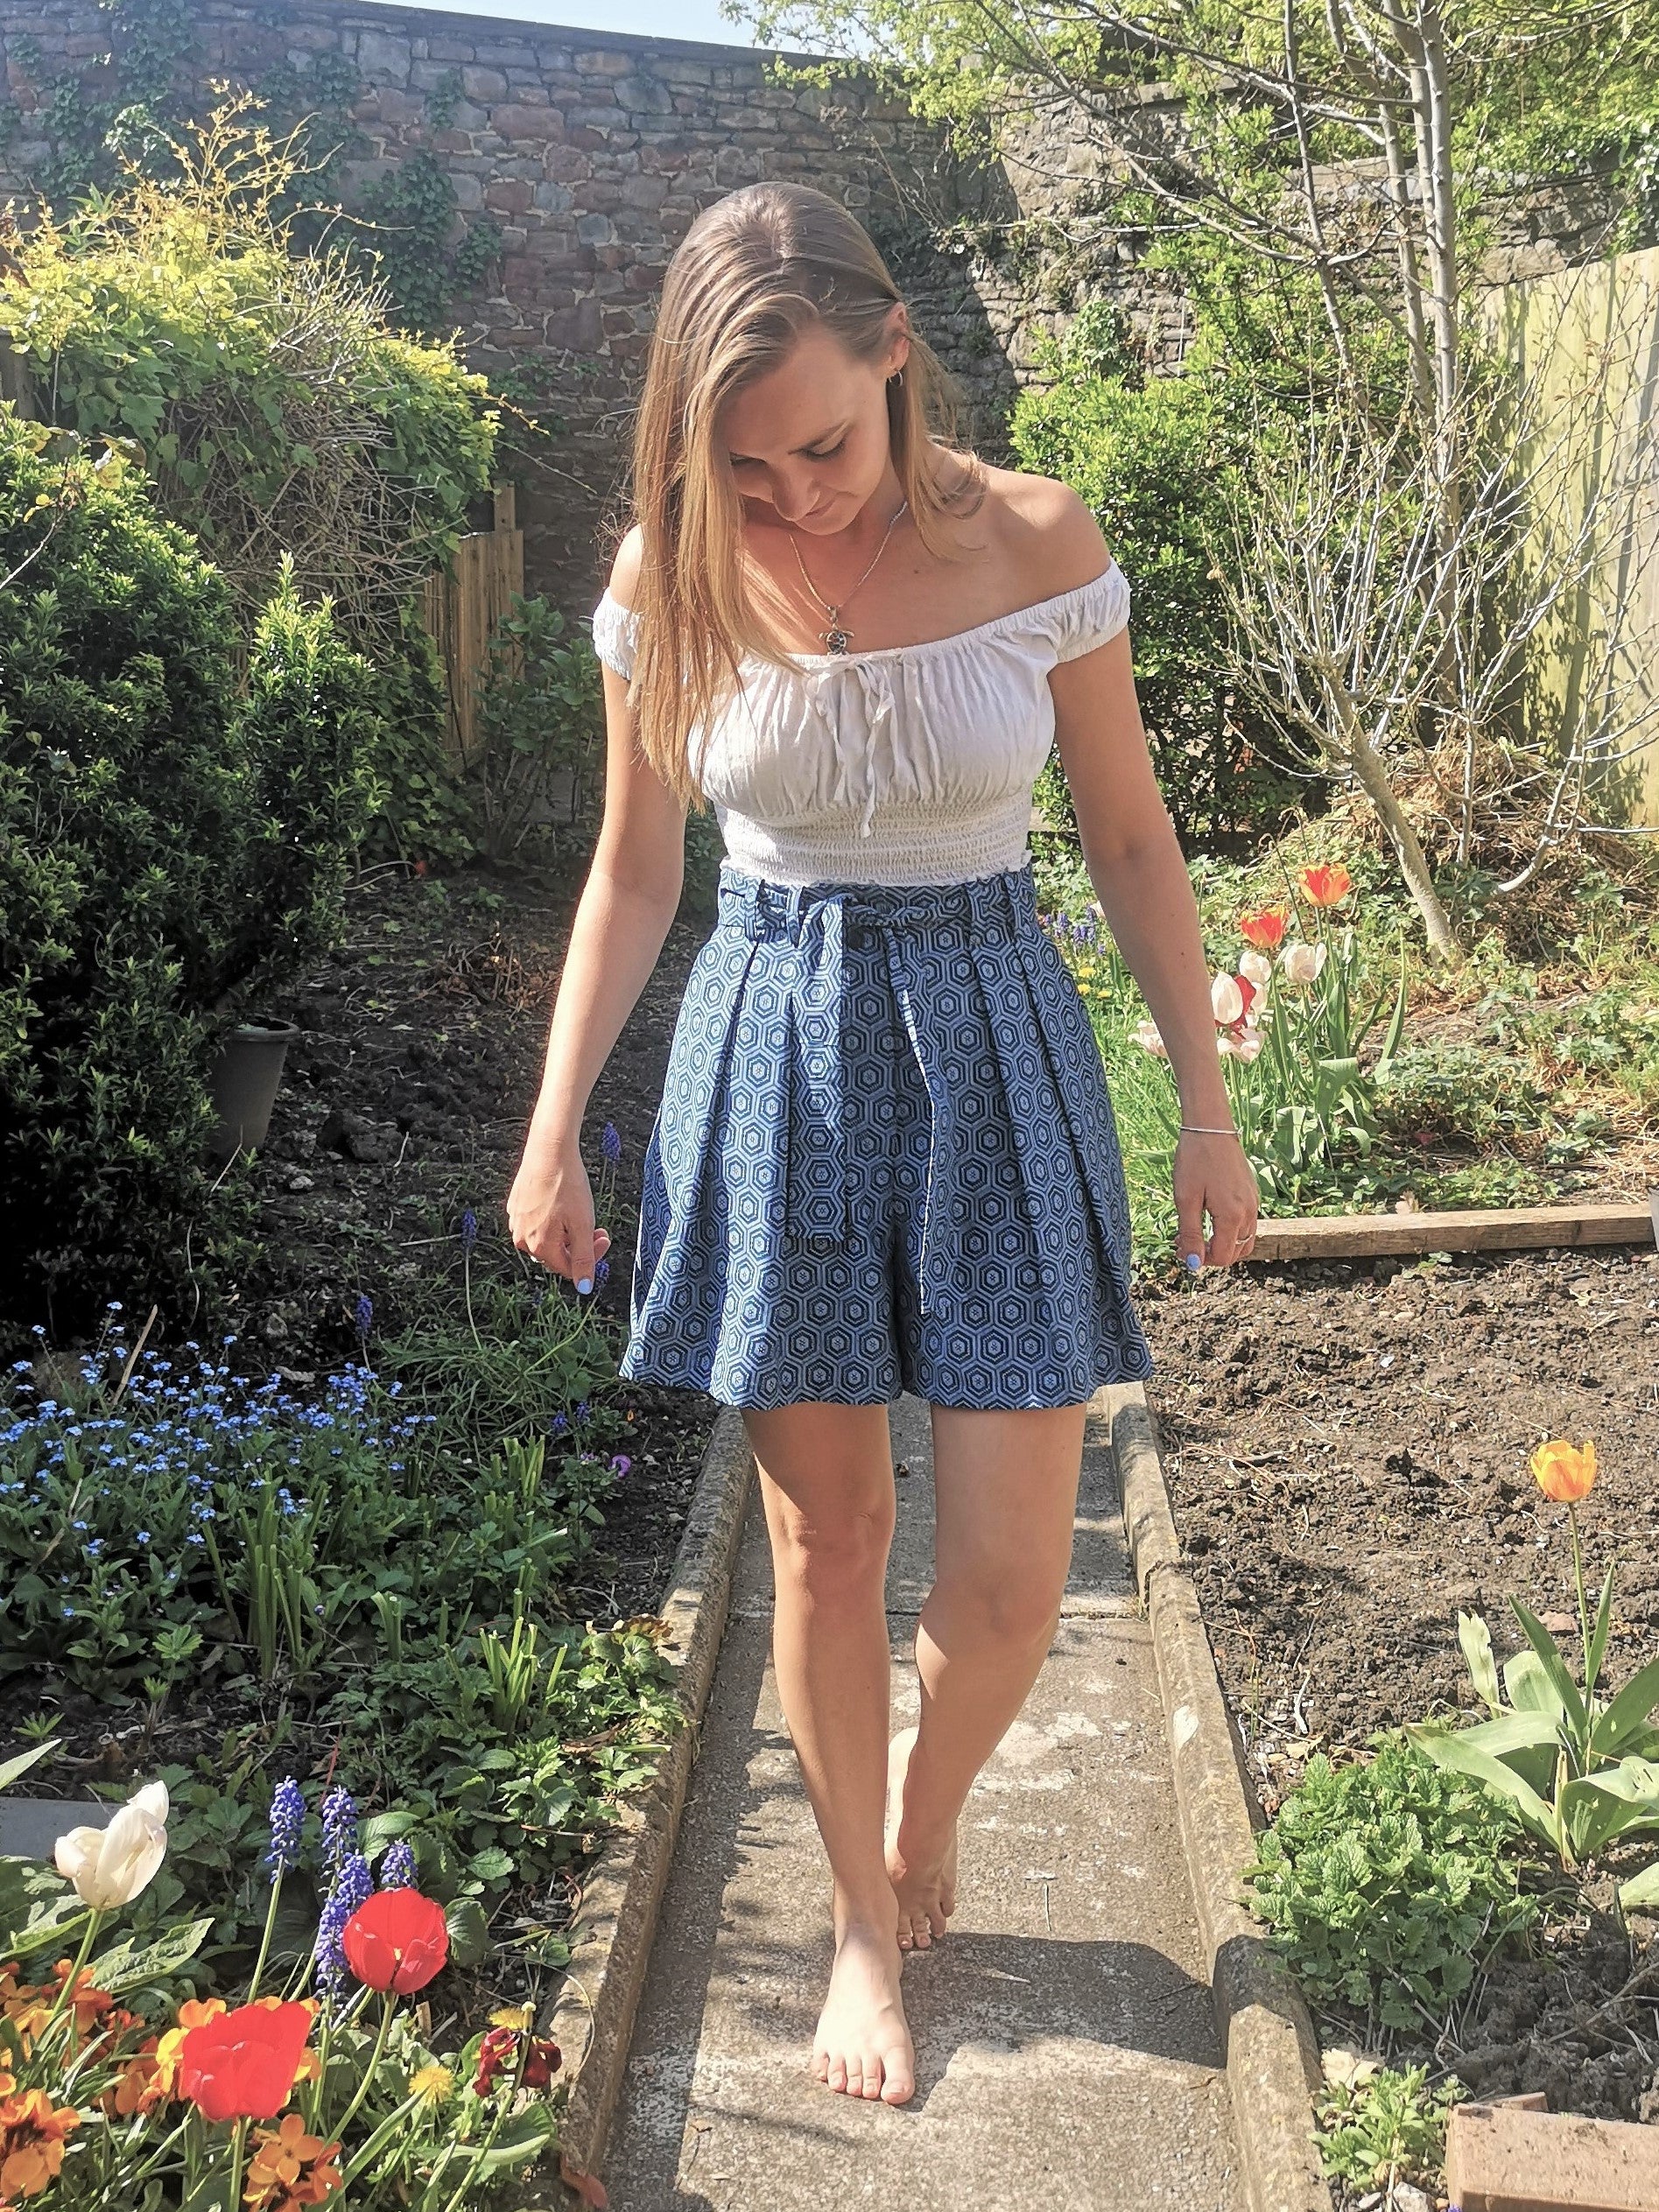
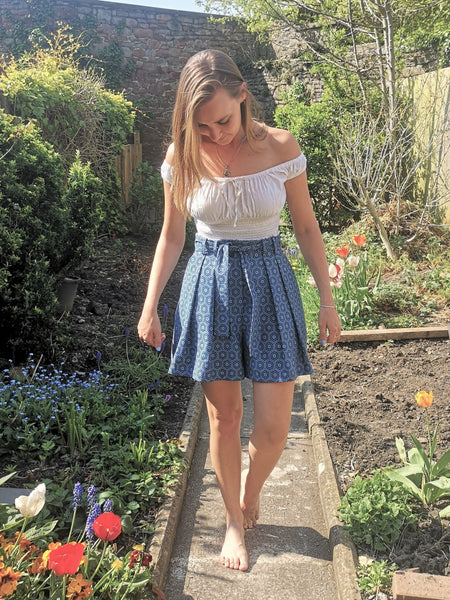
We may not be having the most glorious summer here in the UK, but that hasn't stopped me trying to sew the sunshine out! First on my summer sewing list was the perfect pair of shorts...
Here’s a little break down of how I turned the Holly trouser pattern into a pair of pleated shorts with pockets and a grown on waistband.
I chose to start with the By Hand London Holly trousers/shorts because they have a reputation for fitting lots of different body shapes and they’re nice and simple with no darts at the front and only one on the back. If you haven’t got the Holly pattern then a simple trouser block will work too!
What you’ll need to make this pattern:
- Holly trouser/shorts pattern, or a basic trouser block
- Pattern paper
- Pattern ruler (set square, pattern master, pattern shaper or similar)
- Paper scissors
- Scotch tape or glue stick
- Pencil and rubber
- Tape measure
- Pattern notcher
- Pattern drill
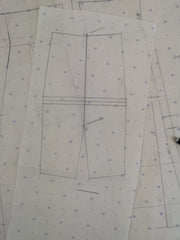
Step 1: Chose what size to trace and decide if you need any fit amendments before you start your draft
It’s important to get a block that fits you well because that perfect fit will carry through into your new pattern so it’s worth spending some time either toiling it up and fitting it or at least comparing your measurements to it to double check.
I compared my body measurements to the size chart and found that my hips are a size 12 and my waist is a size 10 so I decided to trace off the 12 and take in the waist slightly.
I traced off my pattern and drew in my stitch lines, then I measured a couple of other points to compare to my body measurements to see if I needed any more fit amendments along with the waist.
(Little tip when working on pattern alterations….always work with your stitch lines!)
Luckily it all looked fairly good measurements-wise so I nipped in the waist and carried on!
To reduce the waist I increased my dart width by 1cm (0.5cm on each side) and took the rest off the side seams. You can see this amendment in the photo below!
EXTRA MEASUREMENTS FOR FIT COMPARISON:
|
Measurement |
Body (+ease) CM |
Pattern CM |
Amend? |
|
Waist |
68+2=70 |
74.6 |
Yes. -4.6cm |
|
High Hip (10cm down from waist) |
87+4=91 |
92.6 |
No |
|
Low Hip (20cm down from waist) |
98+4=102 |
102.2 |
No |
|
Lowest Hip (25cm down from waist) |
103+4=107 |
109 |
No |
|
Total Rise |
68+2.5=70.5 |
70.4 |
No |
|
Crotch Depth |
28.5 |
29 |
No |

Step 2: Analyse your design and plan your pattern cutting
Now that I’ve got a block that I’m pretty confident will fit me nicely I can start to plan how to transform it into my shorts. First thing I always do is a bit of design analysis…
Let's have a closer look at what I’ve designed.

Details that I can see are:
- The shorts sit above the waist but there’s no waistband - so I’ll need to create a grown on waistband
- 2 knife pleats on each side of the centre front (CF)
- Diagonal pockets on the front
- Fly zip front
- Belt and belt loops
- 1 dart on each side of the centre back (CB)
- Welt pockets on the back
- Double turned hem with a top stitch
That all seems very manageable, let's start with the waistband!
(You’ll notice that I rub out the cut line on areas that I’m working on, this is just to keep things really clear and so that I only have 1 line to amend until I’m happy with the draft)
Step 3: Drafting the grown on waistband
I want my top edge to be 5cm above my natural waist so all I did was offset my waist by 5cm.
Then from my side seams, CB, CF and back dart points I drew a vertical line (parallel to my grain) from the waist to my new top edge.
After that I added in 2cm (on the half so 4cm total) to my top edge to allow for my ribcage (4cm is probably too much if you’re going for a fitted top edge but I want it look like the belt is tying it in so I’m adding extra-I would add about 2cm total for a fitted top edge). You can see in the below photo that I reduced my dart width by 1cm and added 0.5cm to each side seam.

Step 4: Drafting the front pleats and belt loops
Next I tackled the front as this is where most of the details are.
I started by marking on the pleats and pocket positions. I started my first pleat 6.5cm from my CF and then spaced the next one 4cm away. Then the pocket I also spaced at 4cm away from the second pleat.
To keep the waist from gaping open at the pocket I’ve done the section that goes over the waist as a vertical line then I’ve gone diagonal from there to the hip. I plan to stitch the vertical section closed so that only the diagonal part is open for the pocket.
I’ll also stitch the first 5cm of the pleats closed too.
If you want to do the pocket bags now you can, but I’m going to move onto my pleats and come back to the pocket bags afterwards.

Now that I have the positions decided on I can slash and add some volume into my pleats! I want to maximise my pleat width so I’m going to make them edge to edge.
Since my width between pleats and pockets is 4cm that means I need to add in 8cm for my pleat underlay. For the pleat closest to my pocket I’m going to add in slightly less than 8cm because we’ll have some seam allowance from the seam and we don't want that sitting exactly edge to edge so I'll add in 7.6cm.


Once our pleats are marked in we can create our belt loops and position them on there too. My belt is 5cm wide so I’m going to make my belt loops 1cm longer (6cm long and 1cm wide) so that it can comfortably fit around my belt. I positioned them so that they sit exactly in line with my pleats.
Step 5: Drafting the pocket bags
Now back to those front pockets. We’ve already marked on the pocket opening so all we need to do is trace it off and create our pocket bag and facing. I’m going to do my pocket bag going all the way up into my top edge so let’s start by pinning our pleats closed so that we can trace off the correct waistline.
Then we can lay over a new piece of paper and trace our pocket bag.
The type of pocket bag I’m going to do is on the fold that means my top and bottom pocket bag will be in one piece and I’ll need to trace my side seam line AND my pocket opening line.
Purely to keep the inside looking as neat as possible, I’m going to make my pocket bag wide enough to cover the pleats up.


Once we’ve traced this off let’s open it up and draw in the other side of our pocket bag.
The side that has the pocket opening line will be the top pocket bag and the side that has the side seam will be the bottom bag. Mark your pocket opening onto your bottom bag so you have it as a reference and decide where to put your facing.
This won’t be a seamed facing, it will be topstitched onto your pocket to keep the inside looking as neat as possible.
Then grab a new sheet of paper and trace off your facing.


Step 6: Drafting the fly
Well done, we’ve done the front leg! Let's start on the front fly.
First thing to remember is that we always have a left and right when we’re working with a fly because we need to offset the left fly slightly to create a small under wrap and avoid the zip poking out.
First thing to do then is to trace our front leg (this one is the left) and create the right front leg.

Let’s start by straightening off our CF rise. You can either choose to lose some measurement on your top edge or gain a bit over your waist. I chose to gain on my waist.
Now we can add on our extension to the left front leg fly. I do this by offsetting the CF line by 0.7cm until about 18cm down from the waist.

Our fly is made up of 3 pieces:
1: Fly Facing (Pink) (cut in self+fuse)
2: Fly Extension (Blue) (cut in self+fuse)
3: Fly Extension Facing (Green) (cut in lining)

I’ve drafted these all going to my natural waist as I intend to have a waistband facing going from my top edge to my natural waist that will also attach to the top edge of these pieces.
Fly facing is 16cm long and 3CM wide.
Fly extension is 18cm long and 4CM wide but tapers to 5CM at the top as it needs to be attached to my waistband extension/underwrap.
My fly extension facing is a copy of my fly extension but I’ve extended the seam by 1.5cm and put it on the fold. This means that when I bag the two out my facing will cover up the seam allowance from the front seam. And when I edge stitch my zip, it’ll secure it all down.
And then that’s the front fly done!
Step 7: Drafting the waistband facings
Next we can do our waistband facings for the front.
The right facing will go all the way to the CF so we just need to trace off the visible parts of our grown on waistband and then flip it over. You can either trace each section separately and join them up or pin your pleats closed and trace it in one piece.

The left facing will extend past the CF to create a 5cm extension that underwraps the fly. Then it’s going to fold back on itself and seam onto the left front edge.
To create it copy the right facing, add our 0.7cm extension (because this is the left side) and also add on a 5cm extension, plus a 5cm fold. Remember to flip it again as this is for the left side.
Our waistband facings should all be labelled cut 1 self+fuse.

This is the left facing when it’s folded.

FANTASTIC! That’s the front all done! The last finishing touch we need to do is tru all out lines and add that seam allowance back on.
For the hem I’m doing a 2cm double turn so I’ll add 4cm with a fold in the middle.

Step 8: Drafting the back welt pockets
On the back our main detail is a welt pocket. To draft this we need to fold our dart closed.
Do this by placing your dart apex over the corner of your table and lining up one leg of your dart with the table edge. Use the table edge to create a crisp fold and fold your dart leg to meet the other one. Don’t worry that the top section isn’t folded on the line, we just need the lower section for now.
Then we can mark on the position of our welt pocket. I’m going to do mine 8cm down from the natural waist and I'm going to do it at a 90 degree angle to my dart.
Welt opening dimensions: 12cm x 1cm, with a cut line in the middle.
On your cut line, make a mark/drill hole 1cm in from each edge.


Once you’ve marked on your welt then we can create the pocket bag.
Start by opening your dart up and squaring a line off of your welt, going up to your natural waist (we’ll stop it here and attach it to the waistband facing) and another one going down about 10cm. Do this on both sides of the welt and join up the lower lines

This would be the start of our pocket. It’s a bit of a strange shape and we definitely don’t want a dart in the middle of it! So let’s trace it off and rotate that dart into the hem. That will give us a better shape and get rid of the dart.


Once you’ve created your pocket bag, put the lower edge on the fold and open it out.
Next we need to create our welt and facings.
Welt (Pink): “Cut 1 pair self+fuse”, rectangle dimensions: 12cm x 1.5cm
Back pocket Facing (Blue): “Cut 1 pair self”, goes directly behind the welt so that we don't see the pocket bag. Do this about 5cm deep.
Back pocket BAG Facing (Green): “Cut 1 pair lining”, it’s is part of the welt construction and goes on the outside of the pocket bag to clean up all the raw edges created from the welt. Copy this shape from the pocket bag and end it about 4cm below the waist.

You also need to create a placement fuse that is big enough to fuse over the welt on any pieces that aren’t block fused. This is easiest to create as a rectangle measuring 16.5cm x 4cm. It fuses onto the bag leg, pocket bag, and the pocket bag facing so you will need to label is as “cut 3 pair fusing”. Mark on your pattern where it goes so you don’t forget to fuse!


Step 9: Back waist facing
Now we can do the back waist facing!
As we did with the front, let's trace off the visible parts of our grown on waistband and combine them into one facing.
Our CB will be on the fold so remember to fold it and use the CB as your grain line.
Label this piece cut 1 self+fuse.

Next, grab your front waistband facings and check the run of your lines. True if necessary and transfer any changes from the waistband facings to the leg patterns, pocket bags and facing patterns.

The last piece that we need to create is our belt pattern.
I’ve done mine on the fold with a CB seam and labelled it as “cut 1 pair self”.
Belt piece dimensions: 70cm x 10cm with a fold line in the middle.

Then all you need to do is add on the seam allowance to your pieces and cut them out!
For the back dart, pin the upper section of the dart closed and use your tracing wheel to trace the waist line through onto the underlay of your dart.

Once you’ve cut your pieces out, don’t forget to notch everything and mark in your drill holes!

Here’s a little snapshot of all my pieces laid out, except my belt and placement fuse pattern which I somewhere forgot to put in!

Want to double check you’ve got all your pieces? Here’s a quick list:
- Left front leg (cut 1 self)
- Right front leg (cut 1 self)
- Back leg (cut 1 pair self)
- Front pocket bag (cut 1 pair lining)
- Front pocket facing (cut 1 pair self)
- Front fly facing (cut 1 self+fuse)
- Front fly extension (cut 1 self+fuse)
- Front fly extension facing (cut 1 lining)
- Front left waistband facing (cut 1 self+fuse)
- Front right waistband facing (cut 1 self+fuse)
- Back waistband facing (cut 1 self+fuse)
- Belt Loops (cut 7 self)
- Pocket welt (cut 1 pair self+fuse)
- Back pocket bag (cut 1 pair lining)
- Back pocket facing (cut 1 pair self)
- Back pocket bag facing (cut 1 pair lining)
- Back pocket placement fuse (cut 3 pair fuse only)
- Belt (cut 1 pair self)


-
Elisalex de Castro Peake

Comments on this post (0)