Rewinding back to life pre-BHL, and one fateful day at a London Christmas craft fair, Charlotte spied a sweet little cluster of Scandinavian screen-printed ornaments hanging across the room from the stand she was working on. Floating over to have a little feel, that's when Charlotte met Zeena Shah. Textile designer, teacher and all-round super-cool London creative, Zeena has witnessed the evolution of By Hand London from Day One, as her own brand of hand-printed textiles went from strength to strength. As our fabric printing dream finally became a reality, it was a joyous day when we realised we would actually have a legitimate excuse to partner up with Zeena!

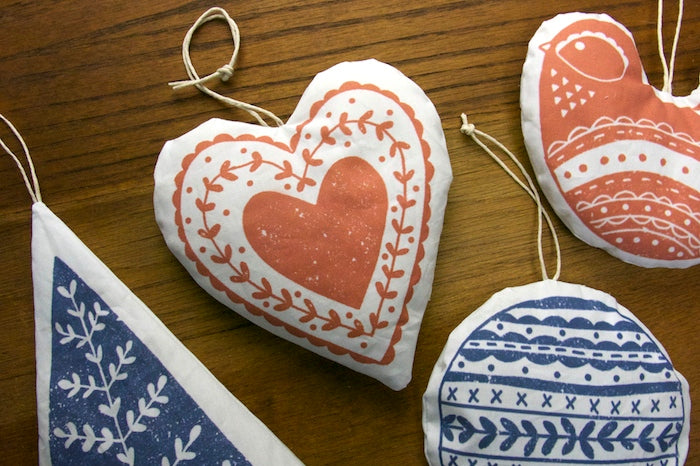
Having redesigned the original ornaments that first caught Charlotte's eye, Zeena has created for us a selection of exclusive cut & sew ornament patterns, available in red and blue, making it possible for you make your very own Zeena ornaments at home!

One copy of Zeena's cut & sew ornaments will provide you with half a metre of fabric featuring four designs - heart, tree, bauble, bird - plus written instructions on how to make them. For the sake of trying them out, we thought we'd put together a little how-to at the same time...
You will need:
- 1 copy of Zeena's cut & sew ornaments fabric - available in red or blue
- ornament stuffing such as fabric scraps, dried lavender or uncooked rice
- ribbon or twine to hang your ornaments
- your usual sewing supplies - fabric scissors, pins, sewing machine, thread, hand sewing needle etc
Please bear in mind - Zeena's ornaments are a little larger than a standard tree ornament as they are designed to be more of a year-round feature in themselves. To give you a better idea, ornaments are approximately 6" wide.
Step 1
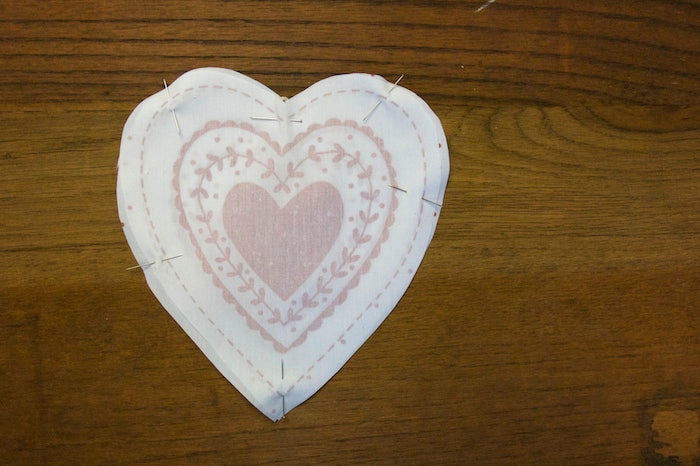
Cut around your ornaments, leaving an extra 1cm seam allowance beyond the dashed line - the dashed line indicates where you'll be stitching.

Both front and back of the ornaments are provided within the half metre of fabric, so you can choose to make your ornaments double sided (as shown above), or, to get double the amount of ornaments you could also back the designs with a plain or contrasting fabric from your stash! We chose to back some of ours in a plain white cotton to keep with the strikingly simple Scandinavian feel.

Step 2
Cut a little piece of ribbon or twine and place it with the hanging lengths facing inside your ornament. You could always baste it into place to keep it secure if you felt like it.

Then lay over the other side of your ornament so that right sides are facing each other and pin into place.
Step 3
Stitch just inside of the dashed line, remembering to leave an opening of 2-3" to enable you to turn your ornament out to the right side.


Trim away the excess seam allowance and clip into the curves.

Step 4
Turn your ornament out to the right side and fill it with your fabric scraps/stuffing/lavender/rice etc.

Step 5
When your ornament is full (but not too full!), turn the seam allowance of the opening in on itself, pin shut and close by hand with a blind slip stitch.


Repeat this process for the other ornaments, and you're all done!
These guys look amazing hung up all along a mantlepiece or window frame, and make perfect drawer sachets when filled with dried lavender. The only question is - can you bear to give them away...?

-
Elisalex de Castro Peake

Comments on this post (0)