As soon as Winter starts to wane and the birds start singing, my thoughts immediately turn to nesting. Spring cleaning... fixing up the garden... and endless homey DIY projects consume me. Right now, and on top of all the various dresses I have in the making, I am in the process of putting up curtains, crocheting a blanket, rearranging my sitting room and assembling some new bookcases (with a supercool twist that will be a DIY tutorial soon to come...).
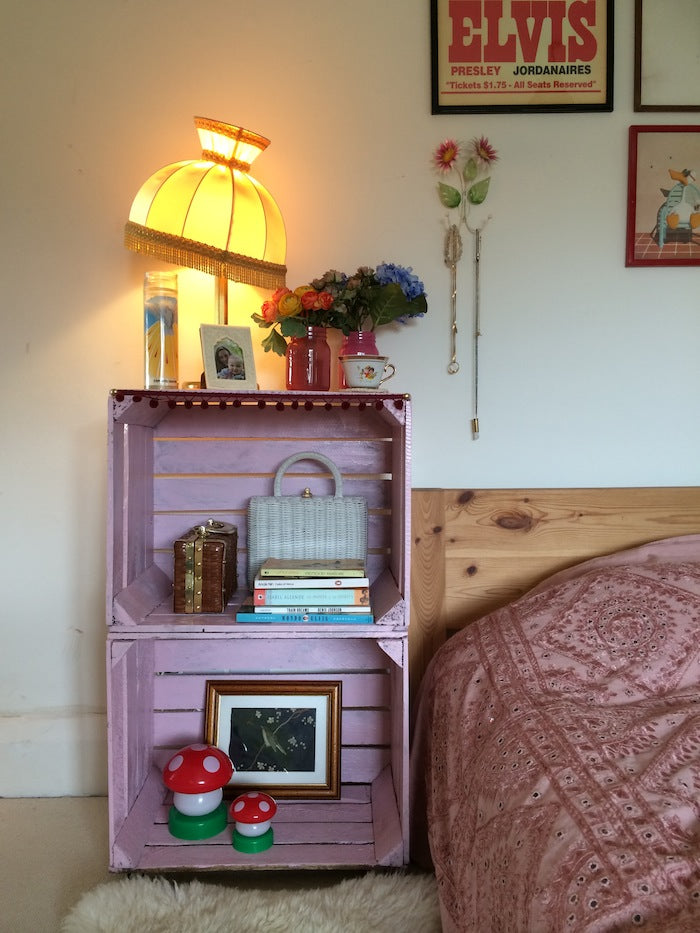
With a couple of old bushel crates, a handful of screws and a lick of candy coloured paint, I've transformed the mundane into a practical little side table that will not fail to put a smile on your face.
You will need:
- two bushel crates
- a handheld sander (I like the Black & Decker Mouse)
- a handful of screws & a screwdriver
- a set of four wheel castors (optional)
- paint in a colour of your choice (suitable for wood) & a paintbrush
- pompom trim (optional)

Step 1
To prep your crates for painting, you'll probably need to give them a good sanding to get rid of any dirt, splinters and general roughness. Don't worry so much about sanding the edges that will be screwed together, or the underside for that matter - just concentrate on the sides that will be painted. No need to give yourself extra work!

Step 2
We now need to join the two crates together to make the double-decker structure. Put one on top of the other and screw into place at each side, front and back. Some crates may differ to the ones we've used and shown, so just look for a good spot to securely screw your particular crates together.

Step 3
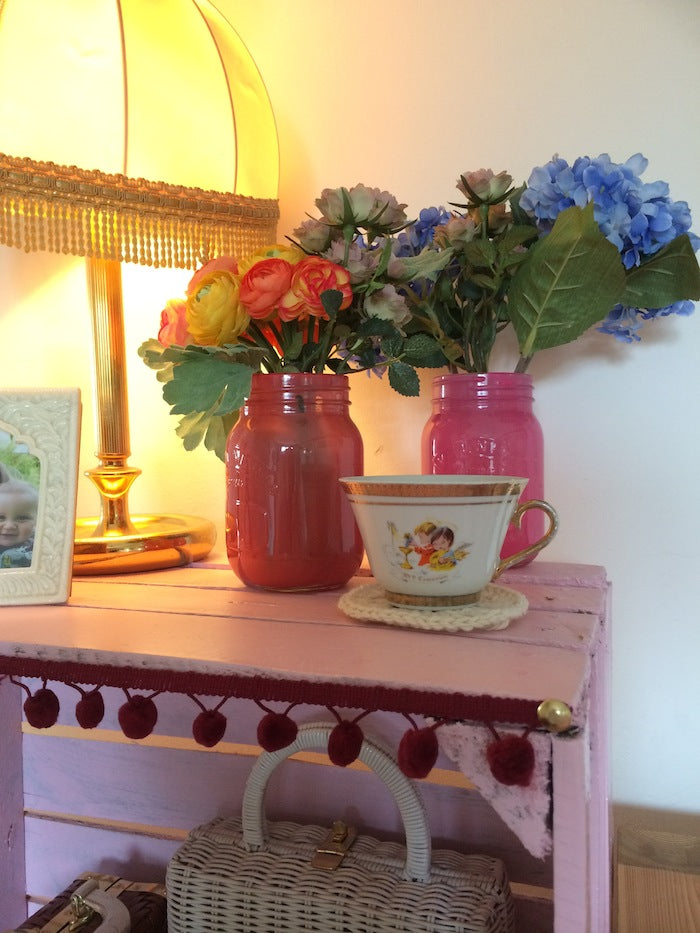
Now for the fun part - painting! If you want a really smooth and professional finish, you could paint on a layer of primer first, followed by two coats of your main paint (gently sanding in between each coat), but I wasn't after a particularly polished finish. I omitted the primer and got stuck right in with my pastel pink paint (incidentally the exact same shade of pink as our Flora Dress pattern packaging!). I painted two coats, allowing the first to dry completely before applying the second.

Step 4 (optional)
I wanted my crate side table to have little wheel castors to make it easier to shift it around the house if need be. We also used it as a display for our patterns at the Knitting & Stitching Show a couple of weeks ago, and the wheelyness came in super handy then too!
Take a set of four wheel castors and screw them firmly into place at the four corners of the underside of your crate.

Step 5 (optional)
At this point you could zhuzh up your crate side table however you fancy. I added a string of pompom trim along the top; you could add a little gathered curtain held up with twine, or simply search for "crate DIY" on Pinterest and overdose on inspiration!
-
Elisalex de Castro Peake

Comments on this post (3)
This is a great piece of DIY furniture! And you’ve done the impossible, made me like something that’s pink! The pom pom trim was a nice touch, I’ll be back to visit again!
— RaCh
Oh nice! I’d probably have to find a way to cat proof it slightly, but I think this is a great idea!
— Laura
That looks cool! If the boxes were square I would consider turning the top tier round to face the side of the bed so you don’t have to reach too high with your cup of tea!
— Tamsinwp