A huge THANK YOU to Fabric Godmother, who very kindly provided us with this stunning viscose crepe!
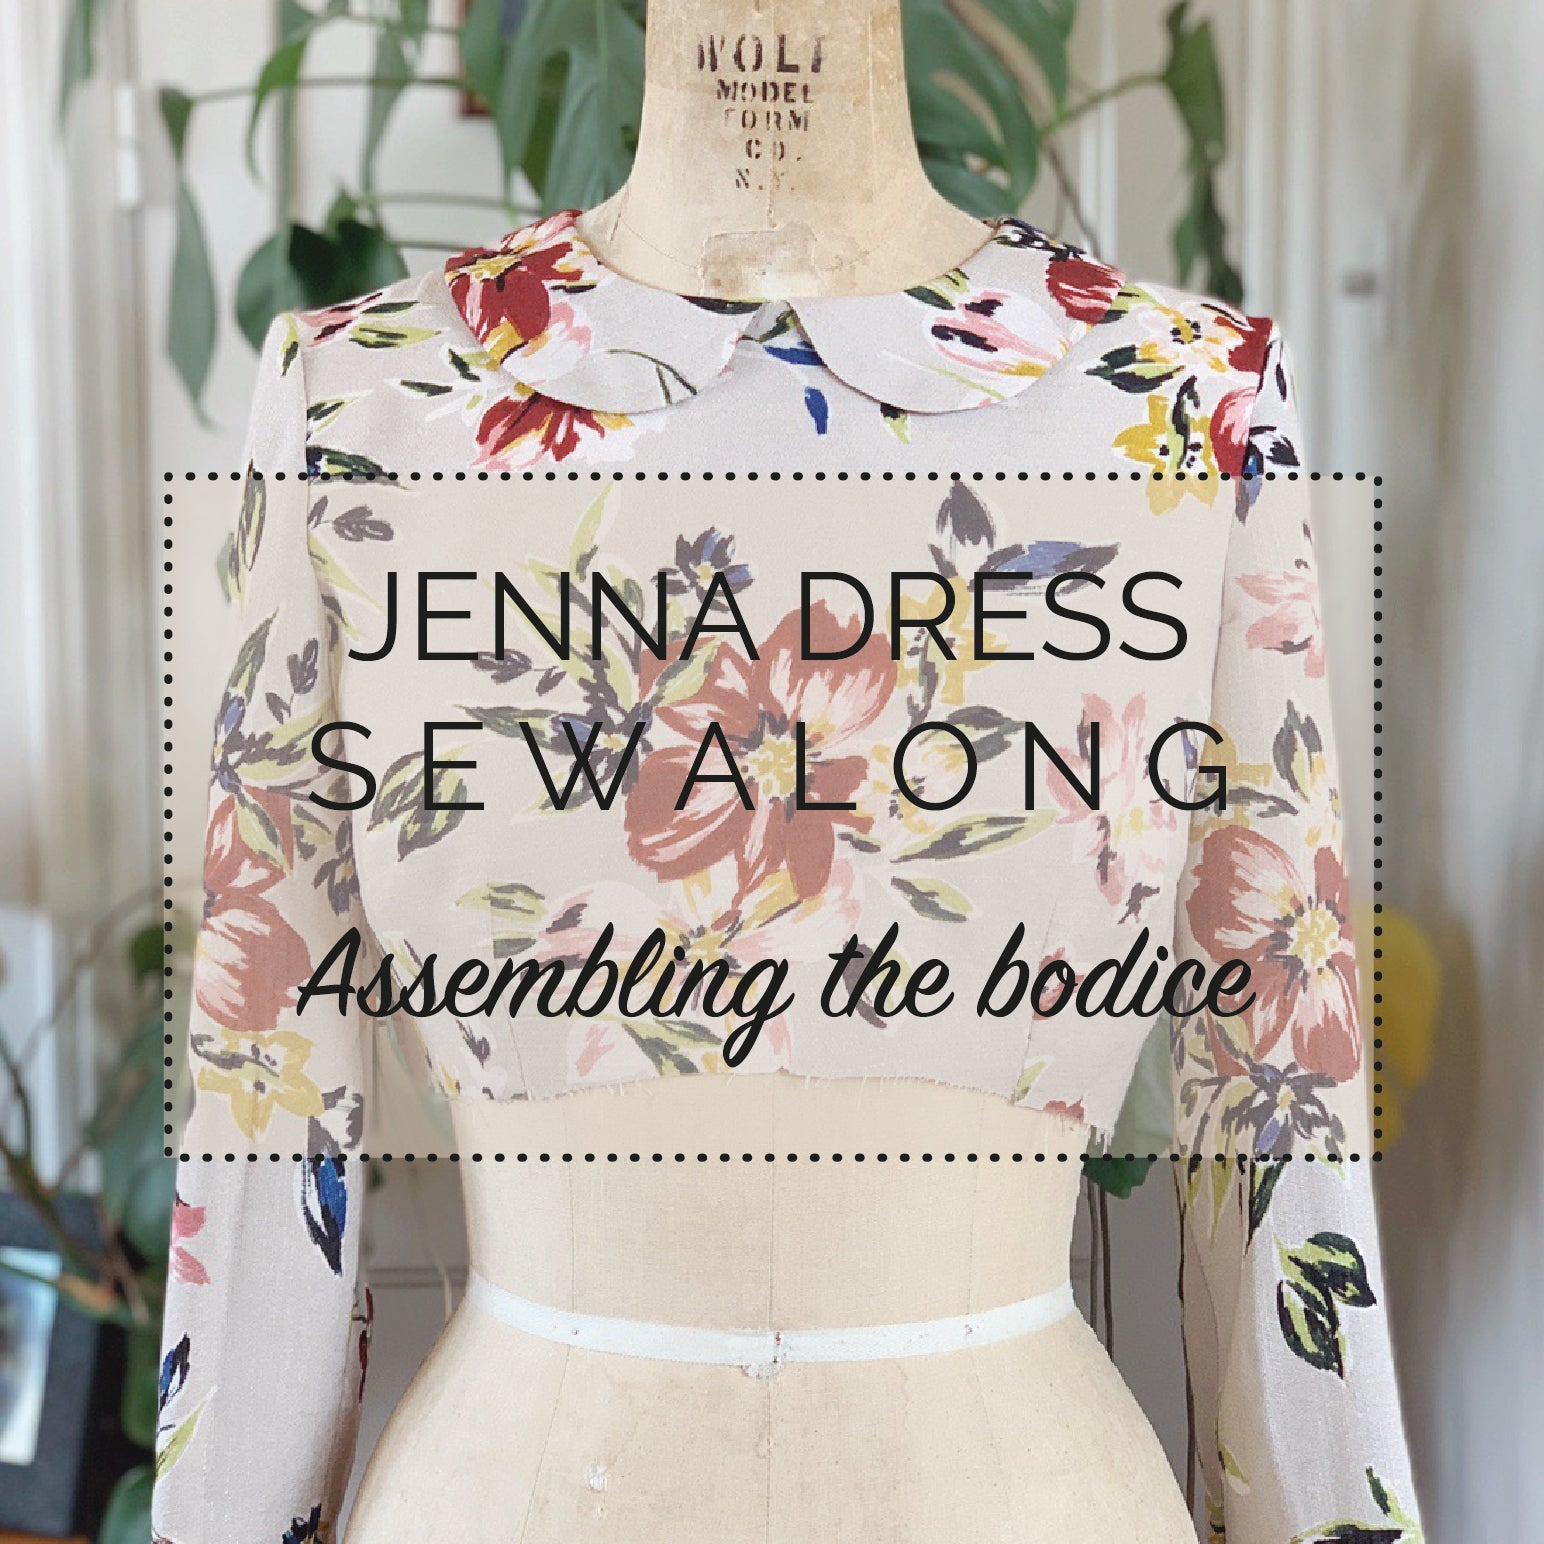
Time to start sewing our Jenna dresses! Throughout this sewalong, we'll be breaking down the making of your Jenna into detailed step by step instructions, accompanied by photos and plenty of extra tips and tricks. First up, we're sewing the elegant bodice of Variation 2 with her bracelet length sleeves, jewel neck and optional Peter Pan collar.
*To be taken to all the posts in the Jenna Dress sewalong, please click here!*
But before we begin, have you...?
- Pre-washed your fabric?
- Cut out all your pattern pieces?
- Snipped all the notches?
In this post we will be:
- Stitching darts
- Closing the shoulder seams
- Assembling and basting the collar
- Closing the side seams
- Talking about different seam finishes
- Joining the lining to the bodice
- Assembling the bracelet length sleeves
- Setting in the sleeves
Stitching the darts
The key to a successful dart is all in the prep.
Before removing the pattern paper from your fabric after cutting, make sure that you have carefully snipped into all the notches (remember that you only need to make a little snip - 5mm max! - as you don't want your snips to extend past the seam line 5/8" or 15mm in from the raw edge) and that you have marked out the dart tips. From there, you will be able to draw out the dart by connecting the dart tip with the notches. Make sure that you mark your darts on the wrong side of the fabric, either with tailors chalk or a specific dressmakers pen.

Now that your dart is marked out, go ahead and fold your fabric - right sides together - so that the notches at the side seam match up and the fold of the fabric runs through the centre of your dart. Pin the dart into place, using your pin to check that the dart legs are aligned either side of the fold.

We now have a foolproof guideline to stitch along! Starting at the dart point, and not backstitching there, stitch your dart out to the side seam along the marked line. Backstitch when you get to the end, and tie off the threads at the dart point with a secure double knot. The reason that we don't backstitch at the dart point is that too much thread and needle action can cause the dart point to turn out puckered, distorted, or even worse for delicate fabrics, damaged and holey. The goal is to create a dart that has a smooth point that effortlessly vanishes off to nothing (which does take a little practice.... but don't worry - most dart point issues can be corrected by a good press!).
Press the bust darts downwards, and waist darts towards the side seams. When you come to assembling the lining, press the waist darts in the opposite direction in order to reduce bulk at the waistline.

Sewing the shoulder seams
We now need to join the front and back dress pieces together at the shoulder seams.
Lay your dress back pieces on top of your dress front piece, right sides together. Pin the shoulders into place.
TIP: Always pin your fabric as shown, with the pins pointing perpendicularly into the fabric, so that they lie horizontally when the fabric is fed through your sewing machine. Like this, they will be easier to whip out as you stitch, and will be less likely to get crunched down into your machine if you forget to take one out than if they were inserted vertically.

With our usual 5/8" or 15mm seam allowance, stitch the shoulder seams.

Four ways to neaten your seams
After stitching a seam on our sewing machine, it's really important to 'finish', or neaten off that excess seam allowance to prevent it from fraying, to keep things looking neat on the inside, and ultimately to create a long lasting garment that won't start falling apart prematurely. There are a number of ways to finish your seams...

Clockwise from top left:
Overlocking/serging
Definitely our favourite method, but it will require you to have an overlocker (or a serger as they are known in the US), which is a whole new machine. If you are going to be sewing garments regularly, then it is a worthwhile investment! An overlocker uses two needles and four spools of thread to essentially bind the seam allowance, while trimming the excess away, for a stronger seam that will not fray, and looks neat and professional af!
Pinking
'Pinking' means trimming down the excess seam allowance with pinking shears, or put simply, zigzag scissors. This is not the most effective finish in that it won't add any strength to your seam, but it will help prevent the fabric from fraying, at least in the short term.
Zigzag stitch
If you don't have an overlocker, or any fancy stitch options on your machine (and some of the very best vintage machines will only have straight and zigzag stitch options), then a zigzag stitch will do the job. Simply zigzag next to your seam and trim away the excess. Lots of handmade vintage clothing is sewn in this way, and has survived the test of time, so if it was good enough for them!
Mock overlock
Some regular sewing machines will have an imitation overlock stitch setting which basically does everything that an overlocker does, except for trimming away the excess fabric at the raw edge. This strengthens and neatens, without having to have a whole new machine.
Assembling and basting the collar (optional)
Depending on how lightweight and floaty your fabric is, you'll probably have to interface the collar so that it maintains its shape. When choosing interfacing for dressmaking projects - ie. not outerwear or heavy duty garments - we always go for a lightweight woven fusible interfacing over the non-woven kind, which we find to be too stiff and papery.
Since we're using a lovely viscose crepe for this dress which is beautifully drapey but also quite substantial, we've decided to add interfacing to the under collar pieces only. If your fabric is very light and floaty, go ahead and interface both top and under collars.
Press the interfacing to the wrong side of your fabric, making sure that you press it with the slightly bumpy adhesive side down! Once the interfacing is secure, trim away the excess.

Now place the top collar pieces on the under collar pieces, right sides together, and pin matching notches. The top collar is ever so slightly bigger than the under collar; this is so that once they've been carefully eased and stitched together and pressed, the seam will roll to the underside and won't be noticeable as the collar lies flat against the neckline.
Starting 3/8" or 10mm from the inner curve, stitch around the outer curve with a smaller 1/4" or 6mm seam allowance.


Grade the seam allowance by trimming the under collar layer right down. Then snip some notches all around the outer curve, being careful not to snip the stitches! This will help to minimise bulk when you turn the collar out to the right side.
Turn the collars out to the right side and give them a good press, allowing the seam to roll towards the under collar.

Bring back your bodice and lay it out, right side facing you. Place the collar pieces on the neckline, matching the notches at the collar's inner curve to the shoulder seams, and ensuring that the edges of the collars overlap at centre front so that once stitched at 5/8" or 15mm they will appear to meet in the middle.

Baste the collar into place all along the neckline. Don't worry if these stitches are visible later - they can easily be removed.

Sewing the side seams
With right sides together, pin your dress at the side seams and stitch with the usual 5/8" or 15mm. Press the seam open, or towards the back, and finish the excess.


Repeat the steps - minus the collar - above for the bodice lining.
Joining the lining to the bodice
With the right side of the bodice facing you, place the lining right side down onto the bodice and pin the two together all along the neckline matching shoulder seams and the open centre back.

We've opted for a slightly renegade fabric for the lining - it's a deliciously soft silk jersey... yes it's a knit! Lining a woven! The first time I did this it was out of desperation: I was making a dress that had to be finished by that evening and I suddenly realised I had no suitable lining fabric, but I did have a whole bunch of this off white silk jersey. I went for it, and holy crow am I glad that I did! The result was a totally acceptable lining, that felt soooo much nicer against my skin than any lightweight cotton or silky woven lining fabric ever could. So it may be a little unorthodox, but it works just fine and results in a dress that is more comfortable to wear!
Stitch the neckline with the usual 5/8" or 15mm seam allowance. Grade the seam to reduce bulk by trimming the lining's seam allowance down to 1/4" and the main fabric down to 3/8". Then clip into the seam allowance at the curves.

Before we turn the lining to the inside of the bodice, it's a great idea to understitch the seam allowance as this helps the lining to stay inside the bodice and not roll out to the front. Check out our understitching tutorial here.
Finally, turn the lining to the inside of the bodice and press the neckline.

Baste the lining to the bodice at the armholes to keep the two layers together when we come to setting in the sleeve.
Assembling the sleeve
With right sides together, fold your sleeves in half lengthways and pin the underarm seam. Stitch, finish and press towards the sleeve back.
TIP: There are two ways you can easily identify the front and back of a sleeve head - the sleeve back will usually have a double notch (two notches very close together) AND when you fold the sleeve in half lengthways, the sleeve back is always the side that appears wider and extends past the sleeve front.

Next, take your cuff pieces, fold them in half so that the short ends meet, pin and stitch. Press the seam open.

Fold the cuff in half this time lengthways wrong side facing, and press the fold that will be the edge of the cuff.
Turn your sleeves to the right side, and slip one of the cuff pieces over the raw edge of the sleeve so that the pressed fold is pointing towards the sleeve head. Pin them together at the raw edges, and stitch with 1/2" or 12mm seam allowance.

Fold the cuff out and down, and press the seam up into the sleeve.

Setting the sleeves in
Almost done for today!
With your bodice inside out, and your sleeve right side out, slip the sleeve inside the bodice and into the armhole. Pin the sleeve to the armhole right sides together, matching the sleeve's underarm seam to the bodice's side seam, outer sleeve seam to the shoulder seam, and all the notches in between. There will be a small amount of gentle easing to do with your thumbs, but the sleeve is designed go in just fine without the need to gather the sleeve head to fit.

Stitch the sleeve into place, catching both the bodice and lining layers. Finish the excess and press the seam towards the sleeve.

Hooray! Your bodice will be looking a little something like this, and that my friends, earns you a well deserved happy dance! And also quite possibly a large glass of wine / G&T / bucket of tea and biscuits...

Next up on the Jenna Dress sewalong...
We're sewing the skirt and finishing our dresses! We'll be talking loads about working on the bias, sharing our tips and tricks for a beautifully inserted zipper, and going through a couple of hemming options.
-
Elisalex de Castro Peake

Comments on this post (2)
Hello I an a sewing teacher and also industry traind in fashon for 50 years looking at your explaintions on putting your garments together are so clear and i am telling my students about your sight and hope they follow you
Cheers Helen
Australia
— Helen Sommer
I’ m looking for your ‘The Bodice Fitting Companion’ by Eliisalex de Castro Peake & Charlotte Hintzen.
I believe it is a pdf.
Can you help me please.
— Barbara Hazel Drake