Aloha Sewists, and welcome to the Alterations section of the Kim Dress Sewalong! Throughout these posts we will be going through as many pattern alteration tutorials as we can physically crush in, relevant to the Kim Dress. But it doesn't end there - the extra great news is that a lot of these tutorials will be applicable not only to the Kim, but to a huge amount of other patterns too as we tackle most of the common issues surrounding pattern fitting.
*To be taken to all the posts in the Kim Dress Sewalong, please click here!*
Grading between sizes can seem like a quick fix, and used in the right way there's no doubt that it's just about the breeziest method of pattern alteration out there. The important thing to remember, however, is not to be tempted to apply this technique in place of a more serious alteration such as a full bust adjustment or full butt/tummy adjustment. As long as it is specifically your hips that are particularly wide or narrow, then grading between sizes is a perfectly acceptable way to add or remove a little excess at the side seams.
What you'll need:
- Your Kim Dress pattern tissue, Variation 1 wrap skirt pieces
- A pen
- A French curve (optional)
Diagnosis - Unlike some of the more undetectable issues, this is one that can be spotted on body measurements. In a nutshell, if your hip measurement falls into a higher/lower size category than that of your waistline measurement, and it's definitely not due to a full butt or full tummy, then you'll most likely benefit from grading out or in at the side seams.
Please note: In order to make a printed pattern legible, we often have to spread out the graded sizes ever so slightly to avoid a tangle of lineweights and indistinguishable darts. This makes grading between sizes directly on the pattern tissue a pretty inaccurate undertaking! Luckily in this case, the skirt pieces aren't spread out so dramatically that it makes a difference. But it is something to bear in mind for other patterns - the correct way to go about this technique to trace off both sizes before overlaying them so they are flush at the waistline, before grading between the two side seams.
Step 1
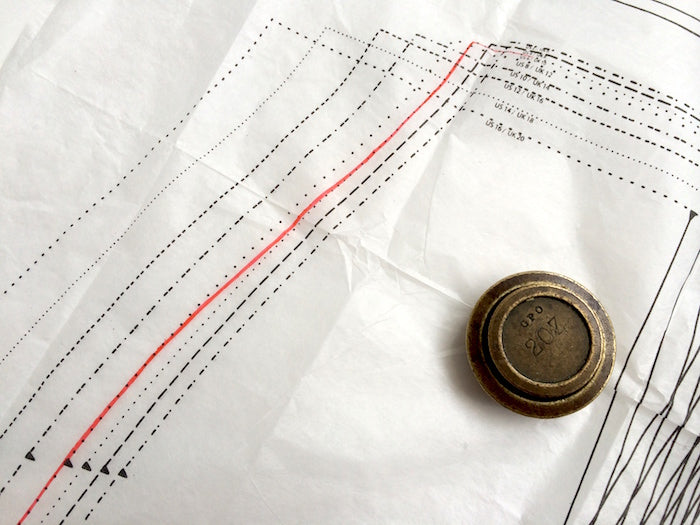
Lay out your pattern tissue and begin highlighting your size at the waistline and starting down the side seam.
As the side seam begins to curve out for the hips, gradually and smoothly grade from your waistline measurement line to your hip measurement line - whether that be out to a larger size or in to a smaller size. You could use a French curve to help you achieve a smooth line if it helps.
In this case, I have graded from a size UK10 out to a UK12:

And that's all there is to it! Easy as pie.
Tip from the top: Always check your adjustment by making a toile to check the fit. Once you're happy with your newly adjusted pattern, copy it out onto some card for extra safe keeping! Although this is a straightforward adjustment to make, no one wants to have to do it twice...
-
Elisalex de Castro Peake

Comments on this post (3)
Hi Amanda, yes – simply shaving a little excess off from the side seams should do the trick! If you find that that’s not enough, you could also slash the pattern down the back piece through the dart and to the hem and remove a slither of excess there too. Just remember that you’ll still want at least an inch if ease around your hips and butt! I hope this helps! ~Elisalex
— Elisalex - By Hand London
Hi there, so very excited to be tackling my first dress project – I love this pattern!! I’m making fit adjustments, as I am short and petite (shortening the bodice, narrowing the back a bit). I’m so grateful for your sewalong.
I have a question about bringing in the hips… My hips are smaller than your smallest size. Would it work to just take a little of the side seams at the hips, tapering down towards the bottom edge? Should I take a slice all the way down to the hem? My hip measurement is 34.5 (the chart calls for 36"), so I calculated that I should shave off around 3/8 of an inch from each side pattern piece (which is one quarter of the difference in my hip measurements and the pattern measurements). Des that makes sense or am I thinking too much into it? Thank you!! :)
— Amanda
I’ve been loonikg for a post like this for an age
— Retta