This is it Sewalongers, we have reached the finish line! By the end of this post, we'll all have some shiny new Sarah Shirts!
*To be taken to all of the posts in the Sarah Shirt Sewalong, please click here*
Today we will be:
- Hemming our shirts
- Marking out buttonhole & button placement
- Sewing buttonholes
- Sewing buttons
- Adding a closure to the long sleeve cuffs of Variation 1
Hemming
Let's start with something nice and breezy, shall we? Before you hem your shirt, it is always a good idea to try it on first! Get yourself in front of a full length mirror, pin the placket closed and check yourself out. Place a horizontal pin where you want your shirt to end.
(I like to finish the raw hemline on my overlocker/serger first, but this is entirely optional as that raw edge will be hidden anyway.)
Press your hem in by 1/2" or 12mm, and then again by however much you need to a achieve your desired length. I actually wanted mine a smidge longer this time so I pressed in by 1/4" or 6mm first, then 3/8" or 10mm the second time. Pin to secure.

Stitch your hem into place, either by machine or by hand - totally up to you.

The buttonholes
Ugh buttonholes. I have to admit here that buttonholes just might be my least favourite part of sewing. And no matter how many of them I sew, I still detest them... Don't let that put you off, however! You might be one of the lucky ones with a super slick automated buttonhole attachment for your sewing machine, in which case sewing your buttonholes will be a breeze! No such luck for me, my old machine and a very basic buttonhole foot, but actually I find that it's easier to demonstrate the process in the most basic way anyway.
Firstly, we need to mark out the placement of our buttons. Starting from the neckline, evenly space out your buttons down the centre of your lefthand placket (the one that looks like it's on the right when you're looking at it flat!). Use a ruler to help you, and depending on the size of your buttons, you can get away with a maximum gap of up to 2" between each button (centre of button to centre of next button).

When you're happy with the placement of your buttons, mark them out with tailor's chalk or a suitable fabric pen.
Also mark out the placement of the buttons down the right hand placket - this will indicate the centre of your buttonholes. You may have to squint a bit here as the blue fabric pen I was using didn't show up so well in the photos I'm afraid...!

To figure out how long your buttonholes need to be, measure the diameter of your button and add to that the button's thickness.
Buttonhole length = button diameter + button thickness
Using the buttonhole length you calculated above, mark out the buttonholes vertically down the right hand placket centred over the button placement marks you made before. Please don't do as I did and go over your buttons and buttonhole placement markings in black biro...! The blue fabric pen I was using didn't show up very well in the photos so the black biro is purely for demonstrative purposes!

Sewing the buttonholes!
*Before you begin: have a little practice on a piece of scrap fabric first, before diving right in to the Real Thing!*
Most sewing machines will have a basic buttonhole setting. This, along with the help of a buttonhole foot attachment, will allow you to stitch a straight rectangular buttonhole with maximum ease.
To begin, set your stitch selection wheel to the 1st buttonhole setting and your stitch length to the smallest possible. Attach your buttonhole foot to the shank.

You also need to change the stitch length on your machine to the smallest possible:

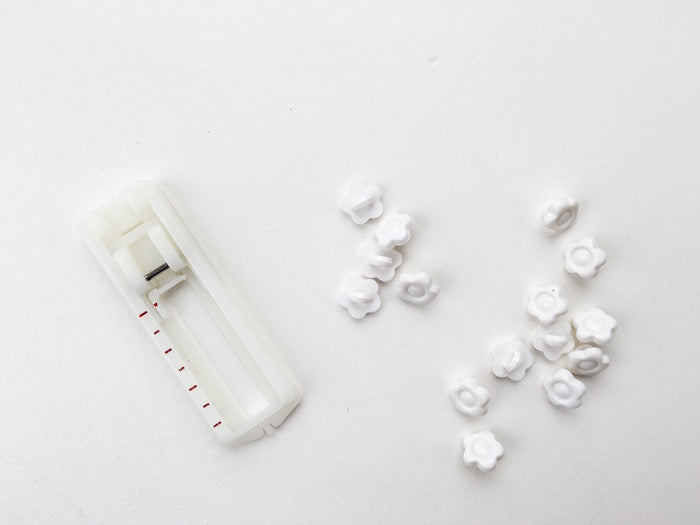
Most basic buttonhole feet will look a bit like the one shown in these pictures. You want to align the little notch on the part right by the needle with the first notch on the main body of the foot when you lower the shank. As you sew, that little part that clips on right behind your needle will stay right behind your needle, while the main body of the foot gets pushed back along with the fabric by the feed dogs.
If, however, you have one of those amazingly fancy automated buttonhole feet that you stick the button in the back and it measures it all for you, chances are you really don't even need to be reading this post!
Start sewing the first side of your buttonhole at the start of where you marked it on the fabric, and just to the left of your placement line.

Stop sewing when you get to the end of your marked out buttonhole, and your needle is up and to the left:

Change the setting on your sewing machine to the 2nd/4th buttonhole icon.

This setting will allow you to stitch the end of the buttonhole - only a few back and forths are needed here. End when your needle is up and to the right:

Select the 3rd buttonhole setting on your machine.

Stitch back on yourself until you get back to where you started.

Go back and select the 2nd/4th setting on your machine.

Close your buttonhole with a few back and forths.

Phew! All done with the first buttonhole! Now to stitch the remaining fifty-three-thousand....

To open up your buttonholes, a lot of places will try to sell you a buttonhole cutter, which is basically something that looks like a metal file with a sharp, squared blade on the end. They're great, yes, but the trouble is that you'd have to have one buttonhole cutter for every single size buttonhole you ever plan to make. Pointless waste of hard earned cash, we say! Instead, grab your trusty seam ripper and a pin and let us enlighten you...
Place the pin at one end of the buttonhole, just inside and essentially protecting the end stitches.
Use your seam ripper to carefully cut the buttonhole open between the stitches, stopping when you hit the pin.


The buttons
Thread up a handsewing needle with thread to match the buttonholes and knot the ends together so that your thread is doubled up. Sew each button in place by hand and tie off the loose threads with a double knot on the wrong side of your bodice to securely finish your button.

For those of you making Variation 2 with the short sleeves, go ahead and jump for joy because you are done!


Variation 1 cuffs
Just one quick step left for those of you making the long sleeved Variation 1 Sarah - a little closure at the cuffs. You could do one of a few things here - hand sew a couple of little poppers at the overlap, install snaps, or just keep going with the buttonholes & button theme. I'm going to keep things consistent and sew a single buttonhole and button to each cuff (again, make sure you try your shirt on to figure out the perfect closure placement for your wrists!).

And there we have it - another sewalong comes to an end... Which can only mean the beginning of many more Sarah Shirts to come! As ever, nothing delights us more than seeing your interpretations of our patterns, so please please please show us what you've made!! You can tag us on Instagram and Twitter @byhandlondon, share pictures on our Facebook page, and use the hashtags #SarahShirt and #ByHandLondon so everyone else can get inspired along the way. Alternatively - if you're not on social media but still want to show off your Sarah, email us at help@byhandlondon.com and we'll share it for you!


-
Elisalex de Castro Peake

Comments on this post (1)
Hello,
I have just been reading you posts on the shirt sew alongs. You have explained so many elements of sewing in a way that is easily understood and your pictures greatly enhance your explanation. Thanks you.
— KT