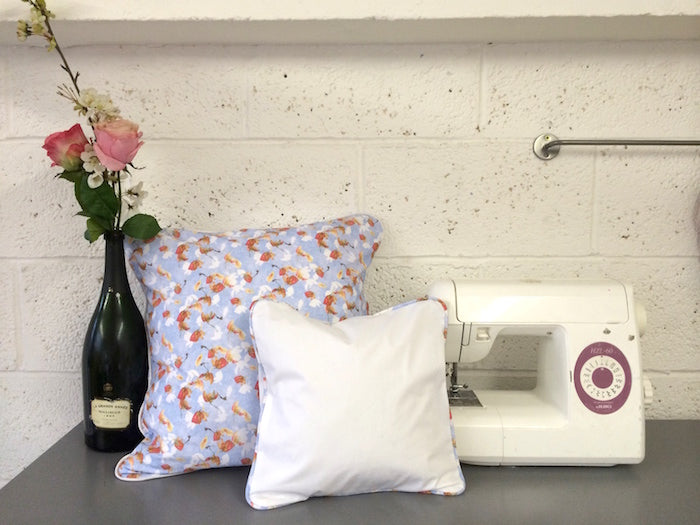
Ever since we started printing on fabric, a whole new world of handmade homewares has opened up... I find myself at home, wandering from room to room making a mental note of all the things I could make, upholster, scatter and hang. While I have big plans for a window seat, double bed hex quilt and a den for my son (we're moving house soon!), it's always better to start with the small things. You can never have too many cushions scattered about as far as I'm concerned, and a smart yet subtle piping elevates a simple handmade cushion cover to designer homeware heaven.
You will need:
- Fabric - how much will depend on the size of your cushions
- Shop-bought or homemade piping - again, how much you need will depend on the size of your cushions
- A zipper foot for your sewing machine - not to be confused with an invisible zipper foot!
- Your usual sewing tools and supplies
Step 1 - Measure and cut your fabric
To make the cushion cover we need to cut three pieces of fabric:
- One that is the full size of your cushion front plus seam allowance all round - eg. your cushion is 50x50cm so you want to cut your main piece as 54x54cm, allowing you 2cm seam allowance all round
- Two that will make up the back overlap side so that you can get your cushion in and out of the cover easily. These need to be the length of your cushion plus your seam allowance, but a little shorter in the width (but still factoring in a hemming allowance) - using the same 50x50cm cushion as an example, my overlap pieces will measure 54x35cm

~ To make our piped cushion covers, we're using fabric designed by our "Secret Garden" competition winner, Charlie, and printed by us! You can get ahold of it here ~
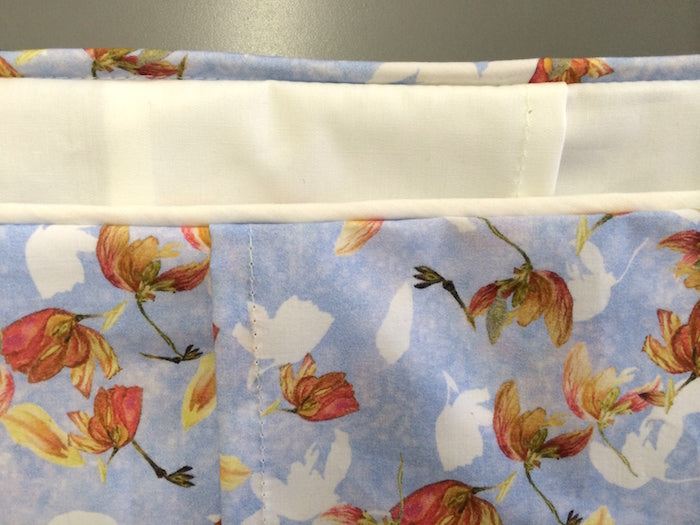
Step 2 - Hemming the overlap
Take your two overlap pieces and fold and press one of the longer length in by 1cm, and then again by another cm. This neatens off the edges that will be seen from the back of the cushion.

Step 3 - Basting the piping
Instead of just sandwiching the piping between the front and back of the cushion and stitching away, you're more likely to get a good finish if you baste the piping into place first.
Lay your cushion front out, right side facing you and pin the piping in place along the edges, making sure that the stitching on the piping is aligned along what will be your seam line when you come to stitching the front and back of the cushion together.

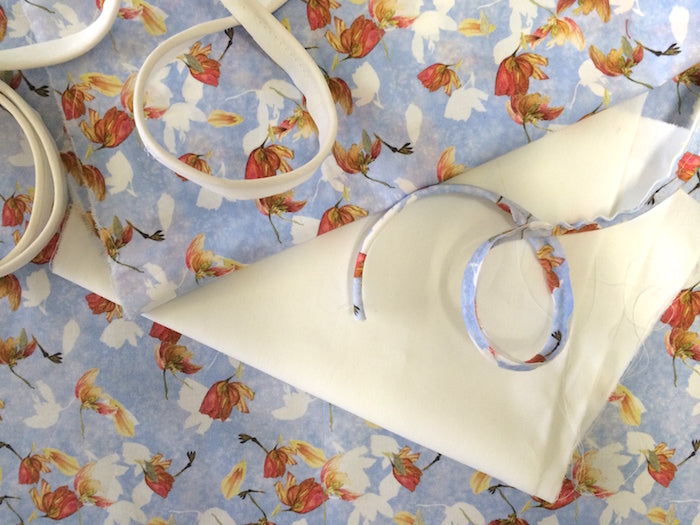
Curve the piping carefully around the corners, and seal off the two raw ends by crossing one end over the other like this:

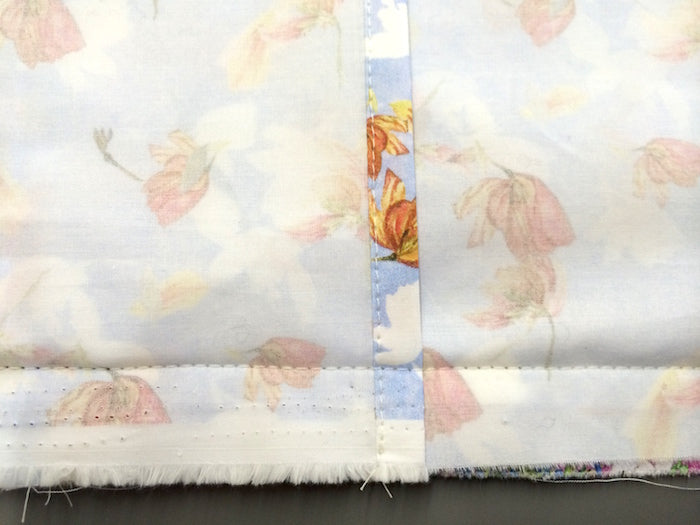
Baste the piping in place, a couple of millimetres away from what will be the seam line so that these basting stitches don't show.

Step 4 - Joining the front to the back
Finally, we're going to join the front of the cushion (the piece that has the piping basted to) to the back of the cushion (the two smaller pieces that will overlap).
Lay out your cushion front with the right side facing you. With right sides together, lay over your back overlap pieces and pin all around the edges.
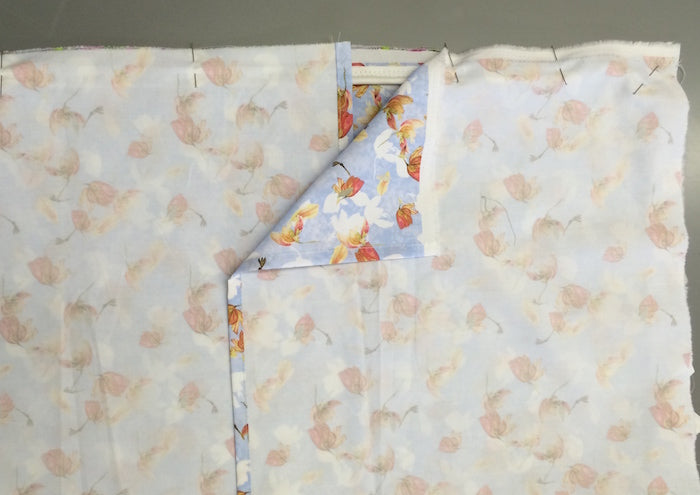
Stitch into place, getting nice and snug up to the ridge of the piping and taking your time to sew carefully around the curved corners.

When you're done, snip away the excess at the corners, turn your cushion cover to the right side and whack a naked cushion inside!


-
Elisalex de Castro Peake

Comments on this post (0)