
I hardly ever find tops I like in the shops. In fact, I hardly ever find anything I like in the shops. Correction: I hardly ever find anything I want to buy in the shops. With the exception of shoes, lingerie and jewellery, everything else I look at and think, "why buy it when I could make it?". So instead of window shopping, I find myself pinning instead... collecting inspiration and fabric, knowing full well that there simply are not enough hours in a lifetime to make everything I want!
For this tutorial I wanted to make a supereasy top, something that could be whipped up in an hour or so. Something that would be casual but not scruffy, day or night. Something that would scream Summer! I've had this crochet lacework border lying around in my studio for ages and immediately I knew it would be perfect. But you could use anything really: an old lace curtain with a scalloped edge; mismatched scraps of fabric you need to use up; sheer silk or rayon...

You will need:
- some scrap cotton for the neckline of your top
- lace or whatever fabric you choose for your tiers (around a metre will be plenty)
- 1m bias binding
Step 1
Using an existing top as a guide, draw around the neckline, shoulder straps and armholes onto the fabric you are using for the top part of your top (2 layers - front piece and back piece!), adding about an inch all round for your seam allowance.

Step 2
Fold the 2 layers of fabric in half down the centre front, so that when you cut it out, both sides will match perfectly.
Step 3
Open out your front and back pieces ready to lay on the tiers.

Step 4
Carefully position your layers of fabric, pinning as you go, and making sure that each tier is a little wider than the one above (tip: double check your hip measurement against the last tier to make sure it'll fit before you sew!). When you're happy with the placement, stitch into place.
Step 5
Stitch shoulder seams, press open. Stitch side seams, trim off any excess.

Step 6
Finish the armholes and neckline with bias binding. All done! Now go frolick in the sunshine! Oh right, it's still raining...

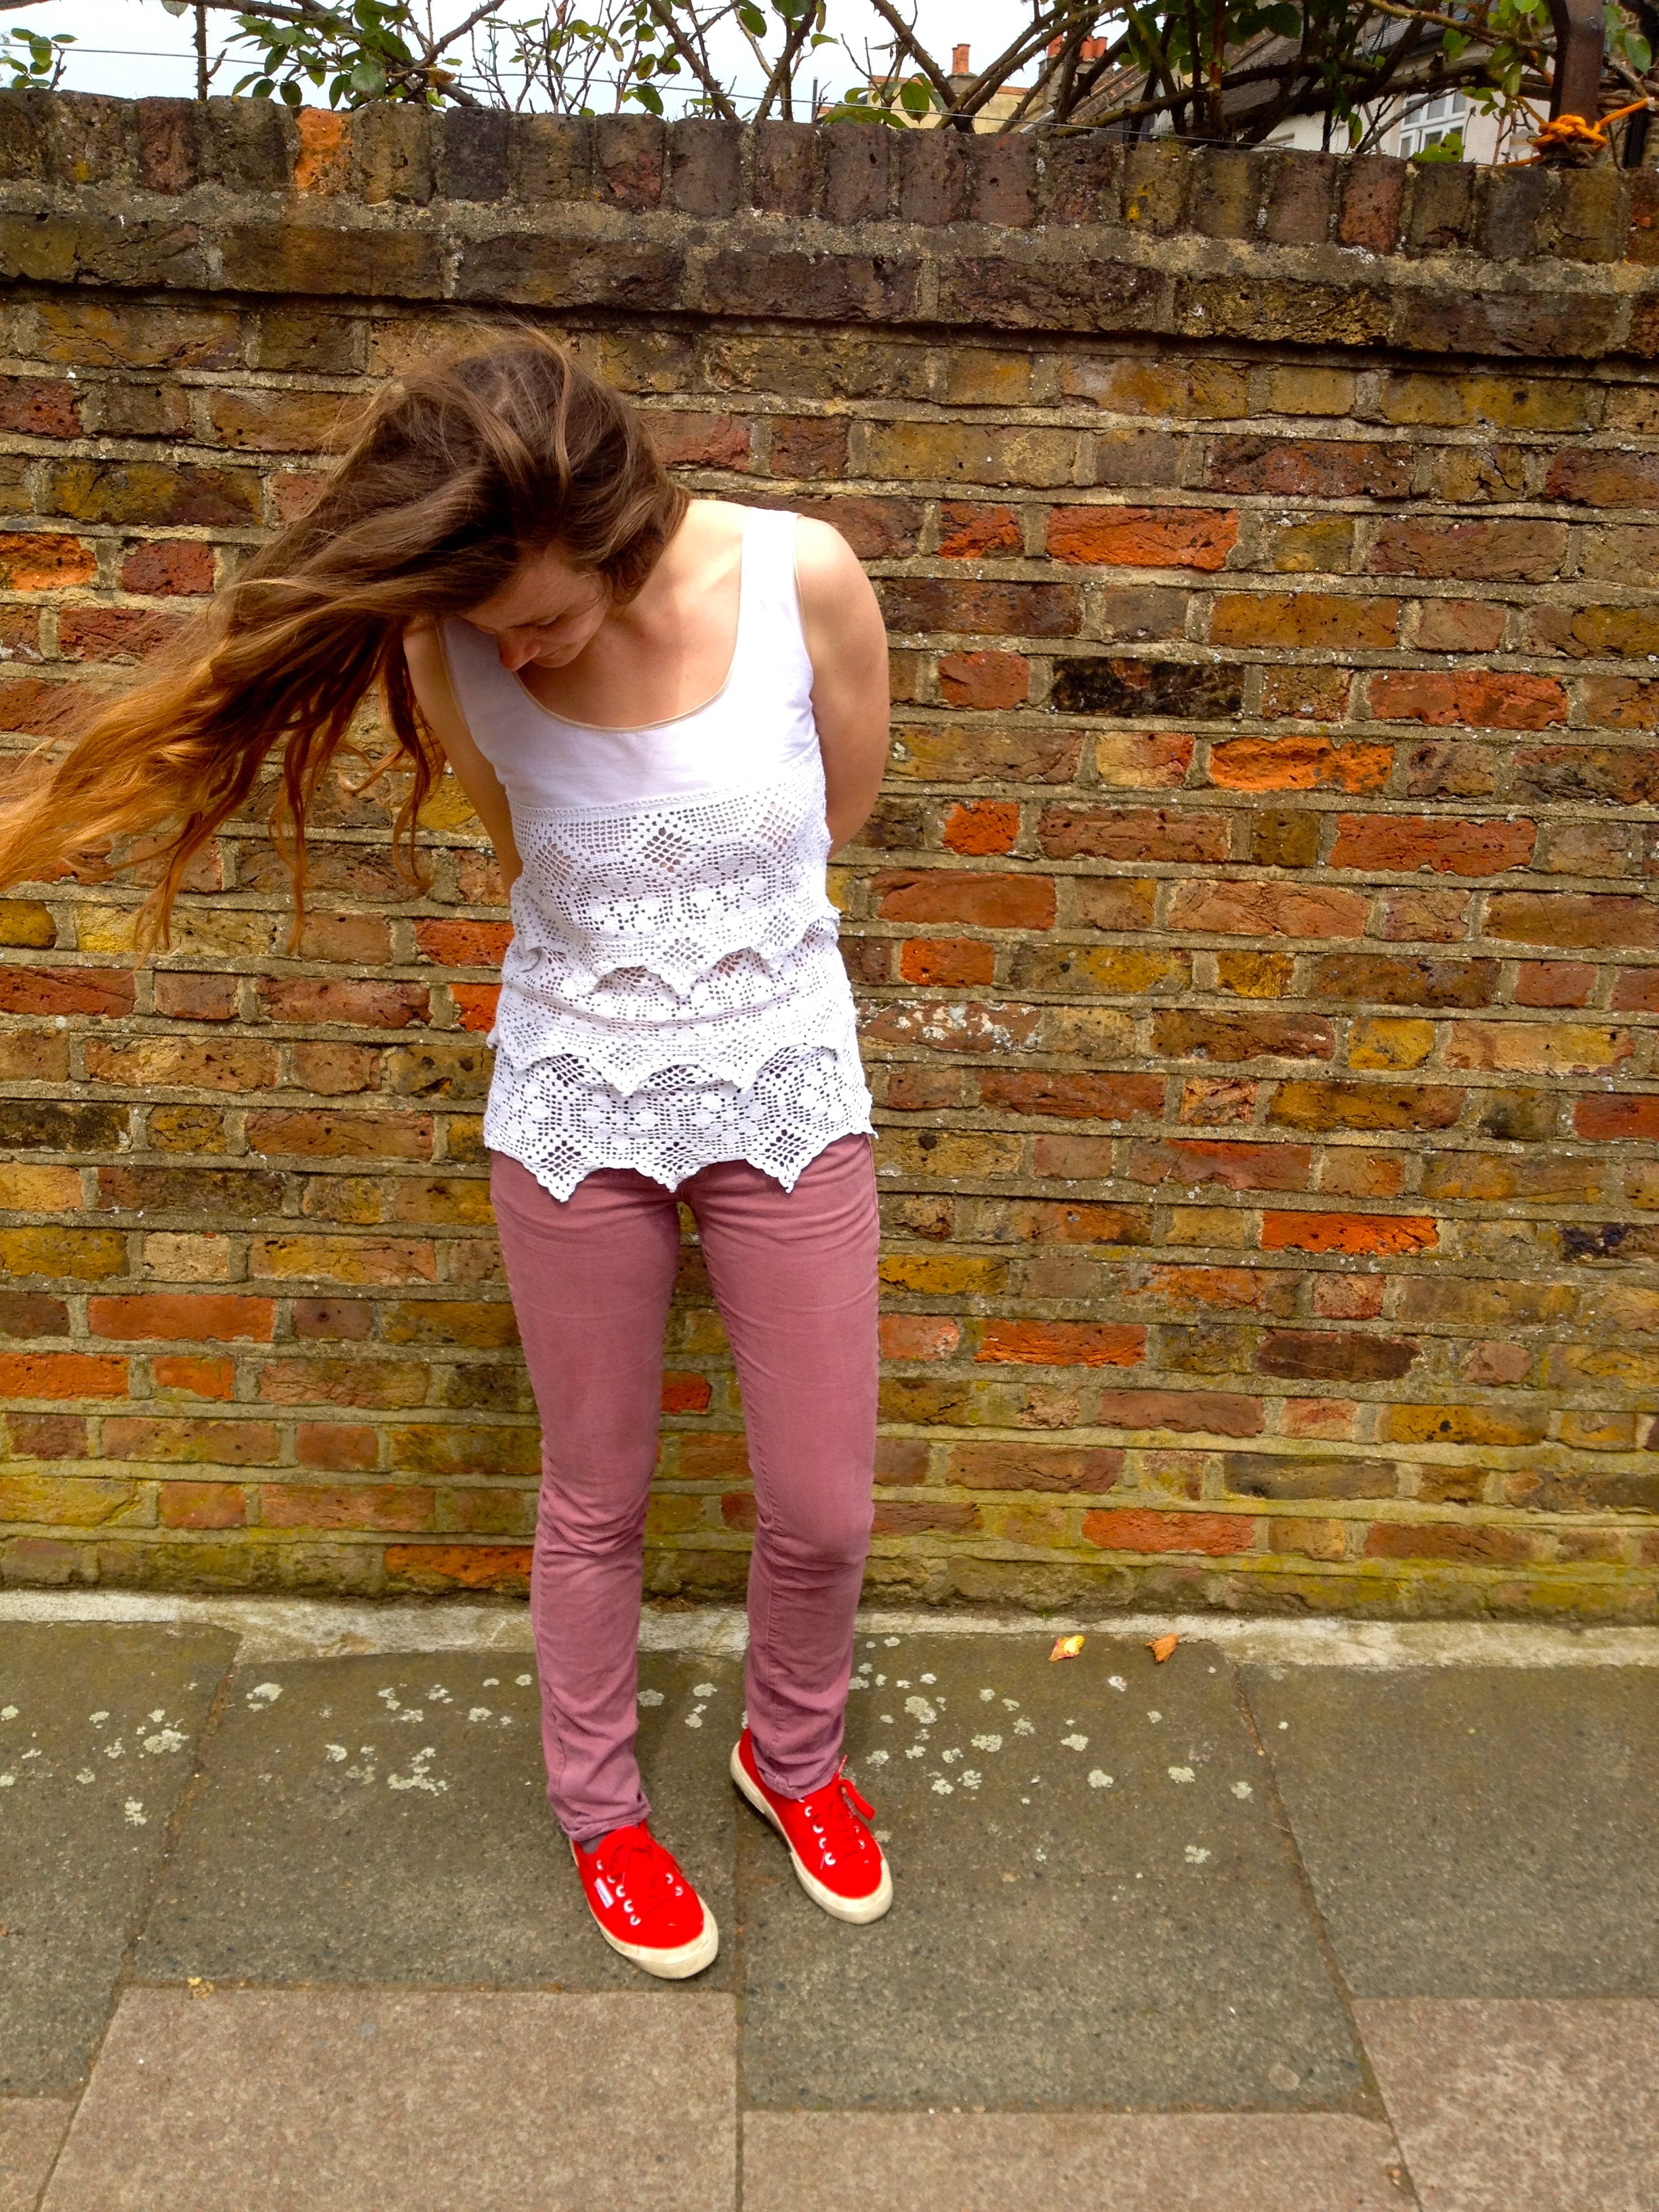
(how I wore it: Uniqlo jeans; Superga sneakers)
x Elisalex
-
Elisalex de Castro Peake

Comments on this post (2)
This is really sweet, like the end result ;)
I reconstructed an old turtleneck into a top with lace panels and a peter pan collar, please have a look at: http://whatscraftdoc.blogspot.co.uk/2013/05/diy-from-turtleneck-to-lace-panels-top.html
— Barbara
Reblogged this on Rosa Royce Blog.
— rosakeroycee